• Home
  • Categories
  • Contact
  • Subscribe
  • About
Menu

Julie's Taste

Street Address
City, State, Zip
Phone Number

Your Custom Text Here

Julie's Taste

  • Home
  • Categories
  • Contact
  • Subscribe
  • About

ZUCCHINI AND TOMATO GRATIN

December 18, 2015 Julie Sanchez

Zucchini and tomato gratin is one of my favorite go to side dishes when we have company. Its presentation is impressive, it goes with anything (fish, chicken or beef), it can be assembled ahead of time, and you can pop it in the oven while your having a cocktail. And since Christmas is next week, I thought something red and green would be quite festive!


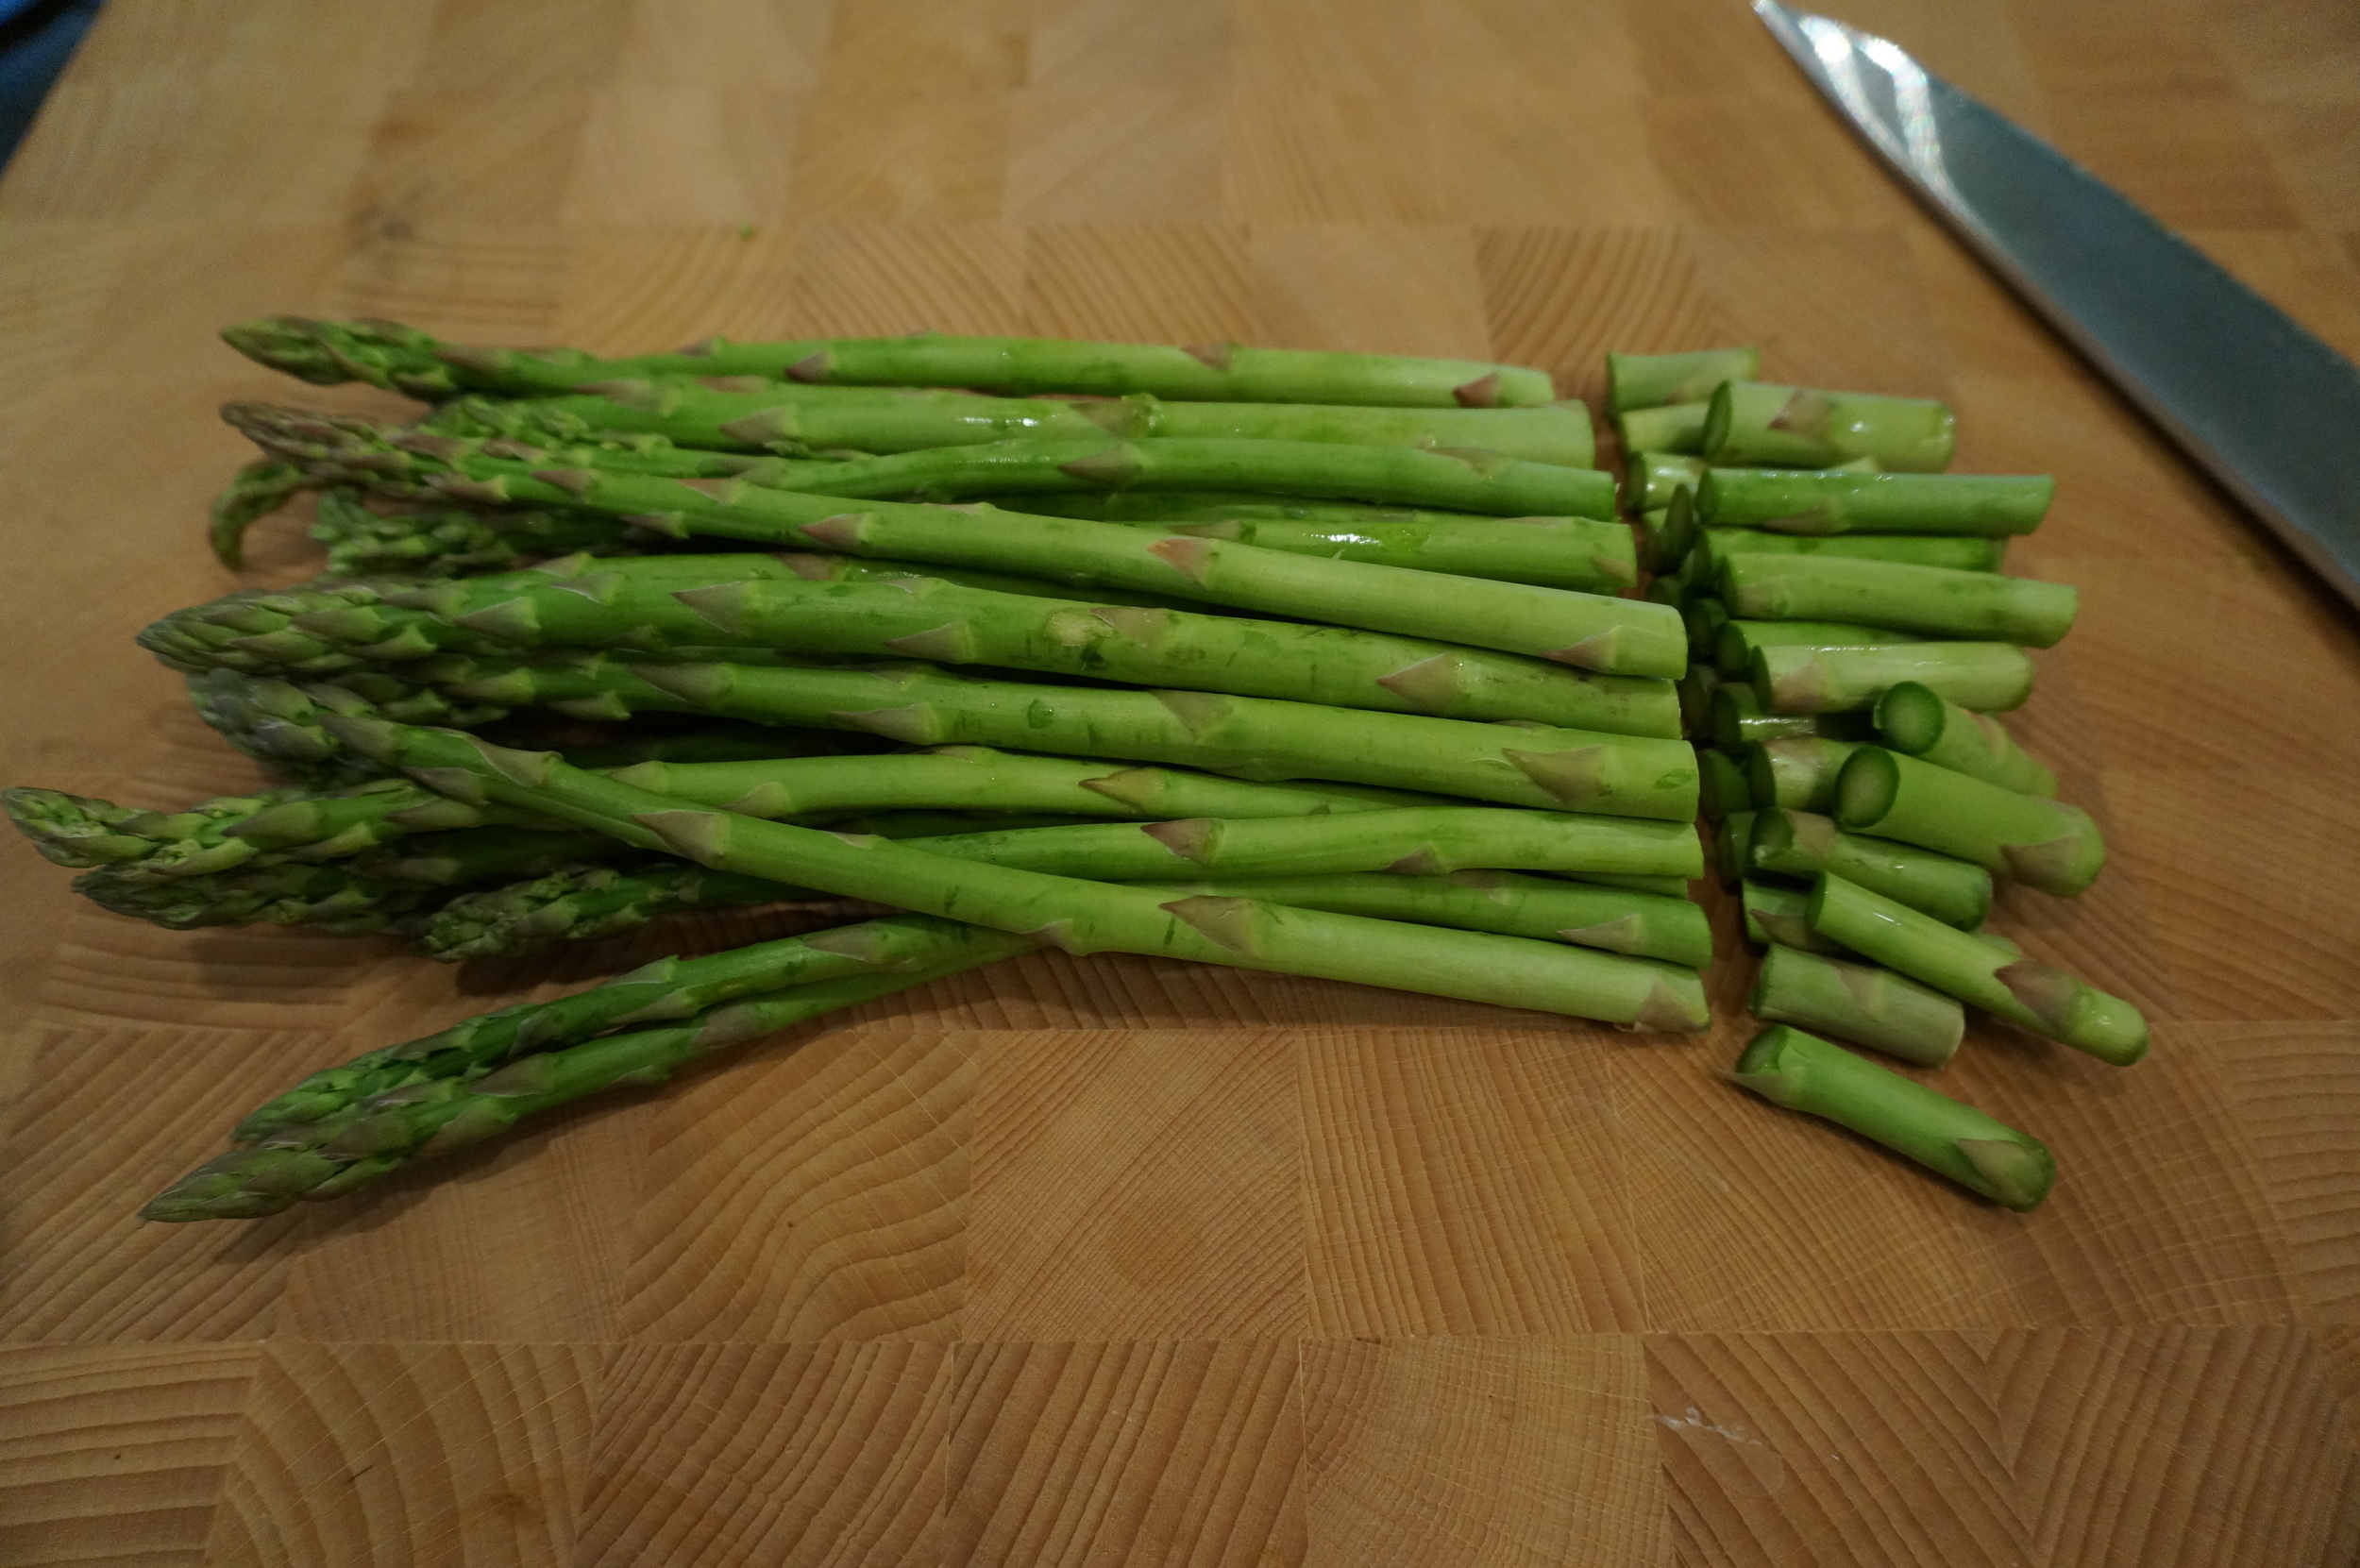
You need to buy roma tomatoes. Their elongated shape and slender diameter are best for a nice presentation. Try to also find medium zucchini, if they are too skinny they will not be in proportion to the tomatoes.  If you can not find fresh thyme than just buy dried thyme. 


Make sure to cut the zucchini on a diagonal. First cut off the end and discard.


You will notice that each opposite end of the zucchini slice will have a larger section of peeling showing because of the diagonal cut, like a green top hat. Make sure put the top hat facing up when you layer your gratin. It will make for a more colorful presentation.


You do not need to cut the tomatoes on a diagonal. Just cut off the ends and slice them a little thicker than the zucchini, since they will cook faster. You will get 3 or 4 slices from each roma tomato. Do not try to use the slices close to the end since they will be small in diameter and will not look good in scale with the zucchini. This really is a easy dish, I am making it sound complicated, but in reality I want to explain the importance of the proportion and scale to the outcome of the presentation. I am a designer, so scale and proportion mean more to me than most people. I know I am not normal !


I use a pastry brush to apply the olive oil and garlic on the exposed vegetables. (If you do not have a pastry brush I encourage you to buy one. It will make your life so much easier for so many things including spreading sauce on homemade pizza, spreading olive oil on flat bread, making puff pastry pinwheels, glazing chicken with barbecue sauce, and greasing grill pans)


If you purchase fresh thyme the best way to remove the leaves is to hold on to the top of the stem with one hand and use your other hand to slide down the stem. The leaves will fall off as you squeeze your fingers together and slide down.


I use a vegetable peeler to create parmesan slivers. I like how they melt in spots in different parts of the gratin. The gratin is not covered in cheese, just a few dabs here and there. The cheese adds a nice sharp bite, but not with a lot of heaviness. 


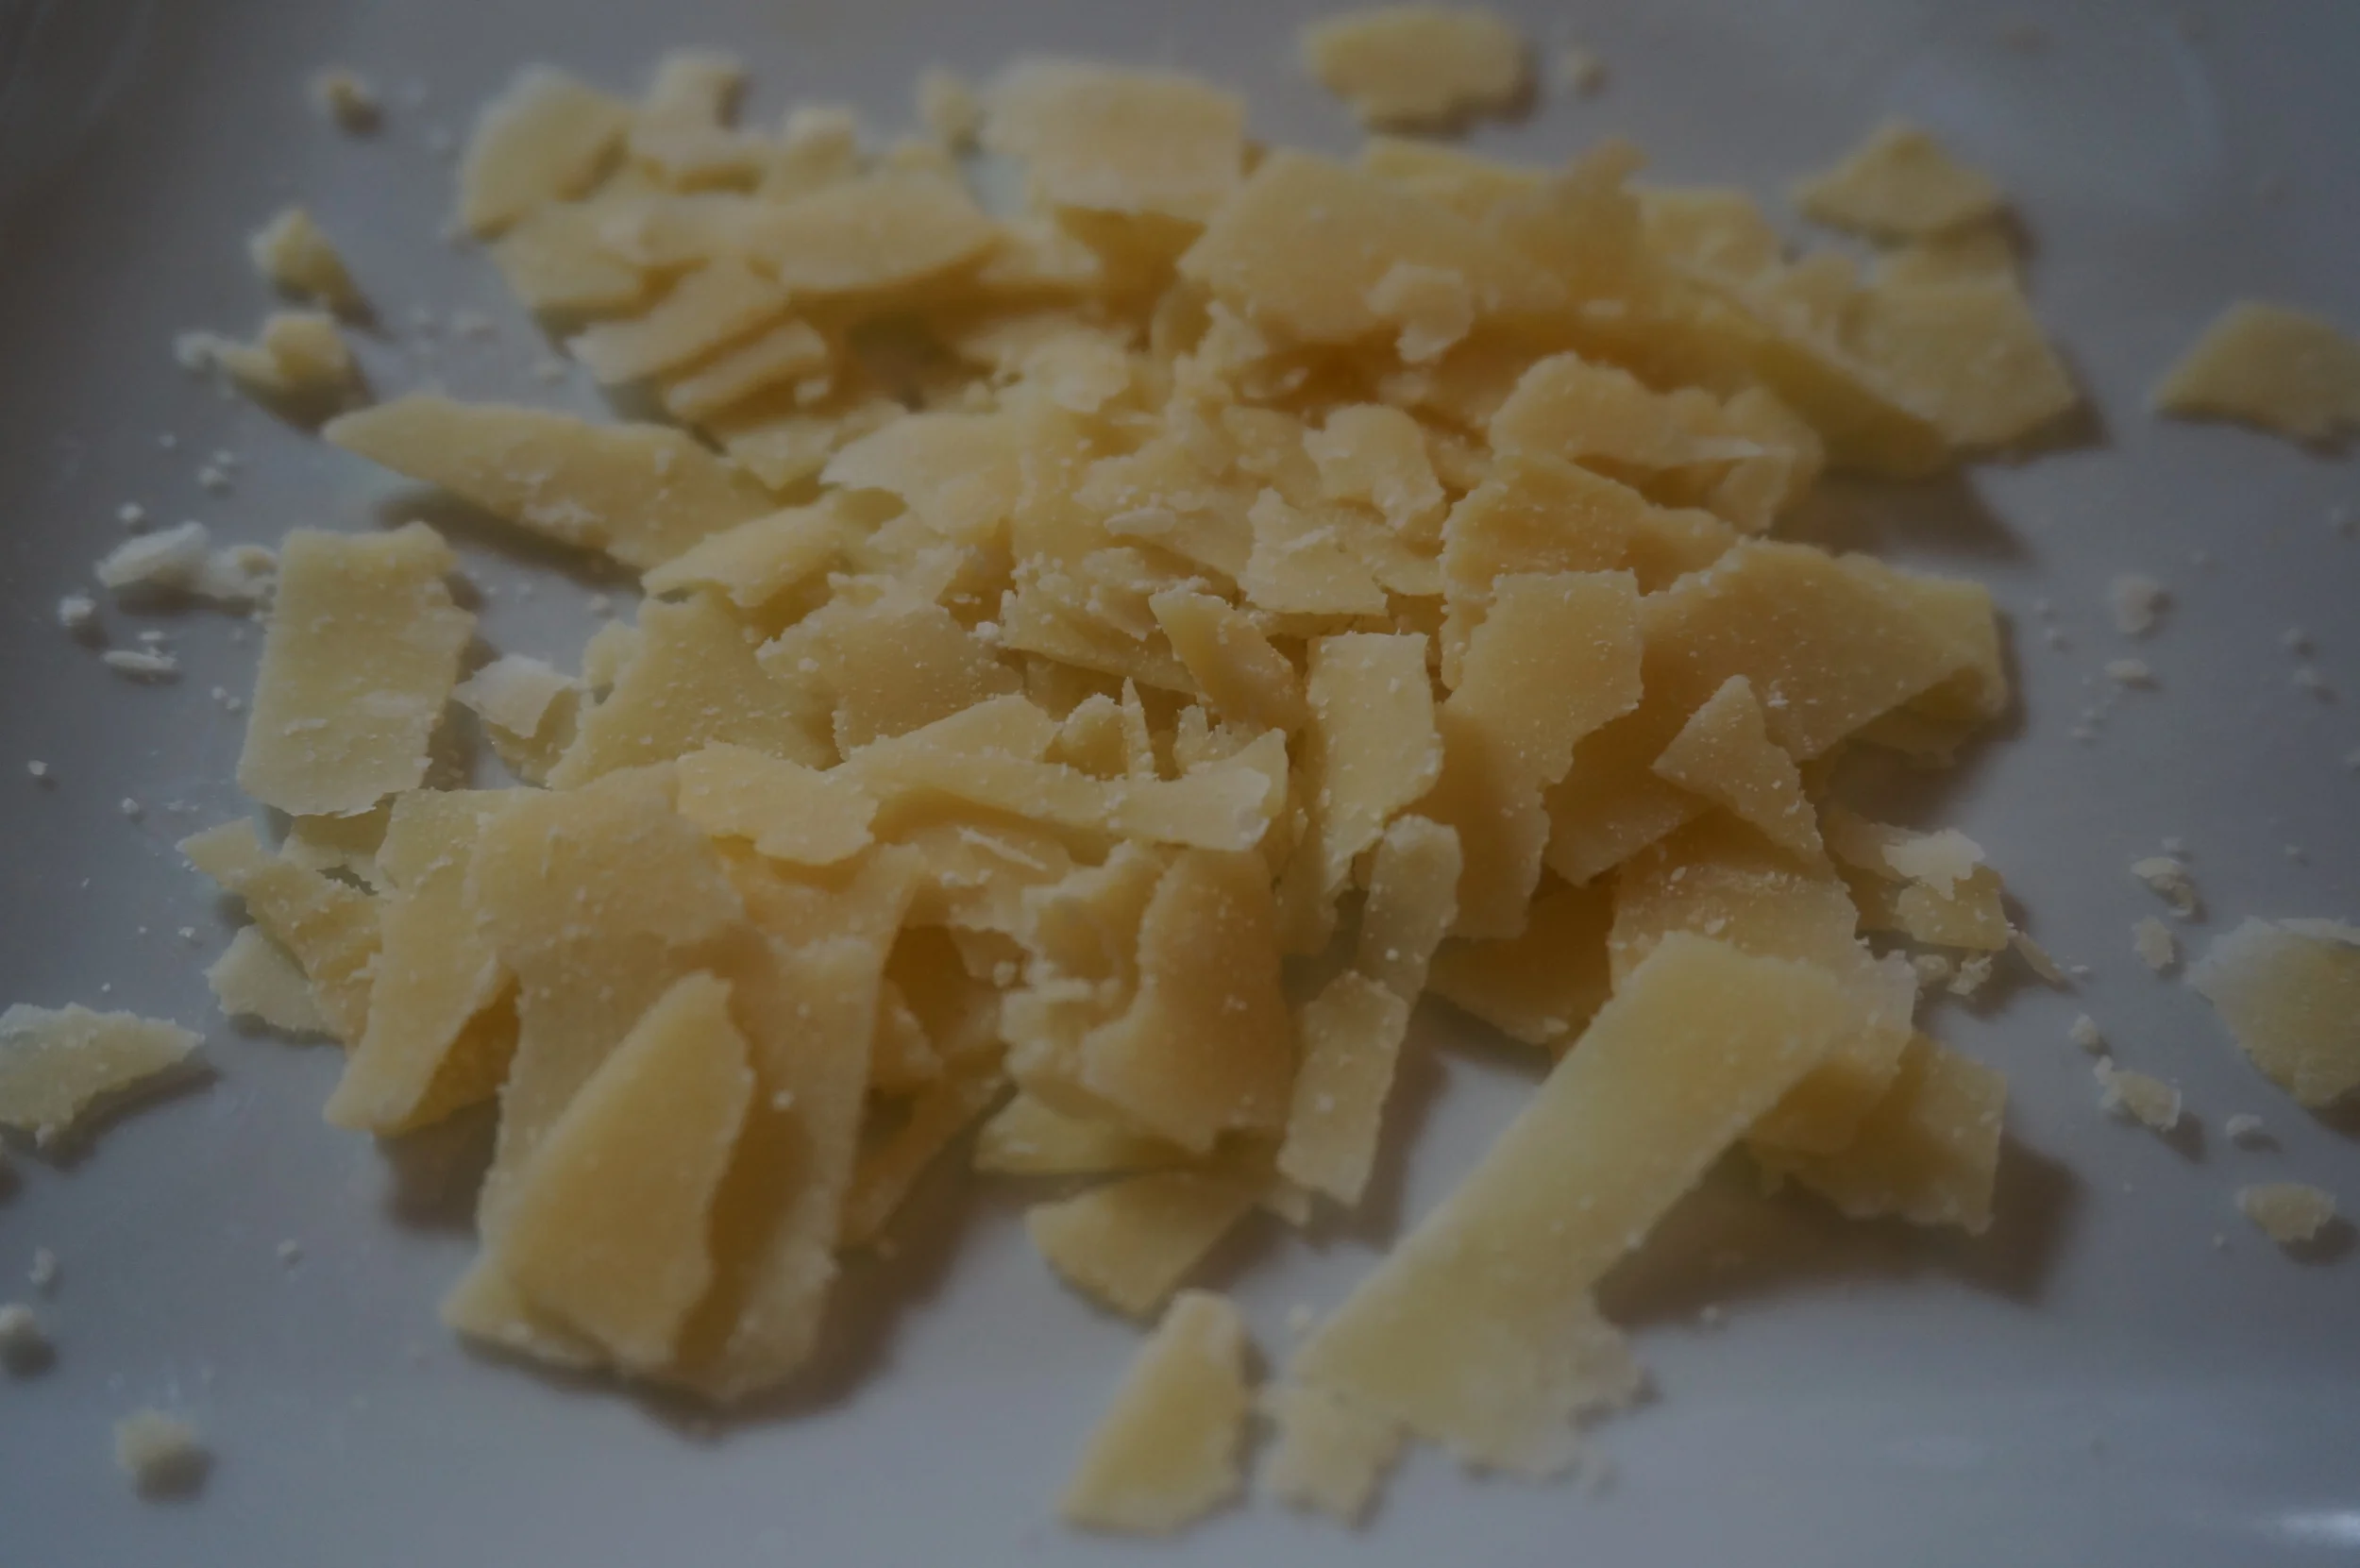
Crumble up the parmesan strips you have created with the peeler into little chards. Of course you could simply grate the parmesan, but the parmesan shavings will be so small they will not be as impressive as the larger irregular ones!


Sprinkle on salt and pepper, than half of the thyme, and finally the parmesan shavings. Now grab a glass of wine and relax.


ZUCCHINI AND TOMATO GRATIN RECIPE


Serves 4 as a side dish

Prep Time: 15 minutes

Cook Time: 30 Minutes

INGREDIENTS

  • 4 or 5 zucchini (about 1  3/4 pounds)
  • 7 roma tomatoes (about 1  1/4 pounds)
  • 1 tablespoon olive oil
  • 2 cloves garlic, minced
  • handful of fresh thyme ( or use 2 teaspoons dried thyme)
  • 1/3 cup parmesan shavings
  • salt and pepper

PREPARATION

  1. Preheat oven to 375.
  2. Pull out a ovenproof rectangular dish (I use a 8" x 11 1/2", or 8 1/2" x 13").
  3. Slice the zucchini on a diagonal about 1/4" thick.
  4. Slice the tomatoes a little thicker than the zucchini since they will cook faster.
  5. Combine the olive oil and minced garlic
  6. Layer the zucchini and tomatoes. Begin with the zucchini. Since you cut the zucchini on a diagonal, the zucchini will have one side on each end that shows more of the green peeling. Make sure you have the green ends facing up . End with a row of tomatoes.
  7. With a pastry brush or a spoon drizzle the garlic and olive oil mixture on all the exposed vegetables.
  8. Sprinkle with salt and a generous amount of pepper.
  9. Remove the leaves of the thyme from the stems. Sprinkle half on the vegetables. Save the remaining thyme to sprinkle on after cooking.
  10. Sprinkle the parmesan on the gratin.
  11. Bake for 30 minutes, or until zucchini is tender with a fork.
  12. Remove from the oven and sprinkle on remaining thyme.

PRINT RECIPE


In Vegetarian, Side Dish

CHILI CON QUESO

December 4, 2015 Julie Sanchez

Chili con queso...it is a staple here in Texas.  I developed this recipe 30 years ago, inspired by a beer cheese soup I had in Clearwater Florida. The combination of the beer and cheese and the silky, creamy texture was amazing. The basis of this queso is a roux, which keeps it creamy, and the beer gives the queso a rich depth of flavor.  I never liked the quick method of making the quick, easy queso...microwaving processed cheese and stirring in rotel, since the cheese gets hard quickly and does not stay creamy.  I apologize now, there is absolutely nothing healthy or low fat about this recipe. This is part of my 80/20 rule...we can not be good 100% of the time.


Velveeta cheese was my go to yellow processed cheese for years until HEB came out with their Queso Blanco (white cheese) processed cheese. You do not need both processed cheeses, you only need one. If you can find the HEB brand go for it. It makes a white queso that's a little less salty. If you can not find it, or prefer a more traditional yellow queso than use the Velveeta. I also like to add a monterey jack cheese to the mixture...so you can say there is "some" real cheese in your queso.


I like to add fresh jalapeno to the mixture to give it some kick. If you live in Texas, you do not need to remove the seeds and membrane (that is the hottest part of the pepper), you can take the heat. If you live outside Texas you probably will need to remove the seeds. Cut the jalapeno in half, then strips, then dice finely. Try to wear gloves, if you wear contacts be careful, as the heat will stay on your hands even after you wash your hands. 


To cut the jalapeno into the finest dice, put one hand on the top of your knife, keeping the knife edge on the cutting board while using your right hand to raise and lower the handle. This gives you control of the knife and achieves the smallest dice.


If you are using the HEB queso blanco, cut the 32oz block in half, you only need 16 ounces. Of course if you are having a large party, double the recipe and use the whole block.


Do all your prep work before you begin to cook the queso. The whole cooking process is fast, so have everything ready to go before you start cooking. Cut your processed cheese into cubes, grate your monterrey jack cheese, dice jalapenos, and combine your liquid ingredients (half & half and beer)


Once you have all your prep work done, melt your butter in medium saucepan on medium heat. Once it melts, stir in the flour till smooth and let simmer 1 minute. You need to actually cook the flour. You can see above how it looks during that one minute. 


After cooking the flour and butter mixture one minute, pour in the liquid ingredients, and stir to combine. Keep stirring occasionally for about three minutes till it begins to thicken. Do not walk away from the stove at this point. This all happens quickly. Once this step is complete you have officially made a roux. (A roux is used to thicken sauces and soups).


Once the mixture has become thicker, you can test it by seeing if it coats your spoon, like photo above. The longer you cook it, the thicker it will become. It really takes one time to make it to figure out the consistency you like. If it is too thick, once you add the cheese, to your taste, then you probably let it cook too long at this point. It is not a big deal, since you can always add milk at the end if you want a thinner consistency.


Once the mixture coats the spoon, turn the heat down to low and add your cheeses and jalapenos. Stir occasionally till melted and creamy. Now all you need are some chips!


We love to drizzle queso on our scrambled eggs, on breakfast tacos, and on poached eggs with english muffins (in place of hollandaise).


CHILI CON QUESO RECIPE


Serves 8-10 people as an appetizer

Prep Time: 15 minutes

Cook Time: 10 minutes

INGREDIENTS

  • 16 ounces processed cheese, cubed
  • 4 ounces monterey jack cheese, grated
  • 1 jalapeno, finely diced, remove seeds for less heat
  • 1  1/2 cups half & half (can use milk, but will not be as creamy)
  • 1/2 cup beer
  • 4 tablespoons butter
  • 3 tablespoons flour

PREPARATION

  1. Finely dice your jalapeno and set aside.
  2. Grate your monterey jack cheese, and cube your processed cheese.
  3. Combine your beer and half & half.
  4. Start drinking the remaining beer, hate to waste a beer.
  5. Melt the butter in a medium saucepan on medium heat.
  6. Add the flour, stir to combine and let simmer for one minute.
  7. Pour in the liquid mixture, stir to combine, keep stirring till slightly thickened and coats your spoon...about 3 minutes. Do not walk away from the stove at this point. It all happens so fast.
  8. Once thickened, reduce you heat and add your 2 cheeses and jalapenos. Occasionally stir till cheese is melted.

PRINT RECIPE


In Appetizer, Mexican

QUINOA SALAD

November 25, 2015 Julie Sanchez

My quinoa salad has been a work in progress. I have created so many different quinoa recipes with so many different ingredients, but this one is the most colorful and crunchy!!! My sons both love it...it has become a requested staple when they come home from California to visit.


Quinoa is a super food! It is one of the few plant based sources of complete protein...it contains all nine essential amino acids. One cup of quinoa contains 8 grams of protein, 5 grams of fiber, 30% DV magnesium, 15% DV iron, and 19% DV omega 3 fatty acids. It cooks quickly, tastes nutty and yummy...what more could you ask for???


I like to buy "rainbow quinoa" which is a mixture of all 3 varieties of quinoa... white, red, and black. You can also use just one color, if you prefer. I just like all the different colors. It really all tastes the same. I also buy sweetened dried cranberries. Also note the apple cider vinegar is Bragg's brand, my favorite. I added the hemp hearts for their health benefits as well as crunch. The hemp seed has Omega 6 and Omega 3 essential fatty acids that have heart health and anti inflammatory benefits. We put hemp hearts in our smoothies every morning, so if you buy them for this recipe try throwing a tablespoon in your smoothie.


Quinoa cooks quickly. Like rice you add twice as much water as quinoa. In this recipe its 1 1/2 cups quinoa to 3 cups water. Only takes 20 minutes to cook. Notice the little halos around each grain, this is how it looks after it has cooked.


It is important to toast your almonds and pine nuts in this recipe. It brings out the flavor and the color looks more appetizing. I used to toast nuts in the oven, but I would often burn them.  So now I dry roast them in a saute pan on medium heat. Let them heat up in the pan about 5 minutes, once you smell them start to stir them every once in a while for another 5 minutes until they are golden like above. I use toasted almonds and pine nuts so often in recipes and salads that when I buy them I toast the whole bag and keep in the freezer. They taste great on a salad on a week night when you do not not to fool with toasting them!


The secret to this recipe is cutting all the vegetables small so you when you take a bite you get a little bit of everything. To prepare the carrots, peel first, then cut longways down the middle. Lay the flat side down and cut thin strips. Then cut the strips into small carrot dices.


For green onions, first cut a little off each end, then peel one layer off the lower white part.  The easiest way is to just peel off one outer layer of the green branch and the outer layer of the white will come off with it. 


I know it seems strange to chop cranberries, but as I mentioned before taking a bite of the salad and getting a little taste of everything is the goal here. So just chop the cranberries a little bit...for a since of scale you can see the 2 cranberries on the left that have not been chopped.


To chiffonade the basil, stack the leaves on top of each other. Then roll them up like a cigar and then thinly slice. You will have created basil chiffonade. Now you are cooking like a pro!!


Once the quinoa has cooled you can add all the other ingredients. This salad actually tastes better the next day...all the flavors combine overnight. 


QUINOA SALAD RECIPE


Serves 8 as a side dish (11 cups)

Prep Time: 25 minutes

Cook Time: 20 minutes

INGREDIENTS

  • 1 1/2 cups quinoa
  • 3 cups water
  • 1/4 cup olive oil
  • 1/3 cup apple cider vinegar
  • 4 cloves garlic minced
  • 1 teaspoon crushed red pepper flakes (if you like things spicy)
  • 1 cup carrots, finely diced
  • 1/2 cup celery, finely diced
  • 1 cup green onions, chopped
  • 3/4 cup dried sweetened cranberries, roughly chopped
  • 10 basil leaves , slice into strands (can be more or less than 10)
  • 1 cup sliced almonds, toasted
  • 1/2 cup pine nuts, toasted
  • 1/4 cup hemp hearts 
  • 1 cup crumbled feta (or 6 oz package)

PREPARATION

  1. Bring 3 cups of water to a boil in medium saucepan. Add quinoa, stir, and cover. Reduce to medium/medium low. You want it to simmer.
  2. Simmer 20 minutes, turn off heat and let rest for 5 minutes.
  3. While quinoa is cooking mix olive oil, cider vinegar (make sure and shake the apple cider bottle...all the good stuff is at the bottom), garlic, and red pepper flakes.
  4. Transfer quinoa to large bowl and stir in liquid mixture while quinoa is warm. It will absorb the flavors more when it is warm!
  5. While quinoa is cooling ( you can throw it in the fridge if you want to speed things up) chop your veggies.
  6. Toast your almonds and pine nuts on the stove as mentioned above.
  7. Once quinoa is no longer warm add all remaining ingredients and stir to combine. If you add the veggies and cheese to the warm quinoa it will make the veggies soggy and melt the cheese!

PRINT RECIPE


SERVING SUGGESTION

This salad is great as a side dish, or served on a bed of spinach or arugula, topped with poached salmon, chicken or avocado as a healthy lunch or dinner.


Note: You can halve the recipe, but if you do you will be sad since you will eat it all...and you will wish you made more...just sayin!!


​

In Salad, Vegetarian

GRANOLA

November 25, 2015 Julie Sanchez

Homemade Granola...it is delicious!!

I know there are thousands of granolas you can buy from the grocery store. But I promise you that most of them have oil and corn syrup and things that are not good for you. My granola has no oil, it's not too sweet, and has stood the test of time. When my two boys were young, I would make granola and put in a large container on the kitchen counter with a scoop inside. They would run in between soccer and football, grab a scoop and I knew they were eating a healthy snack. 


When you buy the oats make sure you do not buy the quick cook or instant oats. The slivered almonds work better than sliced almonds and you do not have to chop them. Additionally the almonds and pecans come in 8 oz packages which is close enough to the amount needed (about 1  1/2 cups). The pecans are roughly chopped from Whole Foods (not finely chopped) which again is perfect, so no additional chopping is needed.


Measure out your oats and put in large bowl, combine your nuts in a medium bowl, and coconut in small bowl. Preheat oven, and combine your water and brown sugar in a large microwave bowl or pyrex dish. Make sure your bowl or pryex dish is large enough since the water/sugar recipe will bubble up while in the microwave. 


After you microwave your water and sugar mixture you will add your vanilla and salt. Then take 1 1/4 cups of the liquid mixture and stir to coat all the oats. Spread the oats on 2 cookie sheets. Make sure you push the oats to the corners of the pan. If the corners are not packed they will brown too quickly and unevenly. Use the remaining liquid mixture to splash a little on the coconut and the rest on the nuts. 


After cooking the oats for 30 minutes you will remove the cookie sheets from the oven and add the nuts. Stir the oats to mix with the nuts and push the corners full once more. Return to the oven to 10 more minutes and then remove pans again the stir in the coconut. Return to the oven for the final 10 minutes. I truly think this is the secret to this granola. Most granola recipes add the nuts in the beginning and the nuts just cook too long and become bitter. Also cooking at a low temperature means there is no constant stirring like most recipes.  You only stir when you add the nuts and coconut.


Of course you can just put the granola in a bowl and eat it with a spoon, but it is equally good layered with nonfat Greek yogurt swirled with honey, and berries. Happiness in a glass. Perfection!!


granola RECIPE


Serves: 24 half cup servings

Prep Time: 10 minutes

Cook Time: 50 minutes

ingredients

  • 8 cups rolled oats (not instant or quick cook)
  • 1/2 cup water
  • 1  1/2 cups dark or light brown sugar
  • 4 teaspoons vanilla
  • 1  1/2 teaspoons salt
  • 1 1/2 cup slivered almonds
  • 1 1/2 cup pecans, coarsely chopped
  • 1 cup coconut chips (not sweetened)

PREPARATION

  1. Preheat oven to 275° F.
  2. Measure out oats and put in large bowl.
  3. Measure out nuts and combine in medium bowl.
  4. Put coconut in small bowl.
  5. In large bowl or 3 cup pyrex dish combine water, brown sugar, and salt. Microwave for 1 minute. Remove from microwave and stir, if sugar is dissolved then proceed to next step. If not then microwave for 1 more minute. Be careful the mixture will bubble up...this is why you need a larger bowl or glass to microwave it in. Add the vanilla and stir.
  6. Pour 1 1/4 cups of the liquid on the oats and stir to coat all the oats. Put on 2 cookie sheets and place in oven for 30 minutes. Make sure to push the granola to the corners of the pan so the corners will not brown first.
  7. Pour most of the remaining liquid on the nuts and a splash on the coconut. stir to combine and set aside.
  8. After 30 minutes pull pans out of oven and stir in nuts in both pans. Toss the mixture so it will brown evenly. Put back in oven and cook another 10 minutes.
  9. Remove from oven and add coconut. Toss the mixture once more and place in oven for a final 10 minutes.
  10. Once cooled, store in an airtight container.
  11. This recipe can be halved.

PRINT RECIPE


​


In Snack, Vegetarian

ASPARAGUS,SPINACH,& LEEK SOUP

October 7, 2015 Julie Sanchez
2014-05-07 18.05.22-1.jpg

Soup is not just for Winter. We love soup all year long. It's always good leftover, and it's so nice to come home and simply heat up dinner in one pot. I have made asparagus and leek soup for years and then decided one day that the color was not very fresh or appealing. It was similar to the color of our green carpet back in the 70's.  So I decided to add spinach to the ingredients for two reasons. One, it brightens the color of the soup and makes its more appealing and two, spinach is just so good for us. It is high in potassium, iron, calcium, fiber, and magnesium. If you are following a Paleo diet or dairy free diet simply leave off the half and half and sour cream garnish. Its yummy both ways!

Asparagus, Spinach, Leeks, and Garlic are the fresh ingredients you need.


2014-04-01 17.43.17.jpg

Leeks do not need to be scary. Cut the root end off and save the tender middle section.


2014-04-01 17.44.17.jpg

Peel off outer layer of skin, then cut in half lengthwise. Run under water opening up the layers since dirt loves to hide in the layers, Then chop into one inch pieces.


2014-04-01 17.53.56.jpg

In large pot on high heat saute leeks with olive oil for 5 minutes, stirring occasionally till leeks are translucent with a little color,


Remove the bottom part of the asparagus and discard before chopping asparagus. It's considered the tough part and it is best to remove it.


Cut the asparagus in 2" pieces


2014-04-01 18.32.51.jpg

After simmering leeks, asparagus, garlic in vegetable broth for 25 minutes, you add the fresh spinach. Turn off heat, stir, cover, and let sit for 2-3 minutes.


2014-05-07 18.05.12.jpg

After you puree mixture in blender, garnish the soup with diluted sour cream and your saved asparagus tips. The swirl may seem hard to do but it's not. Hold spoon of sour cream in your hand and swirl it on the soup like you shake a dice. Moving your hand right and left.  You can practice on the paper towel. And each time you swirl it, it will be different and original. Your very own edible work of art. Enjoy!


ASPARAGUS,SPINACH & LEEK SOUP RECIPE


Serves 4 as a main course

Prep Time: 15 minutes

Cook Time: 30 minutes

INGREDIENTS

  • 1 tablespoon olive oil
  • 4 leeks, rinsed and chopped
  • 4 cups vegetable broth (One 32 oz box)
  • 4 cloves garlic, minced
  • 2 bunches asparagus (1 1/2 - 2 pounds), chopped into 2" pieces
  • 5 ounces fresh spinach  (One "Organic Girl" box)
  • 2 teaspoons salt
  • 1/2 cup half and half
  • 1/4 cup sour cream, diluted with water
  • Optional: dash of cayenne pepper

PREPARATION

  1. In a large pot saute leeks in olive oil on high heat for 5 minutes, stirring occasionally, till lightly golden.
  2. Add broth, garlic, and asparagus. Bring to a boil.
  3. Turn heat down to medium/ medium low  to simmer and cover with lid.
  4. After 5 minutes, pull of asparagus tips (2 per bowl) and save for garnish.
  5. Simmer for 25 minutes.
  6. Add spinach, stir, turn off heat, put lid on the let sit for 2-3 minutes.
  7. Puree in blender till smooth. Be careful with hot liquids in a blender, either let it cool down a little bit, or hold a towel on the lid.  I have had hot liquid explosions and its not fun! It is also better to puree in small batches. Save a little of the cooking liquid, so you can control the consistency of your soup. You can always add more...but you cannot thicken it later.
  8. Add half and half  (you can leave off the half and half if you are doing paleo, or dairy free).
  9. Salt and pepper to taste.
  10. Put sour cream in bowl , dilute with water and stir till loose enough to drizzle on soup as garnish.
  11. Place soup in bowl, drizzle with sour cream.
  12. Place 2 asparagus tips on sour cream drizzle.

PRINT RECIPE


SERVING SUGGESTION

This soup would be delicious served with a crunchy, garlicky Caesar salad.


In Soup, Main Course, Vegetarian
← Newer Posts Older Posts →