• Home
  • Categories
  • Contact
  • Subscribe
  • About
Menu

Julie's Taste

Street Address
City, State, Zip
Phone Number

Your Custom Text Here

Julie's Taste

  • Home
  • Categories
  • Contact
  • Subscribe
  • About

CITRUS GLAZED SALMON

November 4, 2016 Julie Sanchez

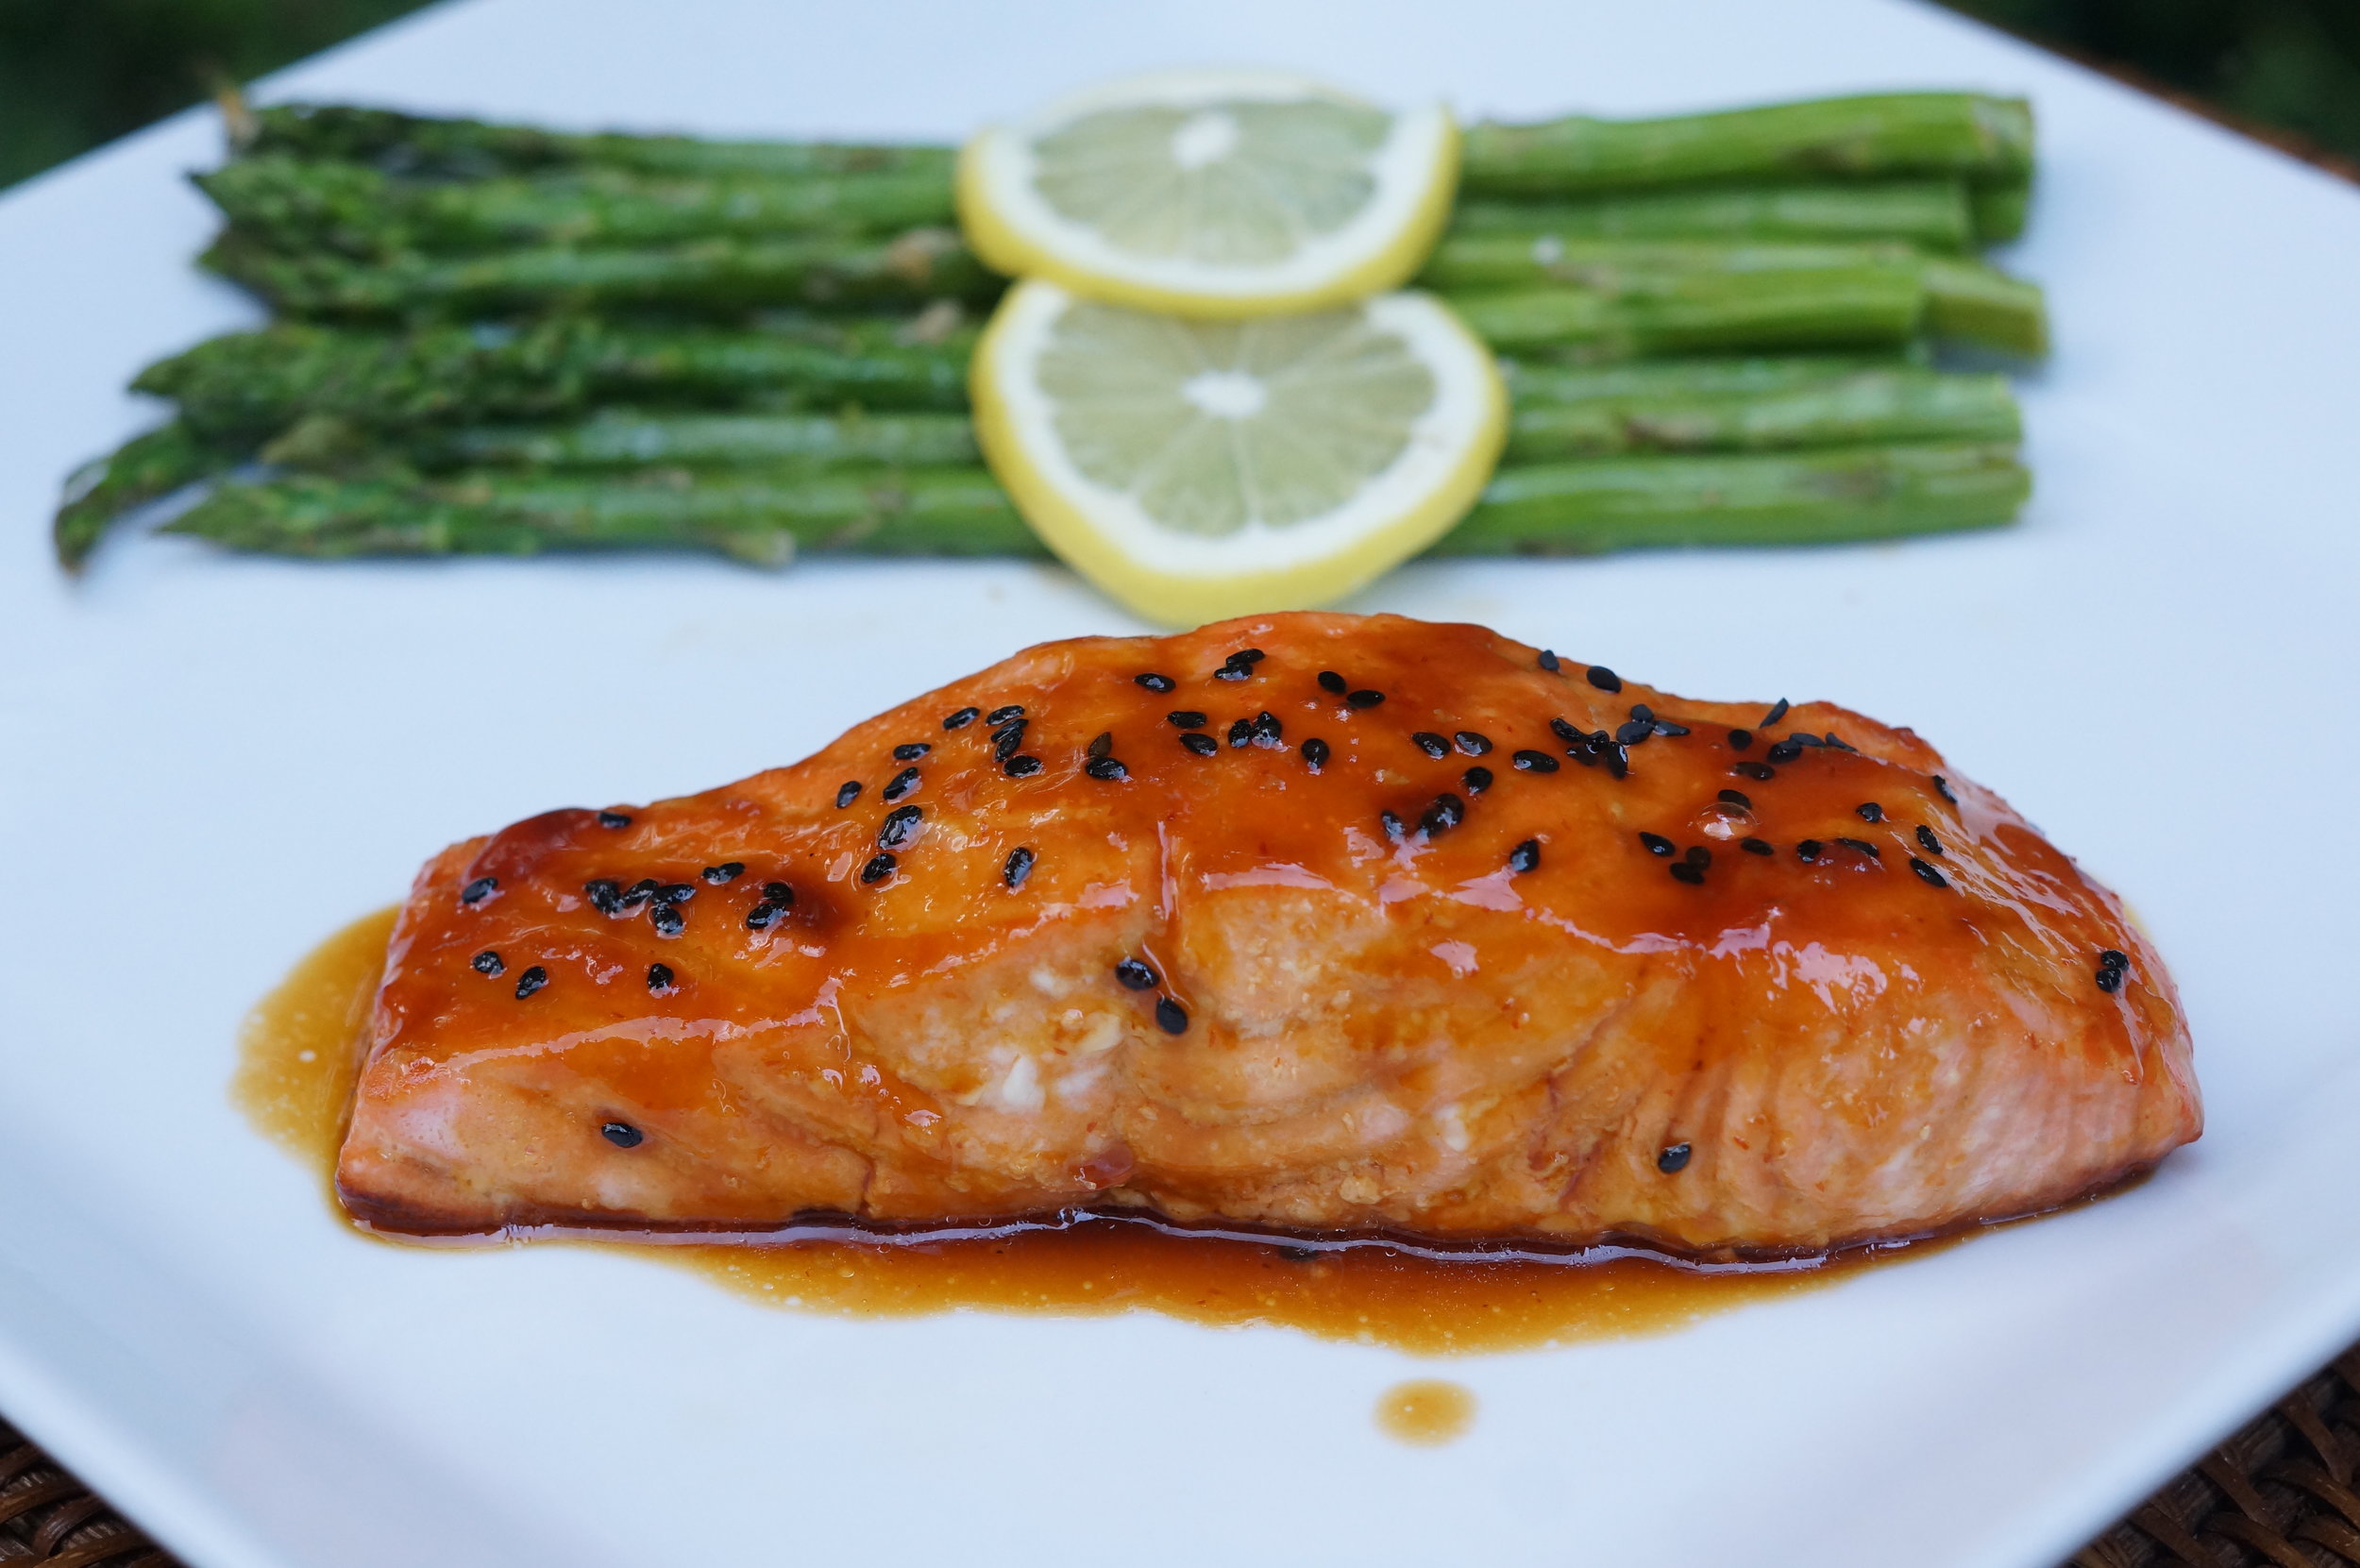
We try to eat salmon once a week, so I am always trying to create new ways to prepare it. My citrus glaze takes 5 minutes to prepare, and it really gives the salmon a awesome tangy and spicy kick. On weekdays I love easy healthy meals...this recipe totally fits into this category. During the week I bake my salmon for the easy button, but you could grill your salmon if you prefer; the citrus glaze works equally on either cooking method. I love this citrus glazed salmon with asparagus drizzled with a little olive oil, garlic and sea salt and roasted in the oven while the salmon is baking. (The asparagus will take a little less time to bake than the salmon) A perfect meal... easy, healthy and delicious!


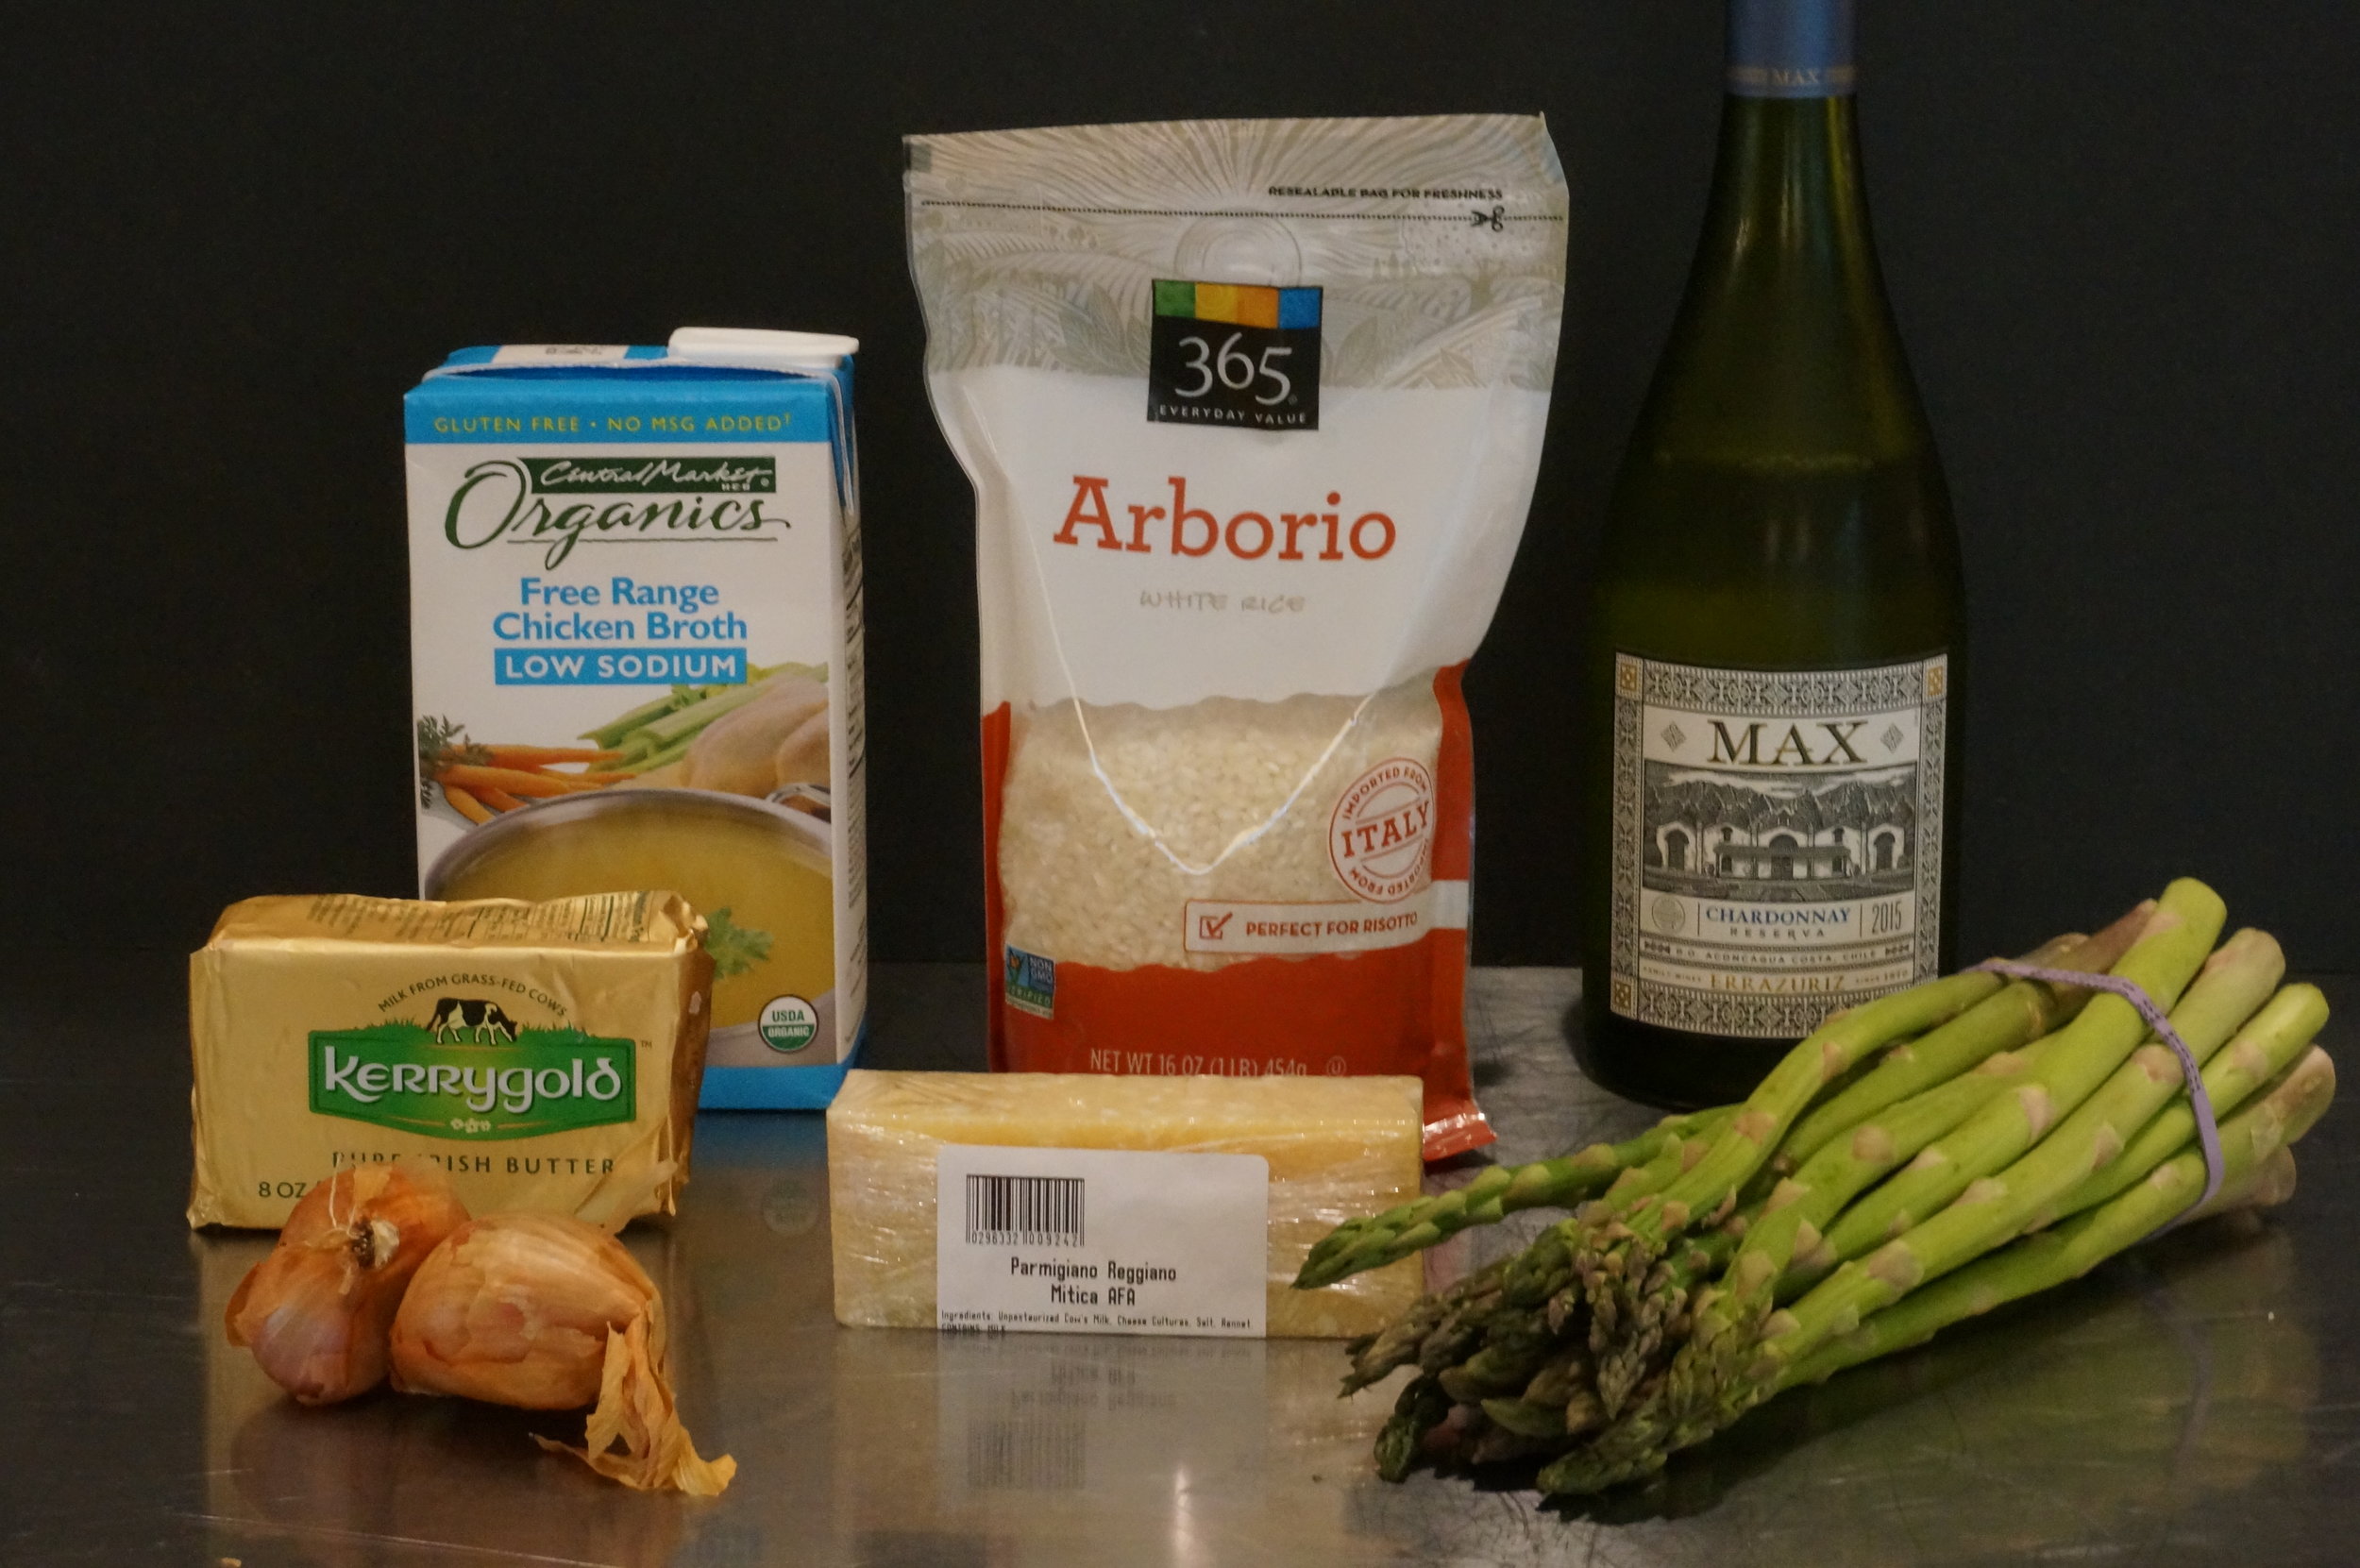
I buy freshly squeezed orange juice, organic low sodium soy sauce, and local Texas honey. You need two 6-8 ounce salmon filets. I have the fish monger remove the skin. Yes the skin would come off easily after you cook it, but removing it can cause you to break your filet in half...trust me on this!


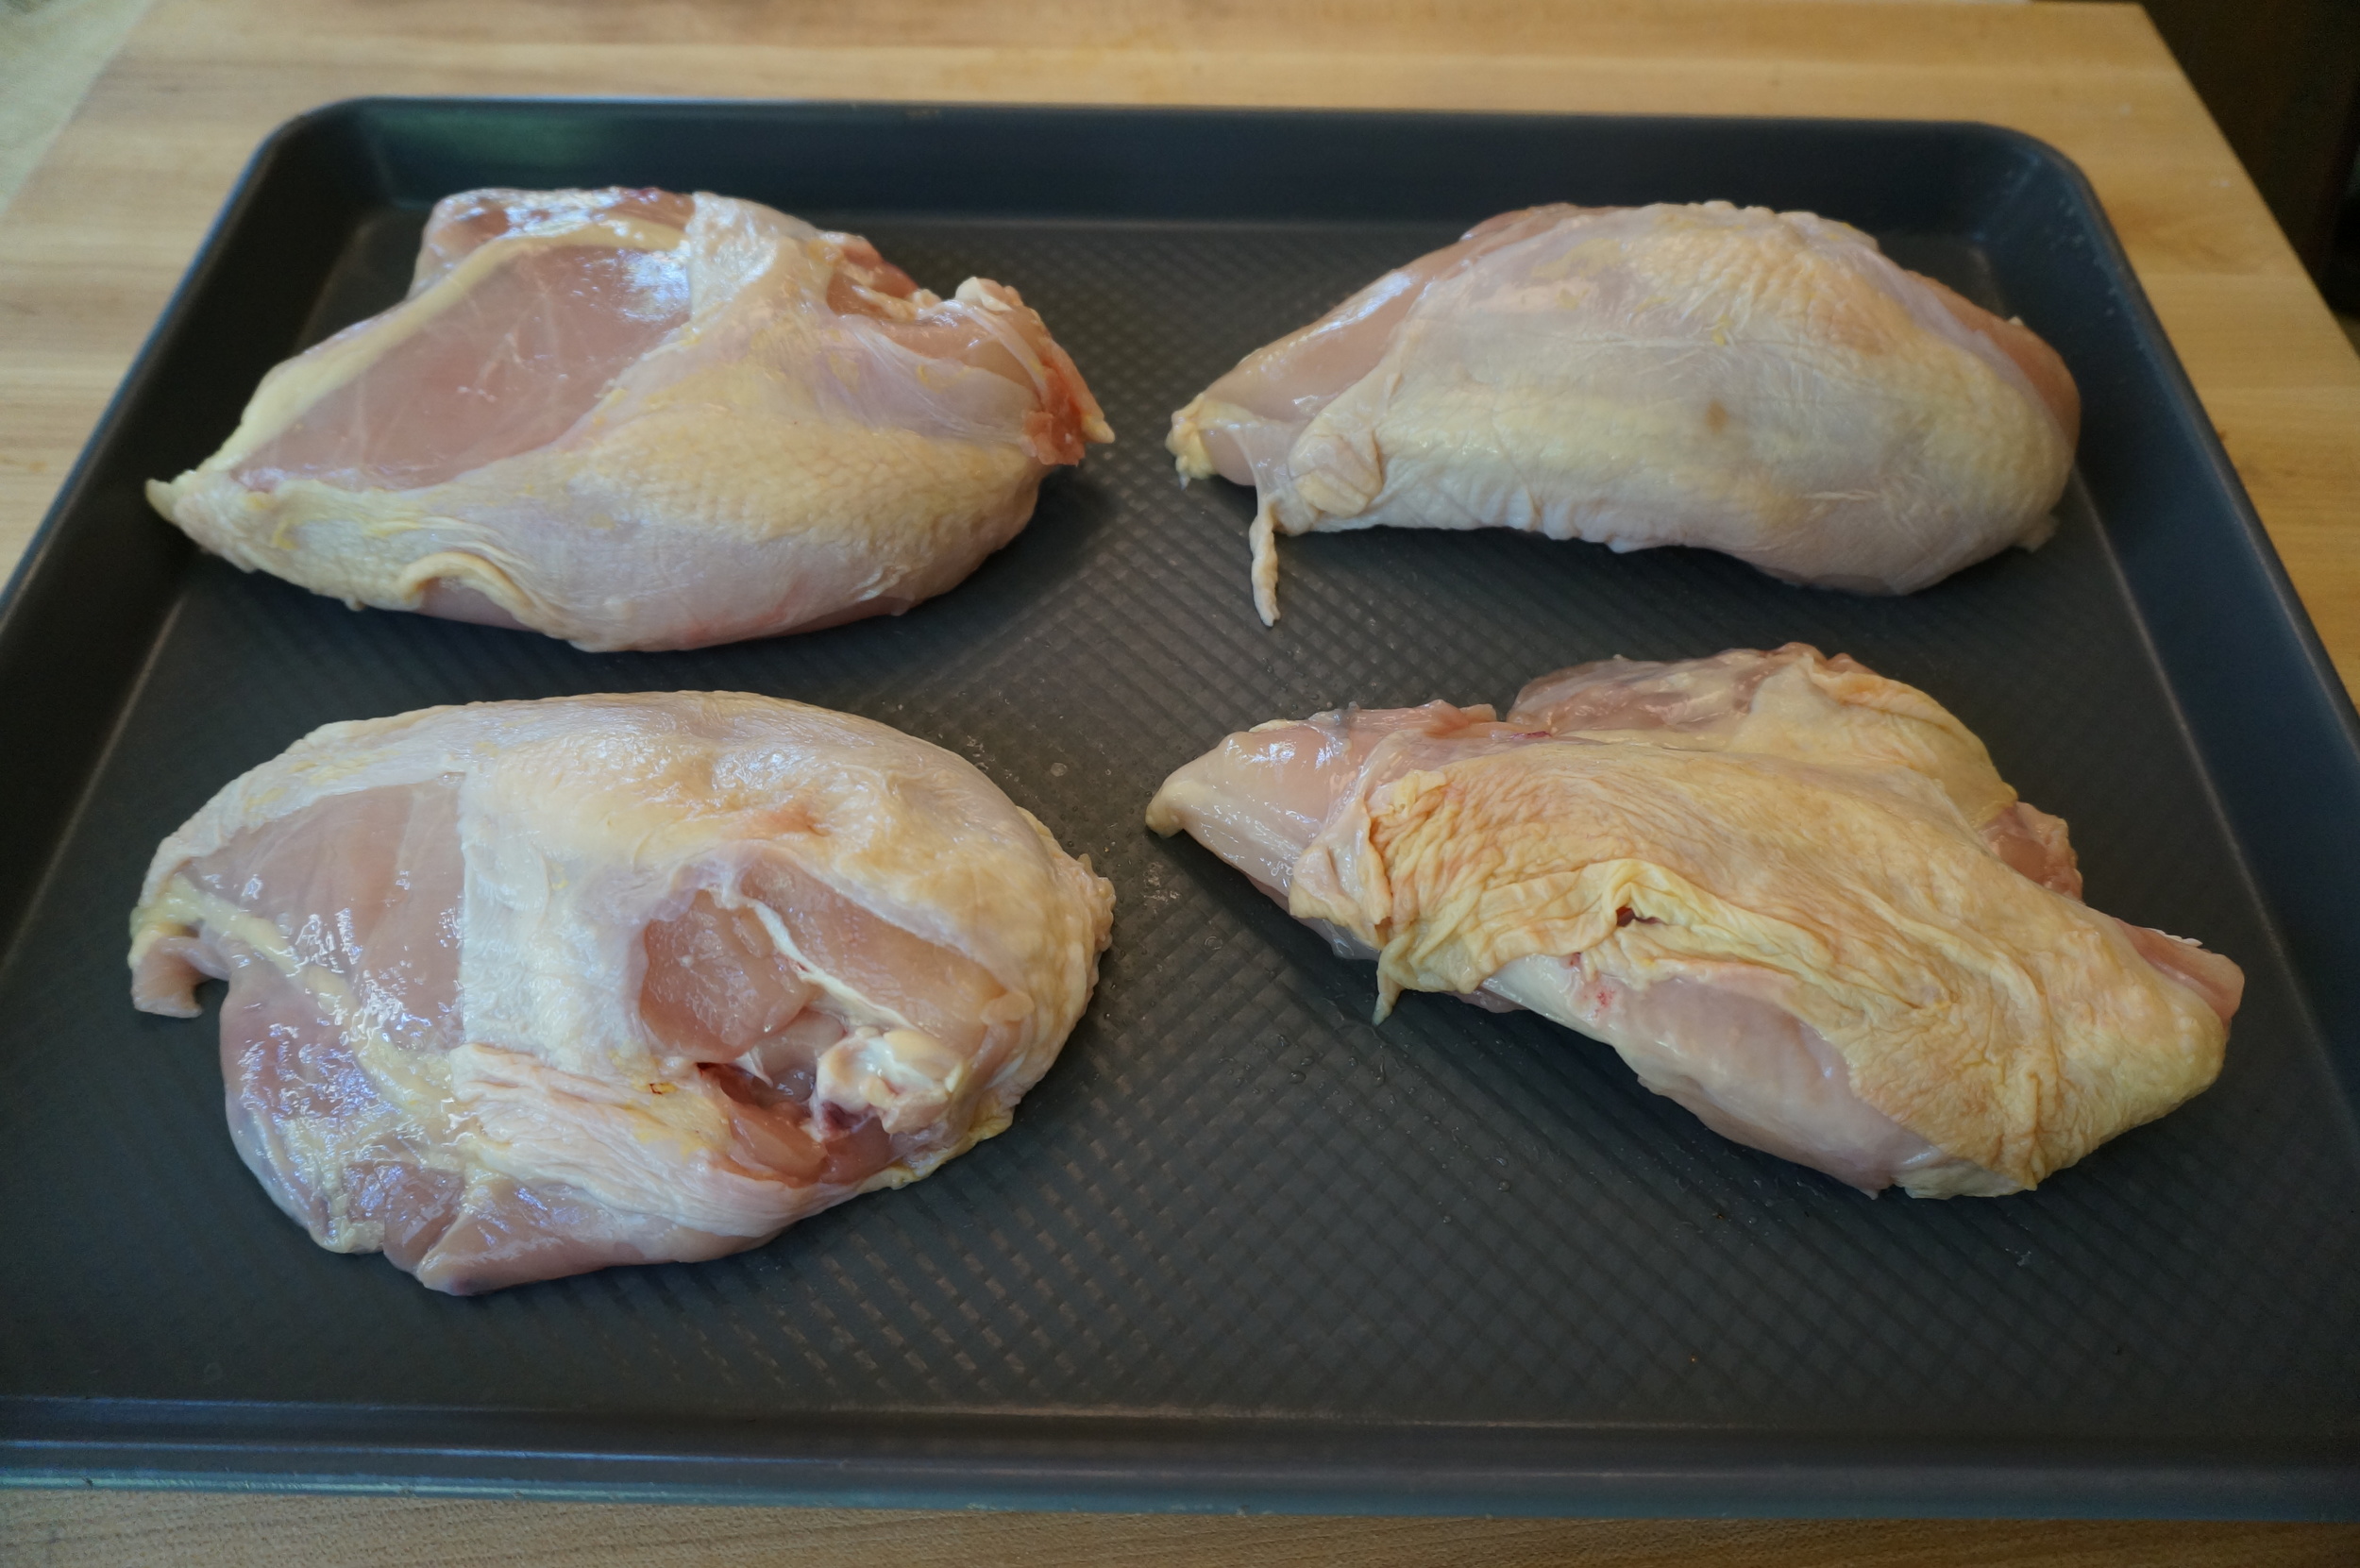
I like to use parchment paper or foil so my clean up is super easy.


Once your salmon is cooking, begin your sauce. Measure 1/3 cup orange juice into a small saucepan. Then squeeze your lemon into a small bowl so you can make sure you have about 2 tablespoons. Add the lemon juice, the soy sauce, the honey and a squirt of Sriracha to the orange juice mixture and put on medium heat. Once it begins to simmer set timer for 5 minutes.


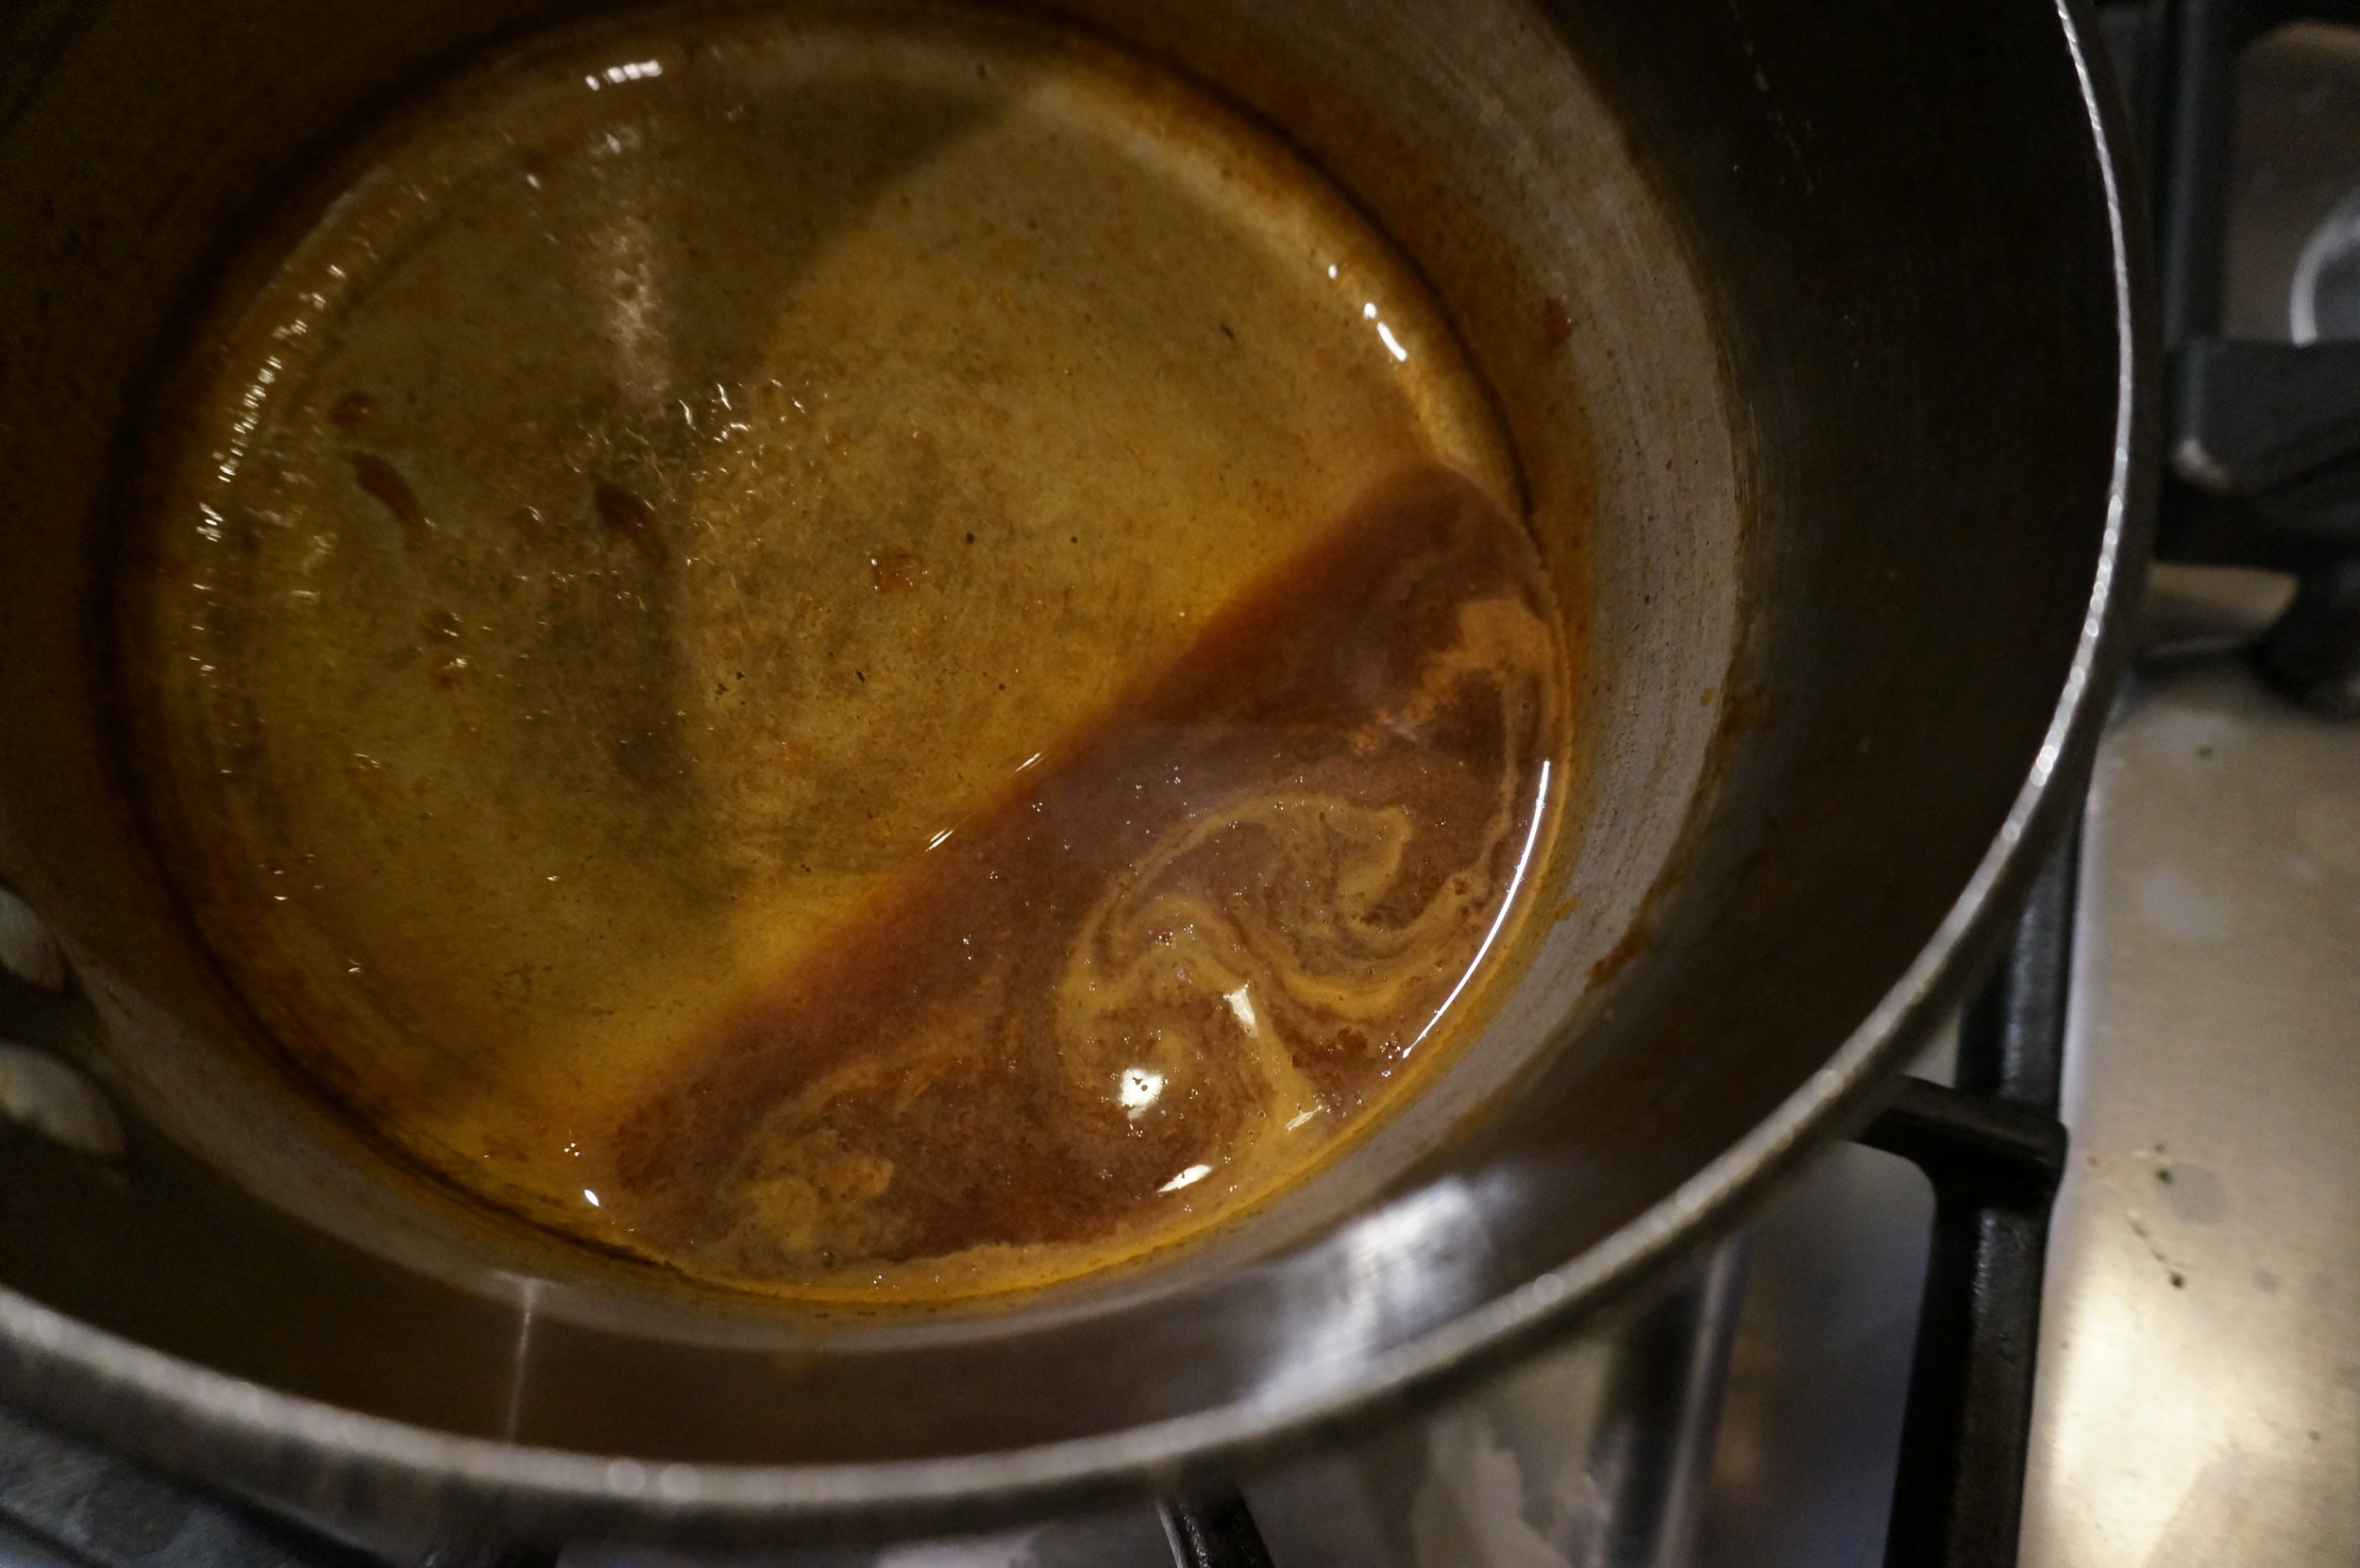
This is the glaze simmering. It looks so cool!  The mixture should reduce by half.


Once you remove the glaze from the heat, pour into a small bowl to prevent further reduction.


CITRUS GLAZED SALMON RECIPE


Serves: 2 people
Prep Time: 10 minutes
Cooking Time: 12-15 minutes

INGREDIENTS

  • Two 6-8 ounce salmon filet (I have my fish monger remove skin)

  • 1/3 cup orange juice

  • 2 tablespoons lemon juice (1 lemon)

  • 2 tablespoons soy sauce (I prefer low sodium)

  • 1 tablespoon honey

  • Squirt of Sriracha hot chili sauce

PREPARATION

  1. Preheat oven to 425° F.

  2. Place foil or parchment paper (for easy clean up) on your cooking tray and place salmon. (No need to salt fish, since soy sauce has plenty of sodium.)

  3. Once oven has preheated place salmon in oven and cook for 12-15 minutes depending on your preference for the doneness of the salmon. 12 minutes is a little pink inside and 15 is cooked through.

  4. While salmon is baking prepare your glaze. Pull out a small sauce pan and measure in your orange juice.

  5. Squeeze your lemon in a separate bowl so you can make sure you have about 2 tablespoons of juice.

  6. Add lemon juice to pan, along with soy sauce, honey and Sriracha.

  7. Place sauce pan on burner and turn stove to medium heat. Once it begins to simmer, start your timer for 5 minutes. The liquid should reduce to half the amount in that time.

  8. Once 5 minutes is up, place the glaze is a small bowl to prevent any further reduction.

  9. Once salmon has baked, remove the fish and place on your serving dish or plate. Spoon glaze over fish and sprinkle with the black sesame seeds.


Note: This citrus glaze works equally well with grilled salmon. (You might as well grill your asparagus too.)


PRINT RECIPE


In Seafood, Salmon

ASPARAGUS RISOTTO

October 13, 2016 Julie Sanchez

Risotto is the perfect dish to make for company or a family gathering. Yes it takes time to make, but if you prep everything in advance then when your guests or family are all gathered in the kitchen you can begin your magic. Cooking risotto in the kitchen all alone is no fun, but when you have people over its really fun to have them watch you transform all the ingredients into an amazing and creamy risotto. 


You must use arborio rice for risotto. I do not like to use a lot of butter in cooking, but when I do I buy butter from grass fed cows since I found out that it is higher in Omega-3 fatty acids and vitamin K2 than butter and thus is healthier for you. I also like low sodium broth so I can control the salt to my taste. 


Wash your asparagus, then cut the tough ends off and discard. Cut the tips off and place in a small bowl to save for a garnish. Grab a few stems at a time and cut into small coins.


Cut the ends off the shallot and peel.


Slice the shallot lengthwise thinly. Then finely dice the shallot . 


Grate 1/2 cup of Parmesan cheese. Then use a vegetable peeler to shave the Parmesan for garnish.


Have all your ingredients prepped before your begin cooking. You have the tips, the cheese, the asparagus coins, the shallots, the rice and the wine all ready to go.


Measure the chicken broth into a small pot and turn the heat on medium high. You want it to come to a simmer.


In a medium pan add your shallots and 1 tablespoon butter. Turn the heat on medium and saute for 3 minutes, stirring occasionally.


Once your broth is simmering add your asparagus tips. Reduce your heat to low and cook the tips for 5-6 minutes.


After the shallots have sauteed for 3 minutes add your rice and saute for 2 minutes more, stirring occasionally. This adds a nutty toasted flavor to the rice. 


After the rice has sauteed for 2 minutes add the wine. Stir till the wine has evaporated. Now remove the asparagus tips from the broth, and set aside.  Begin adding the warm broth to the rice 1/2 cup at a time. You want the rice to absorb most of the liquid before adding more. You will continue adding broth and stirring for 20 minutes. You can not walk away from this process. After 20 minutes you will add your asparagus coins and your last 1/2 cup of broth. Cook for 5-8 minutes more, stirring occasionally.


After 25-28 minutes add your Parmesan cheese, remaining 1 tablespoon butter, and salt. Taste for saltiness and adjust to your liking. Turn heat to low till cheese melts for 1-2 minutes. Serve immediately.


aSPARAGUS RISOTTO


Serves: 2-4 people (depending on used as a side dish or main dish)
Prep Time: 15 minutes
Cooking Time: 35 minutes

INGREDIENTS

  • 1 cup arborio rice
  • 3 1/2 cups chicken broth
  • 1/2 cup white wine
  • 1 1/2 cups asparagus stems chopped, usually one bunch of asparagus (roughly 3/4 pounds) (save the tips for garnish)
  • 1/4 cup shallot, diced finely
  • 1/2 cup Parmesan cheese, grated, plus Parmesan shavings for garnish
  • 2 tablespoons butter, divided
  • 1/2 teaspoon salt

pREPARATION

  1. After you have washed your asparagus, cut off the tough ends and discard. Then cut off the tips and place in a small bowl. Grab a few stems at a time and cut into coins about 1/4" thick. Place in another bowl and set aside.
  2. Peel your shallot and cut each end off. Then thinly slice the shallot lengthwise. Now cut across the slices to make a fine dice. You do not want any big chunks of shallot.
  3. Grate your Parmesan cheese. Set aside in a bowl. Then using a vegetable peeler make Parmesan shavings for your garnish.
  4. Measure your chicken broth into a small pan and turn on medium high heat. Once the broth is simmering add your asparagus tips to cook them. Reduce heat to low.
  5. Add your shallots and 1 tablespoon butter to a medium size pan. Turn the heat on medium and sauté the shallots for 3 minutes, stirring occasionally.
  6. Now add your rice to the shallot mixture. You will cook the rice, shallot mixture for 2 minutes. Stirring occasionally. 
  7. Now add your wine to the rice mixture.
  8. Remove the tips from the broth mixture and set aside.
  9. Once the wine has evaporated, begin ladling the chicken broth into your rice mixture 1/2 cup at a time. You want the rice to slowly absorb the liquid before adding more liquid. You will keep stirring and adding broth for 20 minutes.
  10. After 20 minutes add your last 1/2 cup of broth and your asparagus coins to the risotto mixture. Stir to combine.
  11. Cook the risotto for 5-8 more minutes. Then add the Parmesan cheese, the remaining 1 tablespoon butter, and salt. Taste for saltiness. Turn heat to low to melt the Parmesan for 1-2 minutes. 
  12. Garnish with the asparagus tips and Parmesan shavings.
  13. SERVE IMMEDIATELY!!!

Note: This makes the perfect meal served with a simple arugula salad, and equally delicious as a side dish with salmon or chicken. 

Note: Risotto is the perfect company food since everyone is standing in the kitchen drinking and eating appetizers and they can all watch you prepare the delicious risotto right in front of their eyes. How awesome is that!


PRINT RECIPE


In Italian, Side Dish, Vegetarian

FARRO SALAD

August 6, 2016 Julie Sanchez

This refreshing farro salad is my idea of the perfect side dish for summer. Lately I have been making farro salad along with chicken or shrimp salad on the weekends. When we come in from playing golf the last thing we want is a hot meal. The combination of cucumbers, tomatoes, apple cider vinegar, green onions, fresh dill and fresh mozzarella is truly addictive.

Whenever I taste cucumbers with vinegar, I am reminded of my grandmother. She had a farm in Kentucky, and at every dinner she always added a plate of cucumbers marinating in vinegar on her table...along side the salt and pepper. The taste combination brings back happy childhood memories.


Make sure you buy fresh mozzarella; it's more tender and softer than traditional mozzarella. I like Whole Foods' Italian Farro since the package is exactly 1 1/2 cups of dried farro, which is the exact amount you need (I did this on purpose), and it only takes 15 minutes to cook. The package says 10 minutes, but the farro is not tender enough in just 10 minutes; it needs 15 minutes. I have discovered that there are so many different cooking times for farro, so if you do not buy this brand then cook the farro according to the package directions. I also like hothouse cucumbers (also known as a seedless or English cucumber) more than traditional cucumbers because the seeds are smaller and you do not have to peel the hothouse variety; the peeling is thin. 


Farro is a grain from ancient Rome that has a nutty flavor similar to barley or brown rice. Farro contains more fiber than rice or quinoa, it is also high in protein and supplies 10 different vitamins and minerals...it is a super grain.


The proper grain to water ratio is 1 to 3 for farro. The brand I buy only takes 15 minutes to cook. Some brands and recipes call for cooking farro 30 minutes and soaking it overnight. After much research, I have discovered there is a wide range of farros and cooking techniques. Once it is cooked you have to drain the excess water. The photo above is the farro after it has cooked. It seems odd to me to measure the water and then drain it, but when I cooked it like pasta and just threw an unmeasured amount of water the outcome was not successful.


Once the farro has cooked, you must drain the excess water. I drain it into a strainer and place the strainer on top of the pan to slowly drain and cool off a bit.


Once the farro has drained, put the farro in a bowl and add the dressing while it is warm.  As this point you can let the farro cool on the counter (about 30 minutes) or you can speed up the process by placing it in the fridge to cool. 


You will only need half of the hothouse cucumber. Cut the cucumber in half lengthwise, then cut the 2 long halves again to make 4 long strips, then slice into thin triangles. If you buy a regular cucumber you need to peel it first.


You need a bunch of dill. I used this whole package for this recipe. When it is chopped its about 2-3 tablespoons worth.


Pick the dill off the heavy stems. Gather into a mound and chop finely.


Simply slice the tomatoes in half. I buy cherry tomatoes every week, wash them, and put in pretty bowl on my kitchen counter. We use them all week so many things, and munch on them with hummus.


I always like to peel off the outermost layer of green onion. Then wash your onion, cut off both ends and chop finely.


The fresh mozzarella can be cut into slices, then strips, then diced into small cubes.


The colors look so fresh and pretty to me. Summer in a bowl! 


FARRO SALAD RECIPE


Serves: 6 people
Prep Time: 20 minutes
Cooking Time: 15 minutes

INGREDIENTS

  • 1 1/2 cups raw farro
  • 4 1/2 cups water
  • 1 tablespoon fresh lemon juice (juice of one lemon)
  • 1/4 cup apple cider vinegar
  • 2 tablespoons olive oil
  • 2 cloves garlic, minced finely
  • 1/2 teaspoon salt
  • 1 cup hothouse cucumber slices, 1/2 of a hothouse cucumber
  • 2 tablespoons fresh dill, chopped finely
  • 1 cup cherry tomatoes, cut in half
  • 1/2 cup green onions (4 stalks) sliced thinly
  • 1 cup fresh mozzarella, cut into small cubes

PREPARATION

  1. Cook farro according to directions on package. If you purchased the brand in the above photo, then bring the water and farro to a boil on high heat. Once boiling, reduce heat to medium or medium low (you want it to simmer) cover, and set timer for 15 minutes. 
  2. After 15 minutes, drain the farro to get rid of any remaining water.
  3. Place in farro in a mixing bowl, and set aside to cool.
  4. Make your dressing in a small cereal bowl. Combine lemon juice, apple cider vinegar (shake the bottle first, all the healthy sediment is at the bottom of the jar) olive oil, garlic and salt. Stir or whisk to combine.
  5. Pour over the warm farro and stir to combine. Set aside to cool off, or place in the fridge to speed things up. It will take 30 minutes for it to cool on the counter.
  6. Wash the hothouse cucumber. If you are not using a hothouse cucumber, then you need to peel your cucumber. You will only use half the hothouse cucumber, so chop the cucumber in half. Then slice the cucumber down the center long ways. Then cut the 2 strips again lengthwise to make 4 strips. Thinly chop the long strips into thin triangles. Place in a medium bowl.
  7. Pick the dill sprigs off the stems of dill. Bunch together and finely chop. Add to the cucumber mixture.
  8. Slice the cherry tomatoes in half. Add to the cucumber mixture.
  9. Peel off the outermost layer of each stem of the green onions, wash the onions, cut off both ends and then thinly slice. Add them to the cucumber mixture.
  10. Cut the mozzarella into slices. Then cut the slices into strips and finally into small cubes. Add to the cucumber mixture.
  11. After the farro has cooled ( about 30 minutes) you can add the cucumber mixture to the farro. You do not want to cook the cucumber or melt the cheese with warm farro. Taste for saltiness, and add additional salt if needed.
  12. Place in the fridge in a airtight container. It is actually better after a couple of hours once the flavors have melded together.

Note: This refreshing salad would be delicious served with grilled fish or chicken. It also would be great with chicken salad (you could take your lunch to work every day with the leftovers).


PRINT RECIPE


In Salad, Side Dish

MANGO DAIQUIRI

July 22, 2016 Julie Sanchez

In my old age, I have discovered that I love rum, and that I really love daiquiris! I do not like sweet drinks, so my version is made with a combination of fresh lime juice for tartness, agave for a hint of sweetness, and frozen mangoes, which are available all year round. On Sundays, after we play golf, we either make margaritas or daiquiris to cool off and unwind. Once you taste this daiquiri you will be hooked...I am warning you now.


You can use light or dark rum, or a combination of both if you desire. If you do not have cointreau, you can use triple sec. Instead of using a traditional simple syrup ( water boiled with sugar) I use a combination of agave and water.  If you are not a mango fan, you can use frozen peaches.


Squeeze your limes. I like using this juicing tool, which you can find in any grocery store. It makes life easy and it keeps the seeds out.


Combine all your ingredients in the blender and blend till smooth. If you have any left over after filling your glasses, simply pour the remains in a container that will fit in your freezer to keep it frozen. If you put a lid on your container the daiquiris can remain in the freezer till you are tempted to indulge again.


I encourage you to get out of your comfort zone and make a fun new wonderful drink for yourself. I guarantee it will be better than any drink you can purchase at a restaurant or bar, and you can savor it in the comfort of your own home.


MANGO DAIQUIRI RECIPE


Serves: Makes 6 daiquiris
Prep Time: 5 Minutes

INGREDIENTS

  • 1 cup light rum
  • 2 shots cointreau
  • 1/2 cup water
  • 1/4 cup agave
  • 1/4 cup fresh lime juice (3 limes)
  • 1 1/2 cups frozen mango cubes
  • 4 cups of ice (start with 4 and add ice as needed)

PREPARATION

  1. Juice your limes 'till you have 1/4 cup lime juice.
  2. In your blender combine the rum, cointreau, water, agave, lime juice, mango, and ice. I use a pyrex liquid 2 cup measuring cup and fill it a little above the 2 cup level twice with ice. The water and agave replace the traditional simple syrup (water boiled with sugar) that most daiquiri recipes call for. 
  3. Blend till smooth. Add additional ice to achieve the consistency you like. You can store the daiquiris in the freezer till ready to enjoy. If the daiquiris have been in the freezer for a while, let them defrost a little and puree in the blender again for a smooth consistency.

Note: If you use fresh mangoes, there is no need to add the 1/2 cup of water.


PRINT RECIPE


In Cocktails

CLASSIC CHICKEN SALAD

July 1, 2016 Julie Sanchez

When my son Christopher comes home to visit, he knows this chicken salad will be in the fridge waiting for him to devour with some watermelon cubes on the side...this is a given. I too am a big fan of chicken salad; I had been tweaking my recipe for years, until I came up with a perfect combination of roasted chicken breasts with sweet grapes, celery, toasted almonds, all blended with a creamy tangy dressing. Roasting the chicken, instead of poaching it, gives the chicken tenderness and flavor. Ina Garten inspired me to start roasting my chicken. A lot of the chicken flavor is lost in the broth when you boil it, when you bake it all the flavor remains in the chicken. My dressing was inspired from The Neiman Marcus Cookbook chicken salad recipe. Their dressing is a combo of mayonnaise, apple cider vinegar, and heavy cream. I added some dijon for some zip which results in a creamy, moist chicken salad. This chicken salad is timeless, it will never go out of style...its a classic!


You will need 4 split chicken breasts with skin and bone. I have just discovered mayonnaise made with avocado oil. Its tastes just like regular mayo, but it's better for you. The brand is Primal Kitchen and it is sugar free and they use cage free eggs (Paleo approved). You can use either green or red seedless grapes. I know the heavy cream sounds so decadent, but I promise it makes for a delicious and moist salad.


Preheat the oven to 350. Place chicken skin side up on the pan. Roast the chicken for 45 minutes.


While the chicken is baking, prep your other ingredients. Wash your celery, then cut off the ends. Then slice the celery as thin as possible. I like the crescent shape of thin celery, better than diced celery, because it is more in proportion in size to the chicken and grapes, and it adds an extra shape and texture to the salad.


Simply wash your grapes and slice them in half, set aside.


Heat a small saute pan on medium high heat, add your almonds and after about 5 minutes you will begin to smell the almonds, at this point begin to stir them until they get a little color on them. The whole process should take less than 10 minutes. Roasting the nuts gives them color and flavor. (You may want to store the remaining almonds in the freezer to keep them fresh)


Combine in a small bowl the mayonnaise, apple cider vinegar, heavy cream, dijon mustard, salt and a generous grinding of fresh black pepper. Whisk till smooth. Place in the fridge while your chicken is baking.


Now your prep work is complete. 


When you remove the chicken from the oven, immediately flip the chicken over, skin side down. Swirl the chicken around in the pan juices. While the chicken is cooling it will stay moist and absorb some of the wonderful juice in the pan. Let cool for 15-20 minutes.


Bring your chicken to a cutting board. Remove the skin and bones. Tear into strips. Then dice the chicken with your knife into small bites.


Combine the chicken, the grapes, the celery, and the pecans into a large bowl. Add 3/4 of the mayo dressing mixture. You can always add more once you have mixed everything up. Chicken breasts can vary in size, so you may not need or want all the dressing. I do recommend that you use a little more dressing than you think you need since the chicken will absorb some of the dressing while cooling in the fridge. I used to save some of the dressing for the next day in case it was too dry, but now I know to add a little more than I think I need. Taste the salad to make sure it is salty enough for your taste.


I love chicken salad on lettuce with tomatoes and avocado on the side. But my favorite way is sandwiched between slices of multi grain bread with some spring mix lettuce.


CLASSIC CHICKEN SALAD RECIPE


Serves: 4 people
Prep Time: 20 minutes
Cook Time: 45 minutes

INGREDieNTS

  • 4 chicken breast halves, with skin and bone
  • 3/4 cup celery (2-3 stalks sliced thinly)
  • 3/4 cup seedless grapes, sliced in half
  • 1/2 cup sliced almonds, lightly toasted
  • 3/4 cup mayonnaise
  • 1 tablespoon apple cider vinegar
  • 1 tablespoon dijon mustard
  • 3 tablespoons heavy cream
  • 1/2 teaspoon salt

PREPARATION

  1. Preheat oven to 350. Place chicken skin side up on oven proof pan or cookie sheet with sides. Bake for 45 minutes.
  2. Cut ends of celery, then thinly slice. 
  3. Cut the grapes in half.
  4. Put a small pan on medium high heat. Add the almonds and toast till golden, about 5-10 minutes. Stir often.
  5. Combine mayo, apple cider vinegar, dijon, heavy cream, and salt. I also add a generous amount of freshly cracked pepper. Place in the fridge till the chicken is ready to chop.
  6. When you pull the chicken from the oven, flip the breasts over, skin side down so when the chicken is cooling it will absorb some of the yummy juice in the bottom of the pan. Let the chicken cool 15-20 minutes.
  7. Place the chicken on your cutting board, remove the skin and bones and tear into strips. Then cut the strips into small bites.
  8. Place the cut up chicken in a large bowl and then add your celery, grapes, and almonds. Add 3/4 of your mayo mixture. Chicken breasts come in all different sizes, so you may not need all the mayo mixture. Stir to combine and taste for salt, and if you need to add more mayo, do so now. I have found that the chicken absorbs some of the mayo mixture when it is cooling, so add a little more than you think you need, so it will not be dry later.
  9. Store in the fridge in an airtight container. It will be better once it is cold and the flavors have combined.

PRINT RECIPE


In Chicken, Main Course, Salad
← Newer Posts Older Posts →