• Home
  • Categories
  • Contact
  • Subscribe
  • About
Menu

Julie's Taste

Street Address
City, State, Zip
Phone Number

Your Custom Text Here

Julie's Taste

  • Home
  • Categories
  • Contact
  • Subscribe
  • About

BUDDHA BOWL

December 30, 2016 Julie Sanchez

Buddha bowls are simply amazing. They look pretty, they are super healthy, they fill you up, and they are easy to prepare. My son Jack, who lives in LA came home at Thanksgiving and requested Buddha bowls for dinner one night. I have never made one, so I did some research. A Buddha bowl is typically a vegetarian meal served in a wide brimmed bowl (like Buddha's belly) with a healthy grain, several vegetables, fresh greens, topped with avocado, hummus or tahini sauce. The great thing about these bowls is you can create endless combinations and they all will be super hearty and satisfying. Jack works long hours at Space X and does not have a lot of time to cook. So I tried to create a Buddha bowl recipe that was easy to prep and cook.  All the ingredients came from Trader Joe's, and many are precooked and pre cut, so all you have to do is to roast the cauliflower and the butternut squash.  When I made Buddha bowls for the first time last month I was hooked. You will be too!!!


You can purchase all the ingredients from Trader Joe's. I added turmeric to the list to add some flavor and color to the otherwise bland cauliflower. Turmeric has powerful anti-inflammatory effects and is a strong antioxidant. Once you purchase turmeric you can add it to your salad dressings, or sprinkle on vegetables or chicken. It has a unique flavor, which I love.


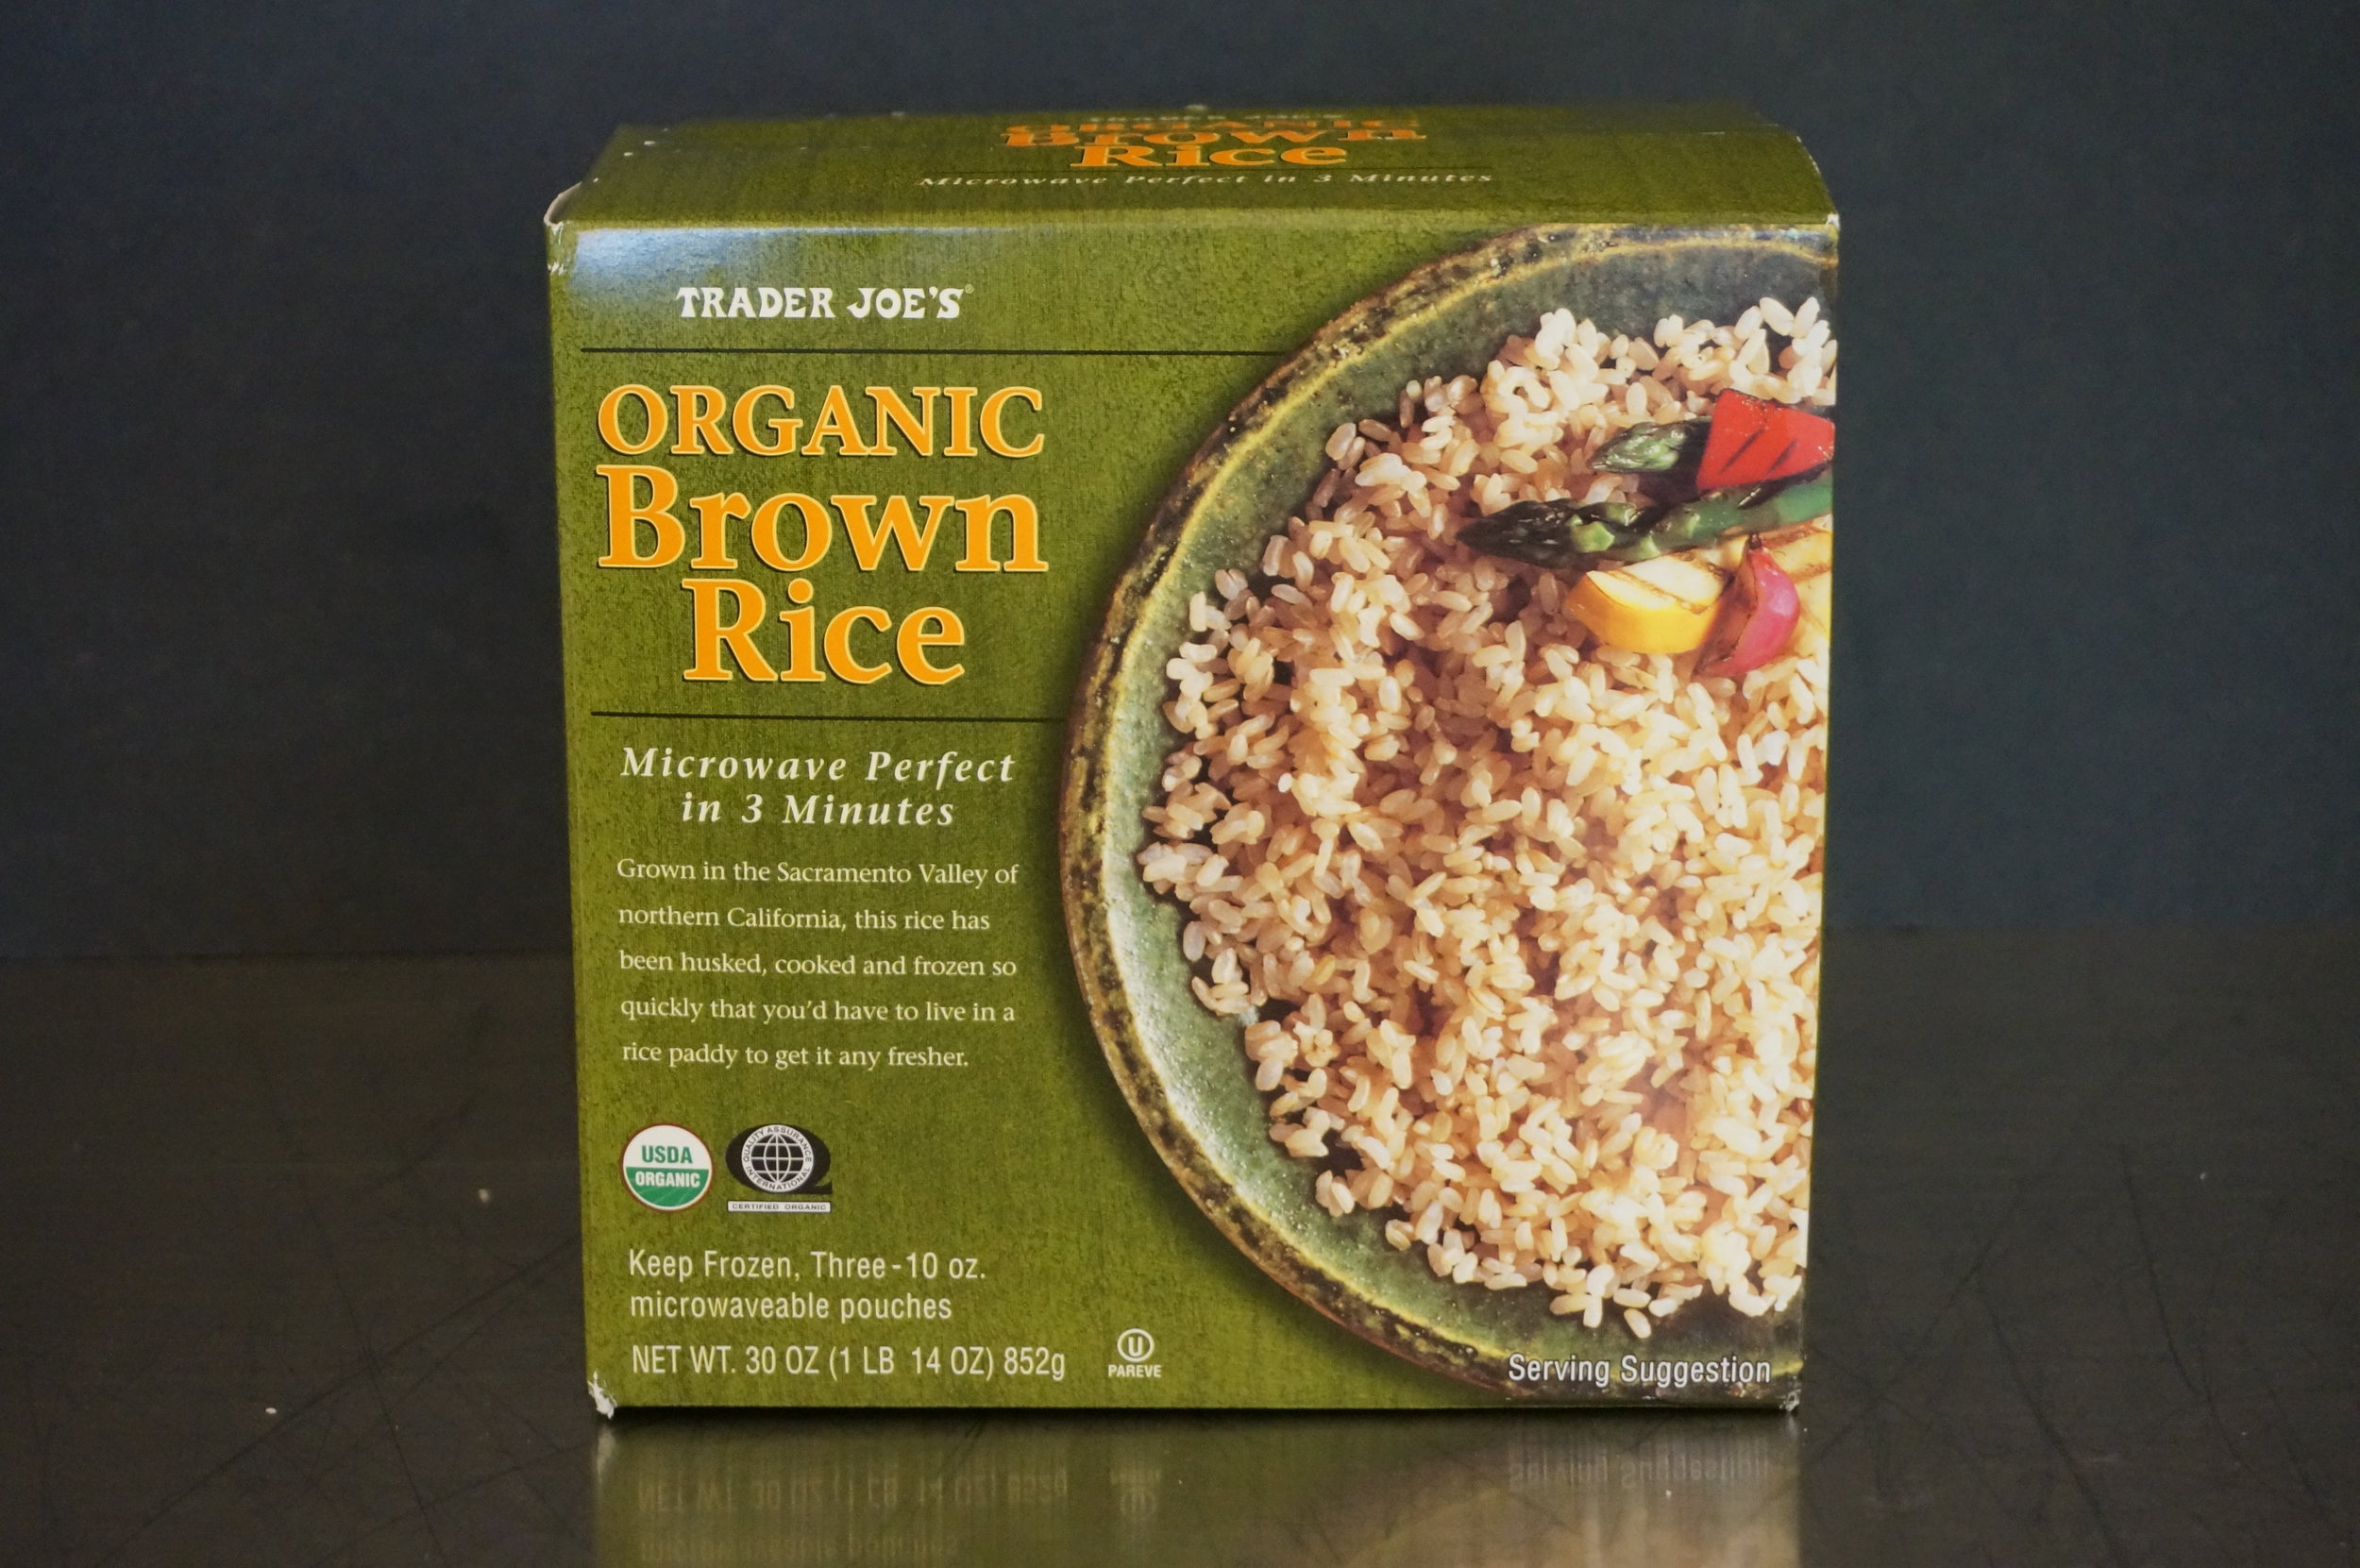
If you prefer brown rice over quinoa than Trader Joe's has precooked brown rice in the freezer section. 


Preheat the oven to 400° F. Cut the core and leaves from the head of cauliflower. Then cut off branches from the core. Then break up or cut into bit size pieces.


Spread on a cooking sheet and sprinkle with one tablespoon olive oil. Then toss to distribute the oil. Sprinkle with the turmeric, salt and pepper and toss once more. You will roast the cauliflower for 20 minutes.


Open up both bags of butternut squash and place on a cooking sheet. Sprinkle with one tablespoon of olive oil and toss to coat. Add salt and pepper and toss again. You will roast the butternut squash for 20-25 minutes.


Arrange the arugula around the edge of the bowl. You do not really need to fill the bowl with arugula, you just want a fresh taste with your veggies. If you are making the Buddha bowl "to go" for your lunch and you need to microwave it, I might leave off the arugula.


We like to drizzle our Buddha bowls with my green sauce. I make green sauce (tomatillo salsa) (recipe on my blog) every weekend so we always have it in our fridge. If you want the easy button Trader Joe's makes a cilantro dressing that you can find in the produce isle.


My Buddha bowl with my tomatillo salsa and fresh cilantro. My husband will add fresh serrano peppers to his as well. Everything consumed by my husband has to have a spicy element!


BUDDHA BOWL RECIPE


Serves: 4 people (or 2 people twice)
Prep Time: 15 minutes
Cooking Time: 25 minutes

INGREDIENTS

All from Trader Joe's

  • 1 head of cauliflower
  • Two twelve-ounce packages of cut butternut squash (produce isle)
  • 17.6 ounce package of precooked lentils (produce isle)
  • 7 ounce bag of arugula
  • 1 avocado
  • 1 1/2 teaspoons turmeric
  • 2 tablespoons olive oil
  • 16 ounce box fully cooked quinoa (frozen isle)
  • 8 ounce container of tahini sauce

OPTIONAL INGREDIENTS

  • My tomatillo salsa (green sauce)
  • Cilantro dressing (produce isle)...in place of my green sauce
  • Fresh cilantro, chopped finely for garnish

PREPARATION

  1. Preheat oven to 400° F
  2. Cut the leaves and the center core out of the cauliflower. Begin cutting branches off the main core of the cauliflower. Then break up the branches into bite size pieces. 
  3. Place the cauliflower on a cooking tray and sprinkle with one tablespoon of olive oil. Toss to coat evenly. Sprinkle with the turmeric, salt and pepper. 
  4. Open up both bags of butternut squash and spread on another cooking sheet. ( You may want to use parchment paper for easy clean up.) Sprinkle with one tablespoon olive oil. Toss to coat evenly. Sprinkle with salt and pepper. Put the larger pieces of squash in the corners since they will cook the quickest.
  5. Place the butternut squash and cauliflower in the oven. Set timer for 10 minutes.
  6. After timer goes off, stir both the butternut squash and the cauliflower and return to oven. Set timer for another 10 minutes.
  7. Place your arugula around the edge of your bowls
  8. While the butternut squash and cauliflower are roasting, begin microwaving your quinoa according to the package directions. The box contains 2 packages of quinoa; each package serves 2 people.
  9. You will also microwave your lentils according to the package directions.
  10. After the second 10 minute timer has gone off, remove the cauliflower and check to see if the butternut squash is cooked enough. Sometimes the squash takes 20 minutes and sometimes 25 depending on the size of the cubes.
  11. Slice your avocado.
  12. To assemble your Buddha bowl, place your vegetables in the bowl in a circular pattern, add the avocado, and place the tahini sauce in the middle. You can also add my green sauce for an extra kick, or Trader Joe's cilantro dressing for the easy button. You can also sprinkle on fresh herbs, like cilantro if you have any.

Note: Since the lentil package serves 5 you will probably have some leftover lentils. They are great to throw in soup or add to a salad.


PRINT RECIPE


In Vegetarian, Main Course

CITRUS GLAZED SALMON

November 4, 2016 Julie Sanchez

We try to eat salmon once a week, so I am always trying to create new ways to prepare it. My citrus glaze takes 5 minutes to prepare, and it really gives the salmon a awesome tangy and spicy kick. On weekdays I love easy healthy meals...this recipe totally fits into this category. During the week I bake my salmon for the easy button, but you could grill your salmon if you prefer; the citrus glaze works equally on either cooking method. I love this citrus glazed salmon with asparagus drizzled with a little olive oil, garlic and sea salt and roasted in the oven while the salmon is baking. (The asparagus will take a little less time to bake than the salmon) A perfect meal... easy, healthy and delicious!


I buy freshly squeezed orange juice, organic low sodium soy sauce, and local Texas honey. You need two 6-8 ounce salmon filets. I have the fish monger remove the skin. Yes the skin would come off easily after you cook it, but removing it can cause you to break your filet in half...trust me on this!


I like to use parchment paper or foil so my clean up is super easy.


Once your salmon is cooking, begin your sauce. Measure 1/3 cup orange juice into a small saucepan. Then squeeze your lemon into a small bowl so you can make sure you have about 2 tablespoons. Add the lemon juice, the soy sauce, the honey and a squirt of Sriracha to the orange juice mixture and put on medium heat. Once it begins to simmer set timer for 5 minutes.


This is the glaze simmering. It looks so cool!  The mixture should reduce by half.


Once you remove the glaze from the heat, pour into a small bowl to prevent further reduction.


CITRUS GLAZED SALMON RECIPE


Serves: 2 people
Prep Time: 10 minutes
Cooking Time: 12-15 minutes

INGREDIENTS

  • Two 6-8 ounce salmon filet (I have my fish monger remove skin)

  • 1/3 cup orange juice

  • 2 tablespoons lemon juice (1 lemon)

  • 2 tablespoons soy sauce (I prefer low sodium)

  • 1 tablespoon honey

  • Squirt of Sriracha hot chili sauce

PREPARATION

  1. Preheat oven to 425° F.

  2. Place foil or parchment paper (for easy clean up) on your cooking tray and place salmon. (No need to salt fish, since soy sauce has plenty of sodium.)

  3. Once oven has preheated place salmon in oven and cook for 12-15 minutes depending on your preference for the doneness of the salmon. 12 minutes is a little pink inside and 15 is cooked through.

  4. While salmon is baking prepare your glaze. Pull out a small sauce pan and measure in your orange juice.

  5. Squeeze your lemon in a separate bowl so you can make sure you have about 2 tablespoons of juice.

  6. Add lemon juice to pan, along with soy sauce, honey and Sriracha.

  7. Place sauce pan on burner and turn stove to medium heat. Once it begins to simmer, start your timer for 5 minutes. The liquid should reduce to half the amount in that time.

  8. Once 5 minutes is up, place the glaze is a small bowl to prevent any further reduction.

  9. Once salmon has baked, remove the fish and place on your serving dish or plate. Spoon glaze over fish and sprinkle with the black sesame seeds.


Note: This citrus glaze works equally well with grilled salmon. (You might as well grill your asparagus too.)


PRINT RECIPE


In Seafood, Salmon

ASPARAGUS RISOTTO

October 13, 2016 Julie Sanchez

Risotto is the perfect dish to make for company or a family gathering. Yes it takes time to make, but if you prep everything in advance then when your guests or family are all gathered in the kitchen you can begin your magic. Cooking risotto in the kitchen all alone is no fun, but when you have people over its really fun to have them watch you transform all the ingredients into an amazing and creamy risotto. 


You must use arborio rice for risotto. I do not like to use a lot of butter in cooking, but when I do I buy butter from grass fed cows since I found out that it is higher in Omega-3 fatty acids and vitamin K2 than butter and thus is healthier for you. I also like low sodium broth so I can control the salt to my taste. 


Wash your asparagus, then cut the tough ends off and discard. Cut the tips off and place in a small bowl to save for a garnish. Grab a few stems at a time and cut into small coins.


Cut the ends off the shallot and peel.


Slice the shallot lengthwise thinly. Then finely dice the shallot . 


Grate 1/2 cup of Parmesan cheese. Then use a vegetable peeler to shave the Parmesan for garnish.


Have all your ingredients prepped before your begin cooking. You have the tips, the cheese, the asparagus coins, the shallots, the rice and the wine all ready to go.


Measure the chicken broth into a small pot and turn the heat on medium high. You want it to come to a simmer.


In a medium pan add your shallots and 1 tablespoon butter. Turn the heat on medium and saute for 3 minutes, stirring occasionally.


Once your broth is simmering add your asparagus tips. Reduce your heat to low and cook the tips for 5-6 minutes.


After the shallots have sauteed for 3 minutes add your rice and saute for 2 minutes more, stirring occasionally. This adds a nutty toasted flavor to the rice. 


After the rice has sauteed for 2 minutes add the wine. Stir till the wine has evaporated. Now remove the asparagus tips from the broth, and set aside.  Begin adding the warm broth to the rice 1/2 cup at a time. You want the rice to absorb most of the liquid before adding more. You will continue adding broth and stirring for 20 minutes. You can not walk away from this process. After 20 minutes you will add your asparagus coins and your last 1/2 cup of broth. Cook for 5-8 minutes more, stirring occasionally.


After 25-28 minutes add your Parmesan cheese, remaining 1 tablespoon butter, and salt. Taste for saltiness and adjust to your liking. Turn heat to low till cheese melts for 1-2 minutes. Serve immediately.


aSPARAGUS RISOTTO


Serves: 2-4 people (depending on used as a side dish or main dish)
Prep Time: 15 minutes
Cooking Time: 35 minutes

INGREDIENTS

  • 1 cup arborio rice
  • 3 1/2 cups chicken broth
  • 1/2 cup white wine
  • 1 1/2 cups asparagus stems chopped, usually one bunch of asparagus (roughly 3/4 pounds) (save the tips for garnish)
  • 1/4 cup shallot, diced finely
  • 1/2 cup Parmesan cheese, grated, plus Parmesan shavings for garnish
  • 2 tablespoons butter, divided
  • 1/2 teaspoon salt

pREPARATION

  1. After you have washed your asparagus, cut off the tough ends and discard. Then cut off the tips and place in a small bowl. Grab a few stems at a time and cut into coins about 1/4" thick. Place in another bowl and set aside.
  2. Peel your shallot and cut each end off. Then thinly slice the shallot lengthwise. Now cut across the slices to make a fine dice. You do not want any big chunks of shallot.
  3. Grate your Parmesan cheese. Set aside in a bowl. Then using a vegetable peeler make Parmesan shavings for your garnish.
  4. Measure your chicken broth into a small pan and turn on medium high heat. Once the broth is simmering add your asparagus tips to cook them. Reduce heat to low.
  5. Add your shallots and 1 tablespoon butter to a medium size pan. Turn the heat on medium and sauté the shallots for 3 minutes, stirring occasionally.
  6. Now add your rice to the shallot mixture. You will cook the rice, shallot mixture for 2 minutes. Stirring occasionally. 
  7. Now add your wine to the rice mixture.
  8. Remove the tips from the broth mixture and set aside.
  9. Once the wine has evaporated, begin ladling the chicken broth into your rice mixture 1/2 cup at a time. You want the rice to slowly absorb the liquid before adding more liquid. You will keep stirring and adding broth for 20 minutes.
  10. After 20 minutes add your last 1/2 cup of broth and your asparagus coins to the risotto mixture. Stir to combine.
  11. Cook the risotto for 5-8 more minutes. Then add the Parmesan cheese, the remaining 1 tablespoon butter, and salt. Taste for saltiness. Turn heat to low to melt the Parmesan for 1-2 minutes. 
  12. Garnish with the asparagus tips and Parmesan shavings.
  13. SERVE IMMEDIATELY!!!

Note: This makes the perfect meal served with a simple arugula salad, and equally delicious as a side dish with salmon or chicken. 

Note: Risotto is the perfect company food since everyone is standing in the kitchen drinking and eating appetizers and they can all watch you prepare the delicious risotto right in front of their eyes. How awesome is that!


PRINT RECIPE


In Italian, Side Dish, Vegetarian

FARRO SALAD

August 6, 2016 Julie Sanchez

This refreshing farro salad is my idea of the perfect side dish for summer. Lately I have been making farro salad along with chicken or shrimp salad on the weekends. When we come in from playing golf the last thing we want is a hot meal. The combination of cucumbers, tomatoes, apple cider vinegar, green onions, fresh dill and fresh mozzarella is truly addictive.

Whenever I taste cucumbers with vinegar, I am reminded of my grandmother. She had a farm in Kentucky, and at every dinner she always added a plate of cucumbers marinating in vinegar on her table...along side the salt and pepper. The taste combination brings back happy childhood memories.


Make sure you buy fresh mozzarella; it's more tender and softer than traditional mozzarella. I like Whole Foods' Italian Farro since the package is exactly 1 1/2 cups of dried farro, which is the exact amount you need (I did this on purpose), and it only takes 15 minutes to cook. The package says 10 minutes, but the farro is not tender enough in just 10 minutes; it needs 15 minutes. I have discovered that there are so many different cooking times for farro, so if you do not buy this brand then cook the farro according to the package directions. I also like hothouse cucumbers (also known as a seedless or English cucumber) more than traditional cucumbers because the seeds are smaller and you do not have to peel the hothouse variety; the peeling is thin. 


Farro is a grain from ancient Rome that has a nutty flavor similar to barley or brown rice. Farro contains more fiber than rice or quinoa, it is also high in protein and supplies 10 different vitamins and minerals...it is a super grain.


The proper grain to water ratio is 1 to 3 for farro. The brand I buy only takes 15 minutes to cook. Some brands and recipes call for cooking farro 30 minutes and soaking it overnight. After much research, I have discovered there is a wide range of farros and cooking techniques. Once it is cooked you have to drain the excess water. The photo above is the farro after it has cooked. It seems odd to me to measure the water and then drain it, but when I cooked it like pasta and just threw an unmeasured amount of water the outcome was not successful.


Once the farro has cooked, you must drain the excess water. I drain it into a strainer and place the strainer on top of the pan to slowly drain and cool off a bit.


Once the farro has drained, put the farro in a bowl and add the dressing while it is warm.  As this point you can let the farro cool on the counter (about 30 minutes) or you can speed up the process by placing it in the fridge to cool. 


You will only need half of the hothouse cucumber. Cut the cucumber in half lengthwise, then cut the 2 long halves again to make 4 long strips, then slice into thin triangles. If you buy a regular cucumber you need to peel it first.


You need a bunch of dill. I used this whole package for this recipe. When it is chopped its about 2-3 tablespoons worth.


Pick the dill off the heavy stems. Gather into a mound and chop finely.


Simply slice the tomatoes in half. I buy cherry tomatoes every week, wash them, and put in pretty bowl on my kitchen counter. We use them all week so many things, and munch on them with hummus.


I always like to peel off the outermost layer of green onion. Then wash your onion, cut off both ends and chop finely.


The fresh mozzarella can be cut into slices, then strips, then diced into small cubes.


The colors look so fresh and pretty to me. Summer in a bowl! 


FARRO SALAD RECIPE


Serves: 6 people
Prep Time: 20 minutes
Cooking Time: 15 minutes

INGREDIENTS

  • 1 1/2 cups raw farro
  • 4 1/2 cups water
  • 1 tablespoon fresh lemon juice (juice of one lemon)
  • 1/4 cup apple cider vinegar
  • 2 tablespoons olive oil
  • 2 cloves garlic, minced finely
  • 1/2 teaspoon salt
  • 1 cup hothouse cucumber slices, 1/2 of a hothouse cucumber
  • 2 tablespoons fresh dill, chopped finely
  • 1 cup cherry tomatoes, cut in half
  • 1/2 cup green onions (4 stalks) sliced thinly
  • 1 cup fresh mozzarella, cut into small cubes

PREPARATION

  1. Cook farro according to directions on package. If you purchased the brand in the above photo, then bring the water and farro to a boil on high heat. Once boiling, reduce heat to medium or medium low (you want it to simmer) cover, and set timer for 15 minutes. 
  2. After 15 minutes, drain the farro to get rid of any remaining water.
  3. Place in farro in a mixing bowl, and set aside to cool.
  4. Make your dressing in a small cereal bowl. Combine lemon juice, apple cider vinegar (shake the bottle first, all the healthy sediment is at the bottom of the jar) olive oil, garlic and salt. Stir or whisk to combine.
  5. Pour over the warm farro and stir to combine. Set aside to cool off, or place in the fridge to speed things up. It will take 30 minutes for it to cool on the counter.
  6. Wash the hothouse cucumber. If you are not using a hothouse cucumber, then you need to peel your cucumber. You will only use half the hothouse cucumber, so chop the cucumber in half. Then slice the cucumber down the center long ways. Then cut the 2 strips again lengthwise to make 4 strips. Thinly chop the long strips into thin triangles. Place in a medium bowl.
  7. Pick the dill sprigs off the stems of dill. Bunch together and finely chop. Add to the cucumber mixture.
  8. Slice the cherry tomatoes in half. Add to the cucumber mixture.
  9. Peel off the outermost layer of each stem of the green onions, wash the onions, cut off both ends and then thinly slice. Add them to the cucumber mixture.
  10. Cut the mozzarella into slices. Then cut the slices into strips and finally into small cubes. Add to the cucumber mixture.
  11. After the farro has cooled ( about 30 minutes) you can add the cucumber mixture to the farro. You do not want to cook the cucumber or melt the cheese with warm farro. Taste for saltiness, and add additional salt if needed.
  12. Place in the fridge in a airtight container. It is actually better after a couple of hours once the flavors have melded together.

Note: This refreshing salad would be delicious served with grilled fish or chicken. It also would be great with chicken salad (you could take your lunch to work every day with the leftovers).


PRINT RECIPE


In Salad, Side Dish

MANGO DAIQUIRI

July 22, 2016 Julie Sanchez

In my old age, I have discovered that I love rum, and that I really love daiquiris! I do not like sweet drinks, so my version is made with a combination of fresh lime juice for tartness, agave for a hint of sweetness, and frozen mangoes, which are available all year round. On Sundays, after we play golf, we either make margaritas or daiquiris to cool off and unwind. Once you taste this daiquiri you will be hooked...I am warning you now.


You can use light or dark rum, or a combination of both if you desire. If you do not have cointreau, you can use triple sec. Instead of using a traditional simple syrup ( water boiled with sugar) I use a combination of agave and water.  If you are not a mango fan, you can use frozen peaches.


Squeeze your limes. I like using this juicing tool, which you can find in any grocery store. It makes life easy and it keeps the seeds out.


Combine all your ingredients in the blender and blend till smooth. If you have any left over after filling your glasses, simply pour the remains in a container that will fit in your freezer to keep it frozen. If you put a lid on your container the daiquiris can remain in the freezer till you are tempted to indulge again.


I encourage you to get out of your comfort zone and make a fun new wonderful drink for yourself. I guarantee it will be better than any drink you can purchase at a restaurant or bar, and you can savor it in the comfort of your own home.


MANGO DAIQUIRI RECIPE


Serves: Makes 6 daiquiris
Prep Time: 5 Minutes

INGREDIENTS

  • 1 cup light rum
  • 2 shots cointreau
  • 1/2 cup water
  • 1/4 cup agave
  • 1/4 cup fresh lime juice (3 limes)
  • 1 1/2 cups frozen mango cubes
  • 4 cups of ice (start with 4 and add ice as needed)

PREPARATION

  1. Juice your limes 'till you have 1/4 cup lime juice.
  2. In your blender combine the rum, cointreau, water, agave, lime juice, mango, and ice. I use a pyrex liquid 2 cup measuring cup and fill it a little above the 2 cup level twice with ice. The water and agave replace the traditional simple syrup (water boiled with sugar) that most daiquiri recipes call for. 
  3. Blend till smooth. Add additional ice to achieve the consistency you like. You can store the daiquiris in the freezer till ready to enjoy. If the daiquiris have been in the freezer for a while, let them defrost a little and puree in the blender again for a smooth consistency.

Note: If you use fresh mangoes, there is no need to add the 1/2 cup of water.


PRINT RECIPE


In Cocktails
← Newer Posts Older Posts →