• Home
  • Categories
  • Contact
  • Subscribe
  • About
Menu

Julie's Taste

Street Address
City, State, Zip
Phone Number

Your Custom Text Here

Julie's Taste

  • Home
  • Categories
  • Contact
  • Subscribe
  • About

GREEN SMOOTHIE

June 25, 2020 Julie Sanchez
IMG_0734 (1).jpg

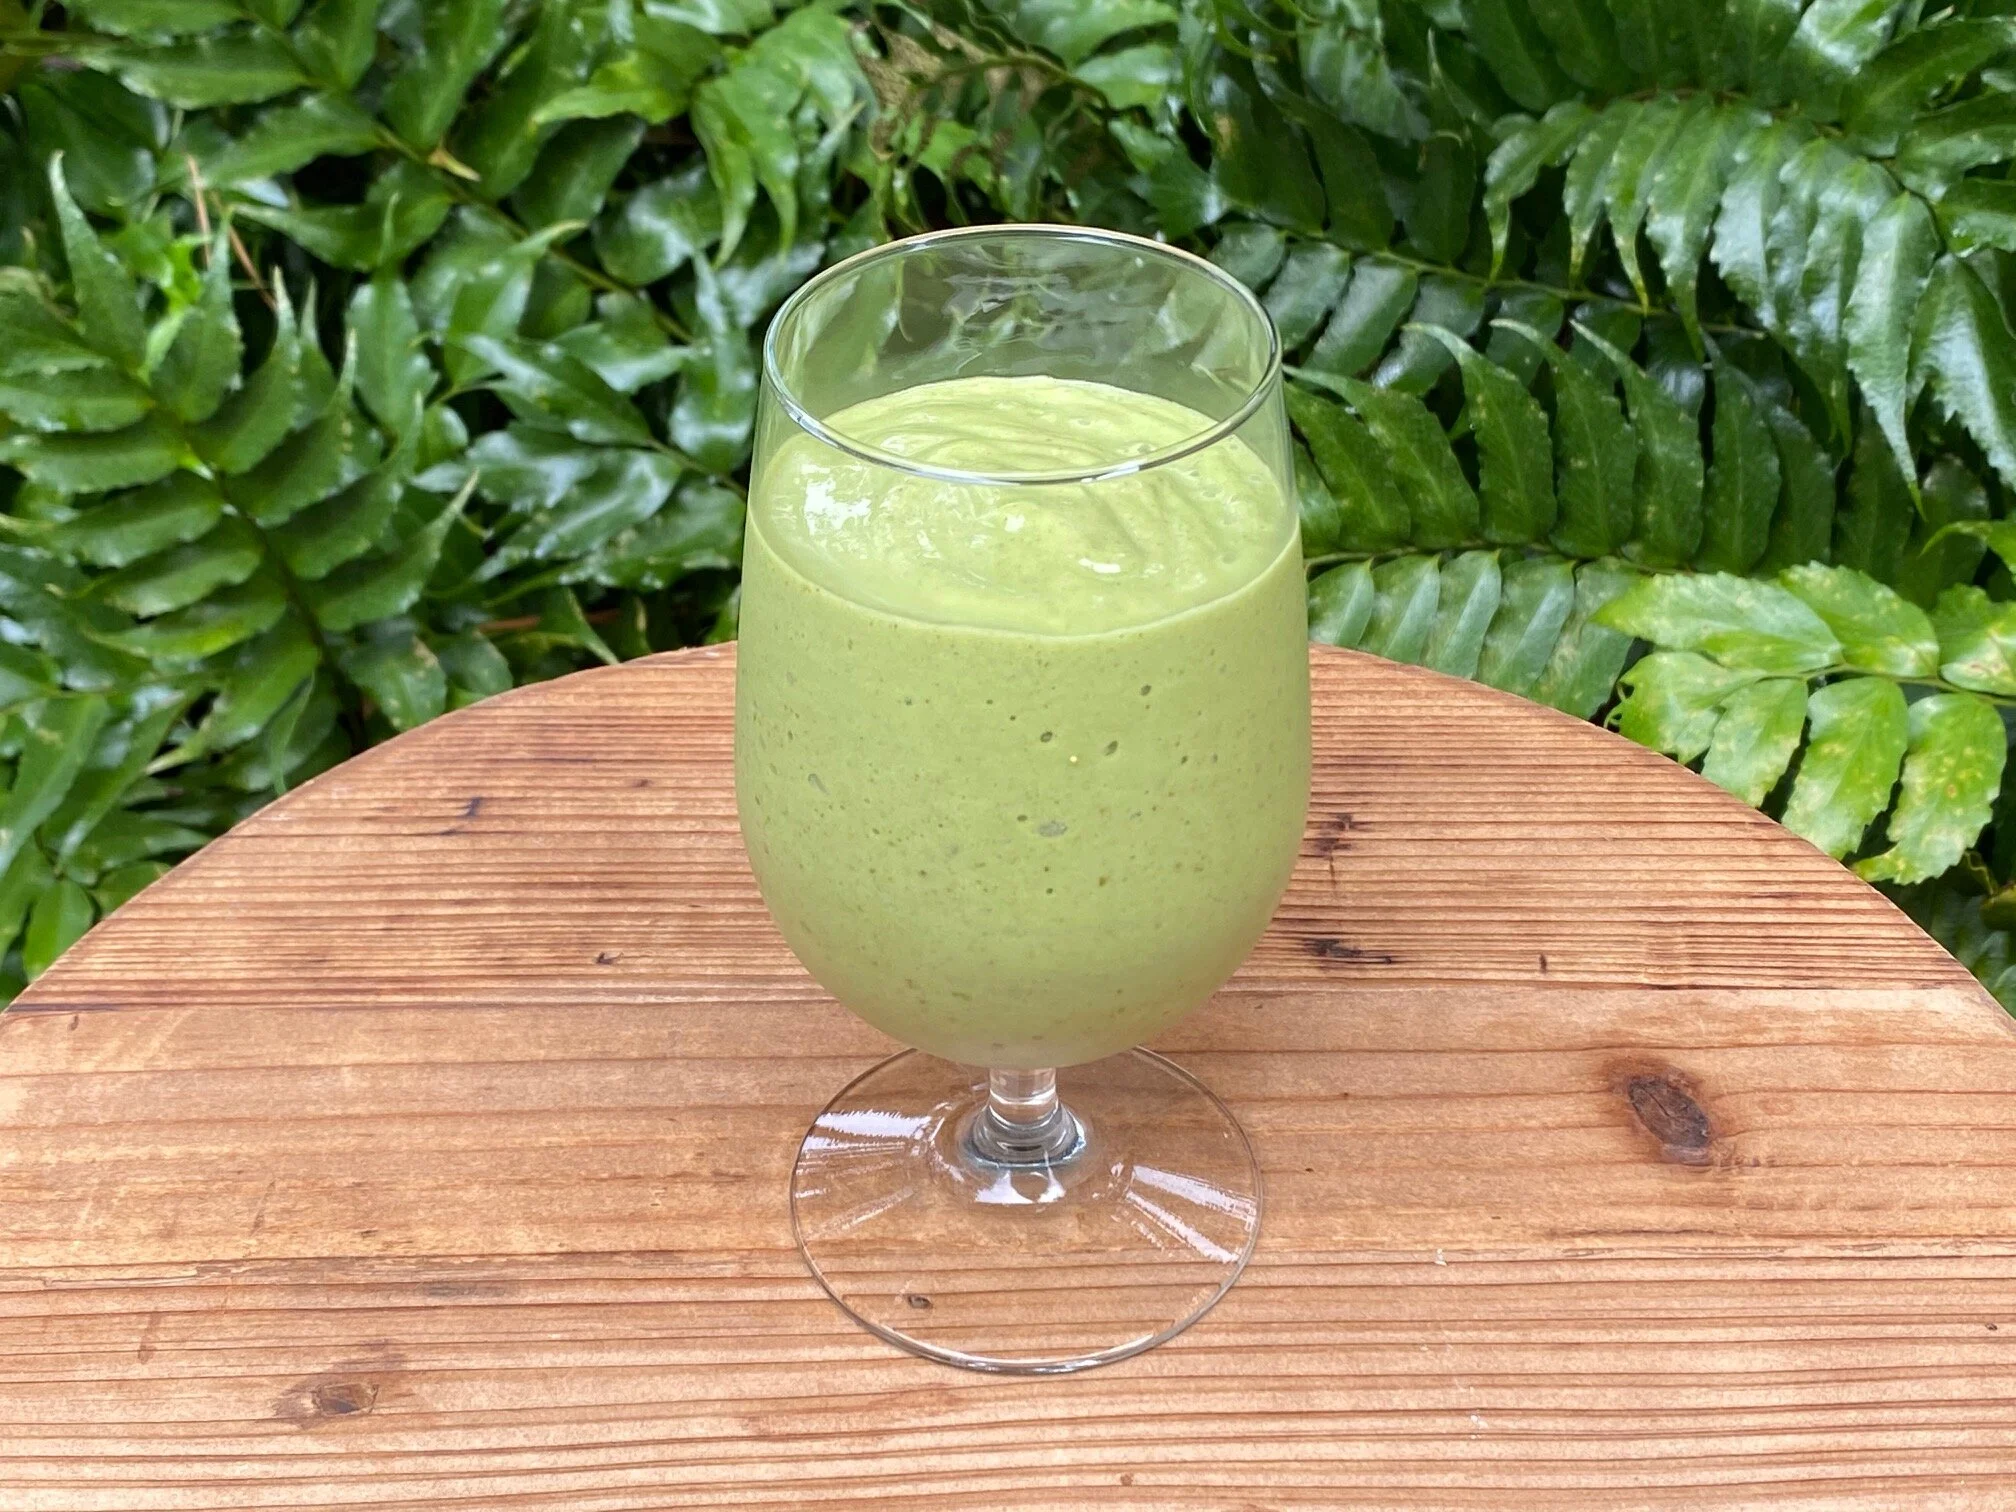
Do you feel like you need more greens in you life? This creamy delicious smoothie may be just what you need. For breakfast I always eat scrambled eggs with spinach or a smoothie with spinach. Getting my greens in the morning simply makes me feel better!


DSC06108.jpg

You must freeze the banana and spinach the night before you make your smoothie. If you are not familiar with matcha powder it is known as a energy booster and it is high in antioxidants.


DSC06114.jpg

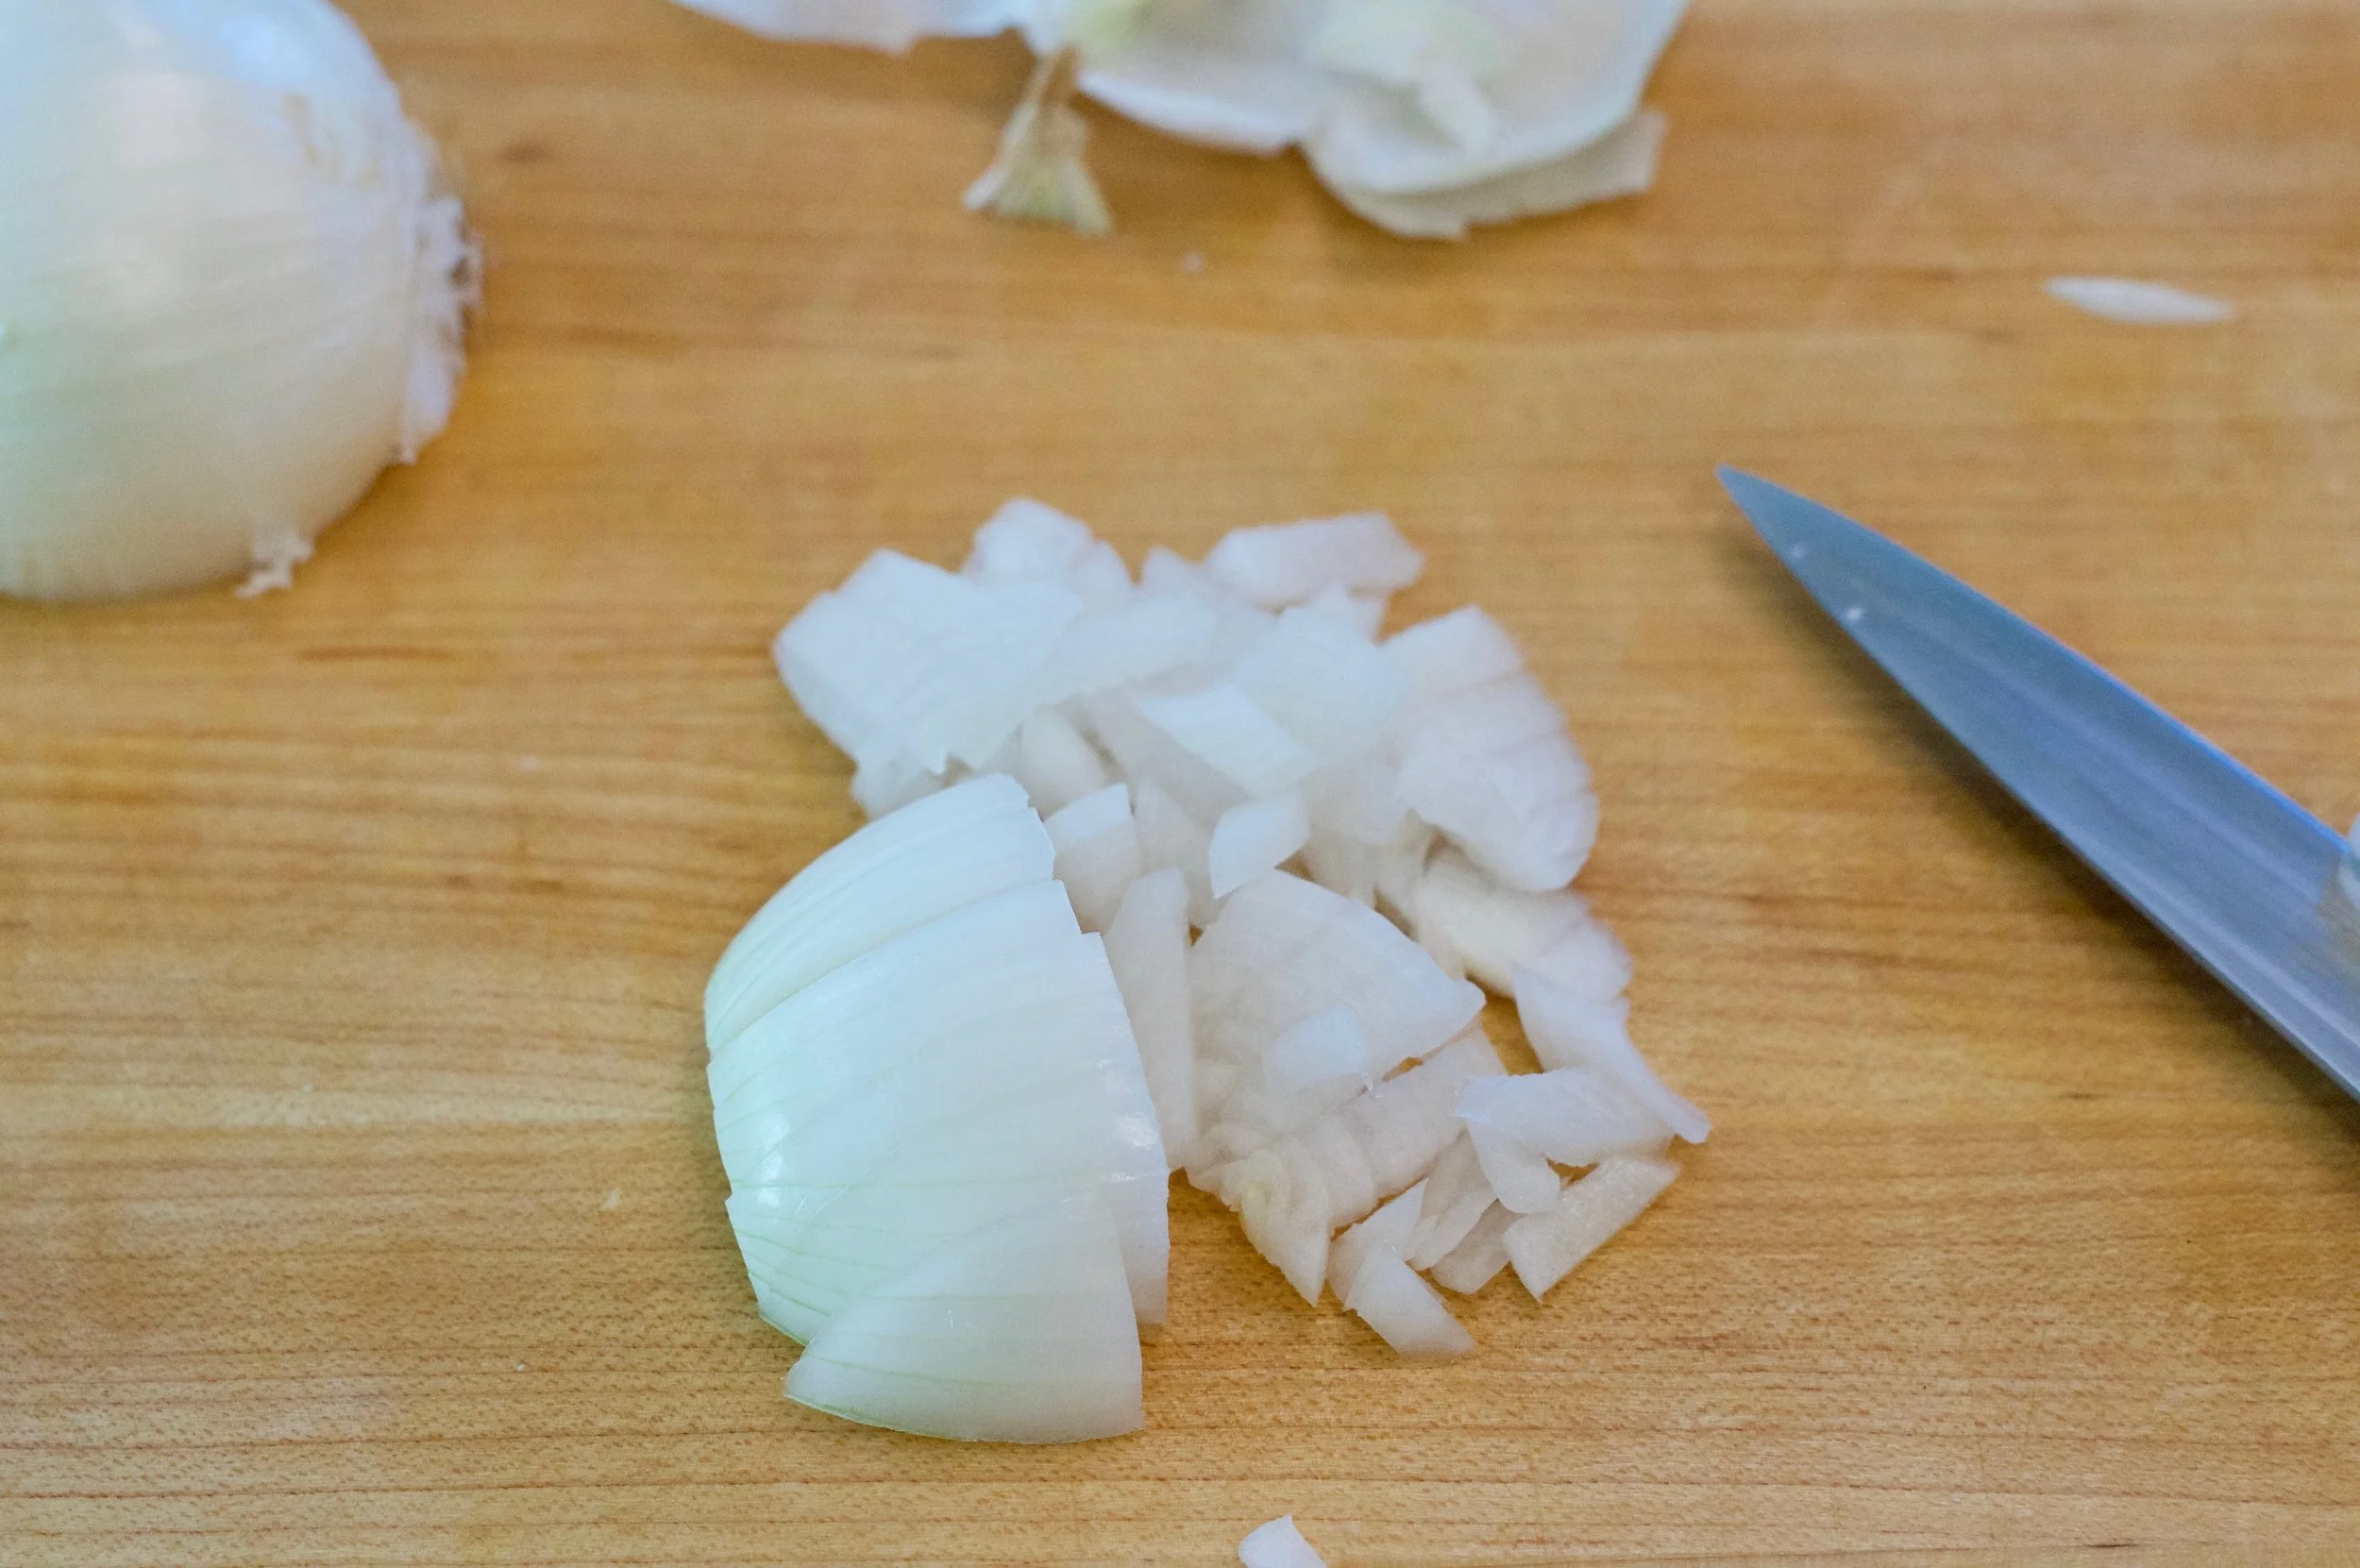
To prep the bananas for the freezer, I cut up each banana and place each banana in its own ziplock bag.


DSC06118.jpg

My bananas packages are ready to freeze.


DSC04529.jpg

I always keep spinach in the freezer…mainly because I use it for almost every breakfast. When you buy fresh spinach it has a limited time span of freshness in the fridge. Freezing it insures you have spinach anytime you need it.


DSC06124.jpg

Ingredients ready to go into the blender.


DSC06128.jpg

Ready to blend


GREEN SMOOTHIE RECIPE


Serves: 1 person
Prep Time: 10 minutes

INGREDieNTS

  • 1 cup cold water

  • 1 banana, cut into pieces and frozen

  • handful of fresh spinach, frozen

  • 1/2 or 1 teaspoon matcha powder (1 teaspoon is a normal serving, but I use 1/2 teaspoon for a milder matcha taste)

  • wedge of avocado ( 1/4 of an average avocado)

  • 4 pitted dates

  • 1 tablespoon unsweetened almond butter

preparation

  1. See above how to freeze bananas and spinach.

  2. Combine ingredients in blender and blend till smooth.


Print Recipe


In Breakfast, Vegetarian, Smoothie

PIGS IN A BLANKET with HONEY MUSTARD

March 6, 2020 Julie Sanchez
DSC05748.jpg

Of all the appetizers I make, this one is my husband’s favorite. It is a step up from the pigs in the blanket we made 20 years ago with crescent rolls. You will not be able to eat just one. When we took these piggies to a Super Bowl party last month, my husband and I each ate several on the ride over to the party….very hard to resist!


DSC05662.jpg

You need puff pastry, I like the Dufour brand from Whole Foods. The puff pastry comes frozen, so you have to defrost it in the fridge the night before you make these. You also need piggies… I like to use chicken if I can find them, but pork or beef all work. You also need flour for rolling out the puff pastry . I buy my "Everything Bagel” seasoning from Williams Sonoma.


DSC05703.jpg

You need honey and dijon mustard for the dipping sauce.


DSC05664.jpg

Break an egg into a small bowl and beat with a fork. Preheat the oven to 400 degrees.


DSC05708.jpg

Throw some flour onto a flat surface and dust your rolling pin. You can also use a wine bottle if you do not have a rolling pin.


DSC05665.jpg

Lay the puff pastry, that was thawed overnight in the fridge, on the floured surface. Roll the dough a little widthwise to 11”-12” and more lengthwise depending on how many piggies you have.


DSC05669 (1).jpg

Now count your piggies and divide by 3. I had 27 piggies in my bag, so I laid down 1/3 of them which is 9, down the length of my pastry. The amount of piggies you have divided by 3, and lined up determines the length of your pastry.


DSC05673.jpg

Take the piggies you lined up off the pastry and spread 4 tablespoons Dijon Mustard on the pastry.


DSC05679.jpg

Cut a little off each side for a clean edge. Place a piggie down for width and cut from front to back. You want the pastry to be the same width as the piggie, since the pastry will shrink during cooking. I had 27 piggies, so I lined up nine (1/3 of them) and cut 9 strips.


DSC05680.jpg

Now cut the down from east to west across the pastry two times, to create three rows. Now you know why I took 1/3 of the piggie count. Now I have 27 small strips. Every brand of piggies has different amounts thus you need to measure and calculate.


DSC05713.jpg

Now take a piggie and roll up.


DSC05710.jpg

Use a fork to press the seal ( almost like scoring) to prevent it opening up during cooking. Place the rolled up piggies to the side, since you need to put parchment paper or foil down for the next step.


DSC05715.jpg

Place a piece of parchment paper over your flour mess, for easier clean up later. Brush each piggie on the top and sides with the egg.


DSC05717.jpg

Sprinkle Everything Bagel seasoning on top of each piggie.


DSC05721.jpg

Pull out a cookie sheet and place another piece of foil or parchment paper on the sheet for easy clean up. Rub the bottoms of the pigs in the blanket into the egg mixture that is left on the first parchment to again seal the dough, as you transfer the piggies onto the clean cookie sheet. At this point you can store in the fridge and bake later or you can bake now.


DSC05724.jpg

Bake for 25-30 minutes till golden brown and pastry is cooked through. Check on the piggies after 20 to 25 minutes; if they are getting too brown on the top place a piece of foil on the top and continue baking till pastry is cooked through.


DSC05704.jpg

Now make the dipping sauce. Combine 1/2 cup dijon mustard with 2 tablespoons honey in a small bowl, stir till combined.


DSC05705.jpg

Transfer mixture to a smaller bowl, for a cleaner presentation.


DSC05746.jpg

These can be served hot, warm or at room temperature. Enjoy!


PIGS IN A BLANKET WITH HONEY MUSTARD RECIPE


Serves: 5-6 people (my batch made 27 piggies)
Prep Time: 30 minutes
Cooking Time: 30 minutes

INGREDIENTS

  • 1 egg

  • puff pastry ( thawed the night before in the fridge) 14 ounces

  • mini piggies, chicken, beef or pork, approx. 12 ounces

  • 4 tablespoons plus 1/2 cup Grey Poupon Mustard

  • flour (for rolling out pastry)

  • everything bagel seasoning

  • 2 tablespoons honey

preparation

  1. Defrost your pastry the night before in the fridge.

  2. Break the egg into a small bowl and beat with a fork. Preheat oven to 400 degrees.

  3. Throw some flour and spread it out on the counter. Unfold the pastry and lay it on the flour. Flour your rolling pin as well.

  4. Count your piggies and divide by 3. I had 27 piggies, so 27 divided by 3 is 9. Roll the pastry longways till you can lay down 1/3 of your piggies side by side (look at photo above). Now roll the pastry widthwise to 11” -12” .

  5. Remove the piggies you laid down to determine length and spread 4 tablespoons of the dijon mustard over the pastry.

  6. Cut a little off each side on the pastry so the sides are straight.

  7. Use one piggie to determine the width of your cuts. The pastry will shrink while baking, so the cut the pastry the same width as the piggie. You will cut the pastry into rows from north to south, based on the number or piggies you have. I cut mine into 9 rows.

  8. Now cut east to west 2 times so you have 3 rows.

  9. Roll a piggie into each strip. Use a fork to score the seam, so it will not open during baking.

  10. Place the piggies to one side and place a piece of parchment or foil on top of the flour mess. Brush each piggie with the egg and sprinkle with the bagel seasoning.

  11. Pull out a cookie sheet and place another clean piece of parchment on the sheet. As you place the pigs on the sheet, rub their bottoms in the egg mixture that is left on the original parchment paper to further seal the pastry.

  12. At this point, you can place in the fridge and bake later or bake now for 25-30 minutes. Check on them after 20 minutes, to make sure the tops are not getting too brown. You may have to place a piece of foil loosely on the piggies for the last few minutes to insure the pastry is cooked without the piggies getting too dark on top.

  13. Now make your dipping sauce. Combine 1/2 cup of dijon mustard and 2 tablespoons honey in a small bowl. Stir till combined. Transfer to smaller bowl for a nice presentation.


PRINT RECIPE


In Appetizer, Breakfast

ROBERTO'S MIGAS

July 4, 2018 Julie Sanchez
DSC04318 (1).jpg

On the weekends, we love to wake up late and prepare a substantial breakfast. Crisp tortillas with onions and cheese... topped with runny eggs, it doesn't get much better than that. Traditional migas are made with scrambled eggs, which we still make if we are serving a crowd, but my husband Roberto invented this version, which I find keeps the tortillas more crunchy, and the runny yolk creates a sauce which I love.


DSC04265.jpg

I prefer nitrate free bacon and ham. You also need corn tortillas, eggs, avocado, jalapeno, onion, and Monterey jack cheese.


DSC04276.jpg

Chop the jalapeno finely. If you can not take the heat, use only half the jalapeno or you can remove the spicy seeds before you chop it. We chop up the entire jalapeno; we are professionals in taking the heat! Add the jalapeno to a small bowl.


DSC04278.jpg

Cut the onion in half; save the other half for another use. Peel the onion, cut it down lengthways, and then finely chop the onion. Add to the jalapeno mixture in a small bowl.


DSC04288.jpg

Stack the corn tortillas and cut one direction, then the other to create cubes. Set aside in a small bowl.


DSC04267.jpg

If you stack the ham, it tends to stick together even when you saute it. Cut the ham into cubes. Place in a small bowl.


DSC04269.jpg

You can stack the bacon, since it will break up with you fry it. Place in a small bowl.


DSC04292.jpg

Your prep work is complete.


DSC04294.jpg

In a small skillet, add 1/4 cup of olive oil. Turn on to medium heat and add the bacon. Fry gently till the bacon lardons have browned. Stirring occaisonally.


DSC04295.jpg

Remove the bacon with a slotted spoon on to paper towels to drain. Add the tortillas to the oil mixture.


DSC04296.jpg

Saute the tortillas till lightly brown and crispy. It will take about 3-4 minutes, stirring often. Remove with a slotted spoon to paper towels to drain. Pour almost all the oil into a small bowl to discard later.


DSC04299.jpg

Add the onions and jalapenos with the little bit of oil remaining in the pan. Saute till the onions have softened.


DSC04302.jpg

Add the ham, and stir till the ham as heated through. Turn off the heat and set the pan aside.


I use a grill pan to fry my eggs, I cook them on medium heat, flip them and try to keep the yolk runny. Traditionally you scramble eggs for migas, and if I have a large crowd of people I do scramble the eggs. We just prefer the soft yolks running all into the tortilla mixture.


Combine the tortillas and bacon into the pan with the sauteed onions and stir to combine. Place on to plates. Sprinkle with the cheese, and place 2 eggs on each plate. Top with avocado and tomatillo sauce or red sauce (both recipes are on this blog).


DSC04314.jpg

If you want push the easy button, you can purchase Taco Deli's Salsa Dona from Whole Foods in the refrigerated section of the produce isle. I buy it weekly and put it in a squirt bottle. If you are from Austin, you know how good this basically just jalapeno and garlic sauce is. Very hot and very good!


DSC04320.jpg

I had to add more one photo, its just so beautiful to me.


DSC04328.jpg

Enjoy!


ROBERTO'S MIGAS RECIPE


Serves: 2 people
Prep Time: 15 minutes
Cooking Time: 15 minutes


INGREDIENTS

  • 1 jalapeno, diced finely (remove seeds if you're not a Texan)
  • 1/2 medium onion, finely chopped
  • 4 corn tortillas, cut into cubes
  • 2 slices of ham, chopped
  • 3 sliced of bacon, cut into lardons
  • 1/4 cup olive oil
  • 4 eggs
  • 1/4 cup Monterey jack cheese, grated
  • sliced avocado

preparation

  1. Dice the jalapeno finely. If you are concerned about the heat, remove the seeds or use only half the jalapeno. Add to a small bowl.
  2. Cut the onion in half, save the other half for another use.  Peel and finely dice the onion. Add to the jalapeno mixture.
  3. Slice the ham into cubes. Place in a small bowl.
  4. Stack the bacon and cut into thin slices (lardons). Place in a small bowl.
  5. In a small saute or omelet pan add 1/4 cup oil and turn burner to medium heat. Add the bacon and saute till lightly browned and crispy. Stirring occasionally. Once cooked, remove with a slotted spoon and place on paper towels to drain.
  6. Add the tortillas to the oil mixture, stir occasionally. It should take 3-4 minutes for the tortillas to become crispy and slightly golden. Remove with a slotted spoon onto paper towels to drain.
  7. Drain almost all the oil from the pan into a small bowl to discard later. Save about 2 teaspoons of oil in the pan.
  8. Place the pan back on the medium heat and saute the onions and jalapenos till the onions have softened.
  9. Add the ham and stir till heated through. Turn off heat and set aside.
  10. Use a griddle pan or large saute pan to fry your eggs. Turn on medium/medium high heat. Wait for the pan to become hot, sprinkle in a little olive oil and fry the eggs. Flip the eggs and remove before the yolk becomes hard.
  11. Add the tortillas and bacon to the onion mixture, stir to combine and place equal amounts on each plate.
  12. Top with the grated cheese and 2 eggs. Garnish with avocado slices.

Note: Migas are also great served with my refried black beans. (Recipe is here) 

Note: If you prefer scrambled eggs, simply scramble your eggs, then add the tortilla mixture and cheese to your eggs, stir to combine and serve.


PRINT RECIPE


In Breakfast, Mexican

STRAWBERRY BUTTER

December 21, 2017 Julie Sanchez
DSC04095.jpg

I first had strawberry butter at Neimans in their tea room. I loved to slather it on their amazing rolls. It is equally satisfying on angel biscuits, in fact my kids assume that they always are served together...biscuits with strawberry butter. It is easy to make and highly addictive.


DSC04087.jpg

All you need is 1/2 cup of softened butter and 1/2 cup of strawberry jam.


DSC04090.jpg

Whip 1 stick of softened butter in a medium sized bowl.  Add the strawberry jam and whip till combined.


DSC04081.jpg

Pure Heaven on a plate.


STRAWBERRY BUTTER RECIPE


Serves: 8-10 people
Prep Time: 5 minutes

INGREDIENTS

  • 1/2 cup butter, softened
  • 1/2 cup strawberry jam

PREPARATION

  1. Whip the softened butter in a medium sized bowl.
  2. Add the strawberry jam and blend till combined.

PRINT RECIPE


In Breakfast

ANGEL BISCUITS

December 21, 2017 Julie Sanchez
DSC04081.jpg

Whenever I make these biscuits, they take me back to happy, delicious memories of my childhood. When we visited my grandparents in Kentucky, we would wake up to the smell of these biscuits baking in the oven. My grandmother, Pearl Gill, would be in the kitchen rolling out dough, and I would hop on a barstool and watch her perform her magic. These biscuits are a cross between a traditional biscuit and a yeast roll. Because they are lighter than a traditional biscuit, they truly heavenly, hence their name. 


DSC03969.jpg

Use all purpose flour. I prefer normal buttermilk to lowfat buttermilk, but sometimes it is difficult to find. As you can see my biscuit cutter is quite small.


DSC03997.jpg

It is better to scoop the flour into the measuring cup instead of dipping the measuring cup into the flour. Ina Garten taught me this.


DSC03998.jpg

Use the flat side of the knife to scrap off the excess flour.


DSC04004.jpg

Sift together in a large bowl your flour, baking powder, salt, baking soda and sugar. 


DSC04011.jpg

Measure out 1/3 cup warm tap water (110° to 115° F) and add the yeast and 1 teaspoon of sugar. Stir to combine and let it rest several minutes till it begins to bubble and grow.


DSC03995.jpg

Cut the shortening into cubes.


DSC04013.jpg

Place the shortening cubes in the flour. Use 2 knives in criss cross patterns to break up the shortening into small crumbs.


DSC04052.jpg

Once the flour is mixed with the buttermilk and yeast mixture, you can dump the mixture on a generously floured surface and knead the dough. 


DSC04030.jpg

You must knead the dough for several minutes. I like to press the heel of my hand into the dough, then fold the dough onto itself and repeat. Then place the dough in a bowl, twice the size of the dough, cover with plastic wrap and store in the fridge. The dough will double in size overnight in the fridge.


DSC04056.jpg

Cut out your biscuits with a floured biscuit cutter or small glass. You will have to gather the dough up again when you have run out of room on the dough...probably 2 times to cut out all the biscuits.


DSC04058.jpg

Dip each biscuit in the melted butter. My grandmother used to dip them in melted shortening, but I prefer butter.


DSC04061.jpg

I usually can fit all the biscuits into 3 cake pans. Let the biscuits sit for 10 minutes to get to room temperature before baking. Preheat the oven to 400 degrees. Bake 12-14 minutes till golden.


DSC04063.jpg

I honestly can say that these biscuits are my favorite food of all time. There is absolutely nothing better than a hot biscuit slathered with strawberry butter...simply amazing!


ANGEL BISCUIT RECIPE


Serves: 10 People
Prep Time: 25 minutes
Cooking Time: 12-14 minutes

INGREDIENTS

  • 5 cups all-purpose flour

  • 3 teaspoons baking powder

  • 1 teaspoon salt

  • 1 teaspoon baking soda

  • 3 tablespoons + 1 teaspoon granulated sugar (divided)

  • 1/3 cup warm water (110° to 115° F)

  • 2 packets of yeast (assuming 1/4 ounce or 2 1/4 teaspoons per packet)

  • 1 cup shortening

  • 2 cups buttermilk

  • 1 cup butter, melted

EQUIPMENT NEEDED

  • sifter

  • rolling pin (or wine bottle)

  • biscuit cutter (or small glass) I like a 1 1/2" diameter mold

preparation

  1. Sift together flour, baking powder, salt, baking soda, and 3 tablespoons of sugar in a large mixing bowl. (You will use the remaining teaspoon of sugar in the next step.)

  2. Measure 1/3 cup warm water into a bowl and add your 2 packets of yeast and the remaining 1 teaspoon of sugar. Stir to combine. Set aside and let it begin to bubble and activate, about 5 minutes.

  3. Cut up your shortening with a knife into chunks and add the shortening to the flour mixture. Use a pastry cutter or 2 crisscrossing knives to break up the shortening into fine crumbs.

  4. Add the yeast mixture and buttermilk to the flour mixture and stir to combine. When all the flour is absorbed, turn the dough onto a generously floured surface. Knead the dough for about 3 minutes. (I like to knead by pressing the heel of my hand into the dough, then fold the dough over and repeat)

  5. Place in a medium sized bowl, twice as large as your dough, since it will double in size in the fridge. Cover with plastic wrap.

  6. Place in the fridge overnight. It can last in the fridge for up to 3 days.

  7. When you're ready to bake your biscuits, place the dough on a generously floured surface, and knead a few times. Preheat the oven to 400° Fahrenheit

  8. Roll out the dough with a rolling pin (or a bottle of wine) to 1/2" thickness. Cut out the biscuits with a biscuit cutter or a small glass. I personally prefer smaller diameter biscuits because that is how my grandmother made them, but the size is up to you. Once you have used all the space on the dough, gather back into a ball and roll out again to cut out the remaining biscuits.

  9. Dip each biscuit in the butter and place in a pan. I like to use cake pans. Leave a little space between the biscuits since they will rise in the oven. Let the biscuits sit for 10 minutes to get to room temperature before baking.

  10. Bake 12-14 minutes till golden brown.


Note: Serve with strawberry butter.


PRINT RECIPE


In Breakfast, Bread
Older Posts →