• Home
  • Categories
  • Contact
  • Subscribe
  • About
Menu

Julie's Taste

Street Address
City, State, Zip
Phone Number

Your Custom Text Here

Julie's Taste

  • Home
  • Categories
  • Contact
  • Subscribe
  • About

BALSAMIC VINAIGRETTE

July 20, 2017 Julie Sanchez

I have been making this dressing for 30 years, and until recently never measured anything as I made it. Since I never measured any ingredient, it came out a little different every time, which was perfectly fine except that people began asking me for the recipe. So I was forced to measure and test the recipe. I first started making this recipe when my children were young. My two sons were always starving at dinner, and if I served a salad with veggies and meat the salad would go untouched. So I started to follow the French custom to serve the salad as the first course. This way my family enjoyed a healthy salad to start our dinner, and every salad plate was empty when removed from the table. Additionally we got to spend more time together at the dinner table, which looking back was by far my most treasured time spent with my family.


I like to buy good quality olive oil and local honey. Ina Garten recommends that you buy several brands of olive oil, have a taste test and then you will always know which brand you prefer. 

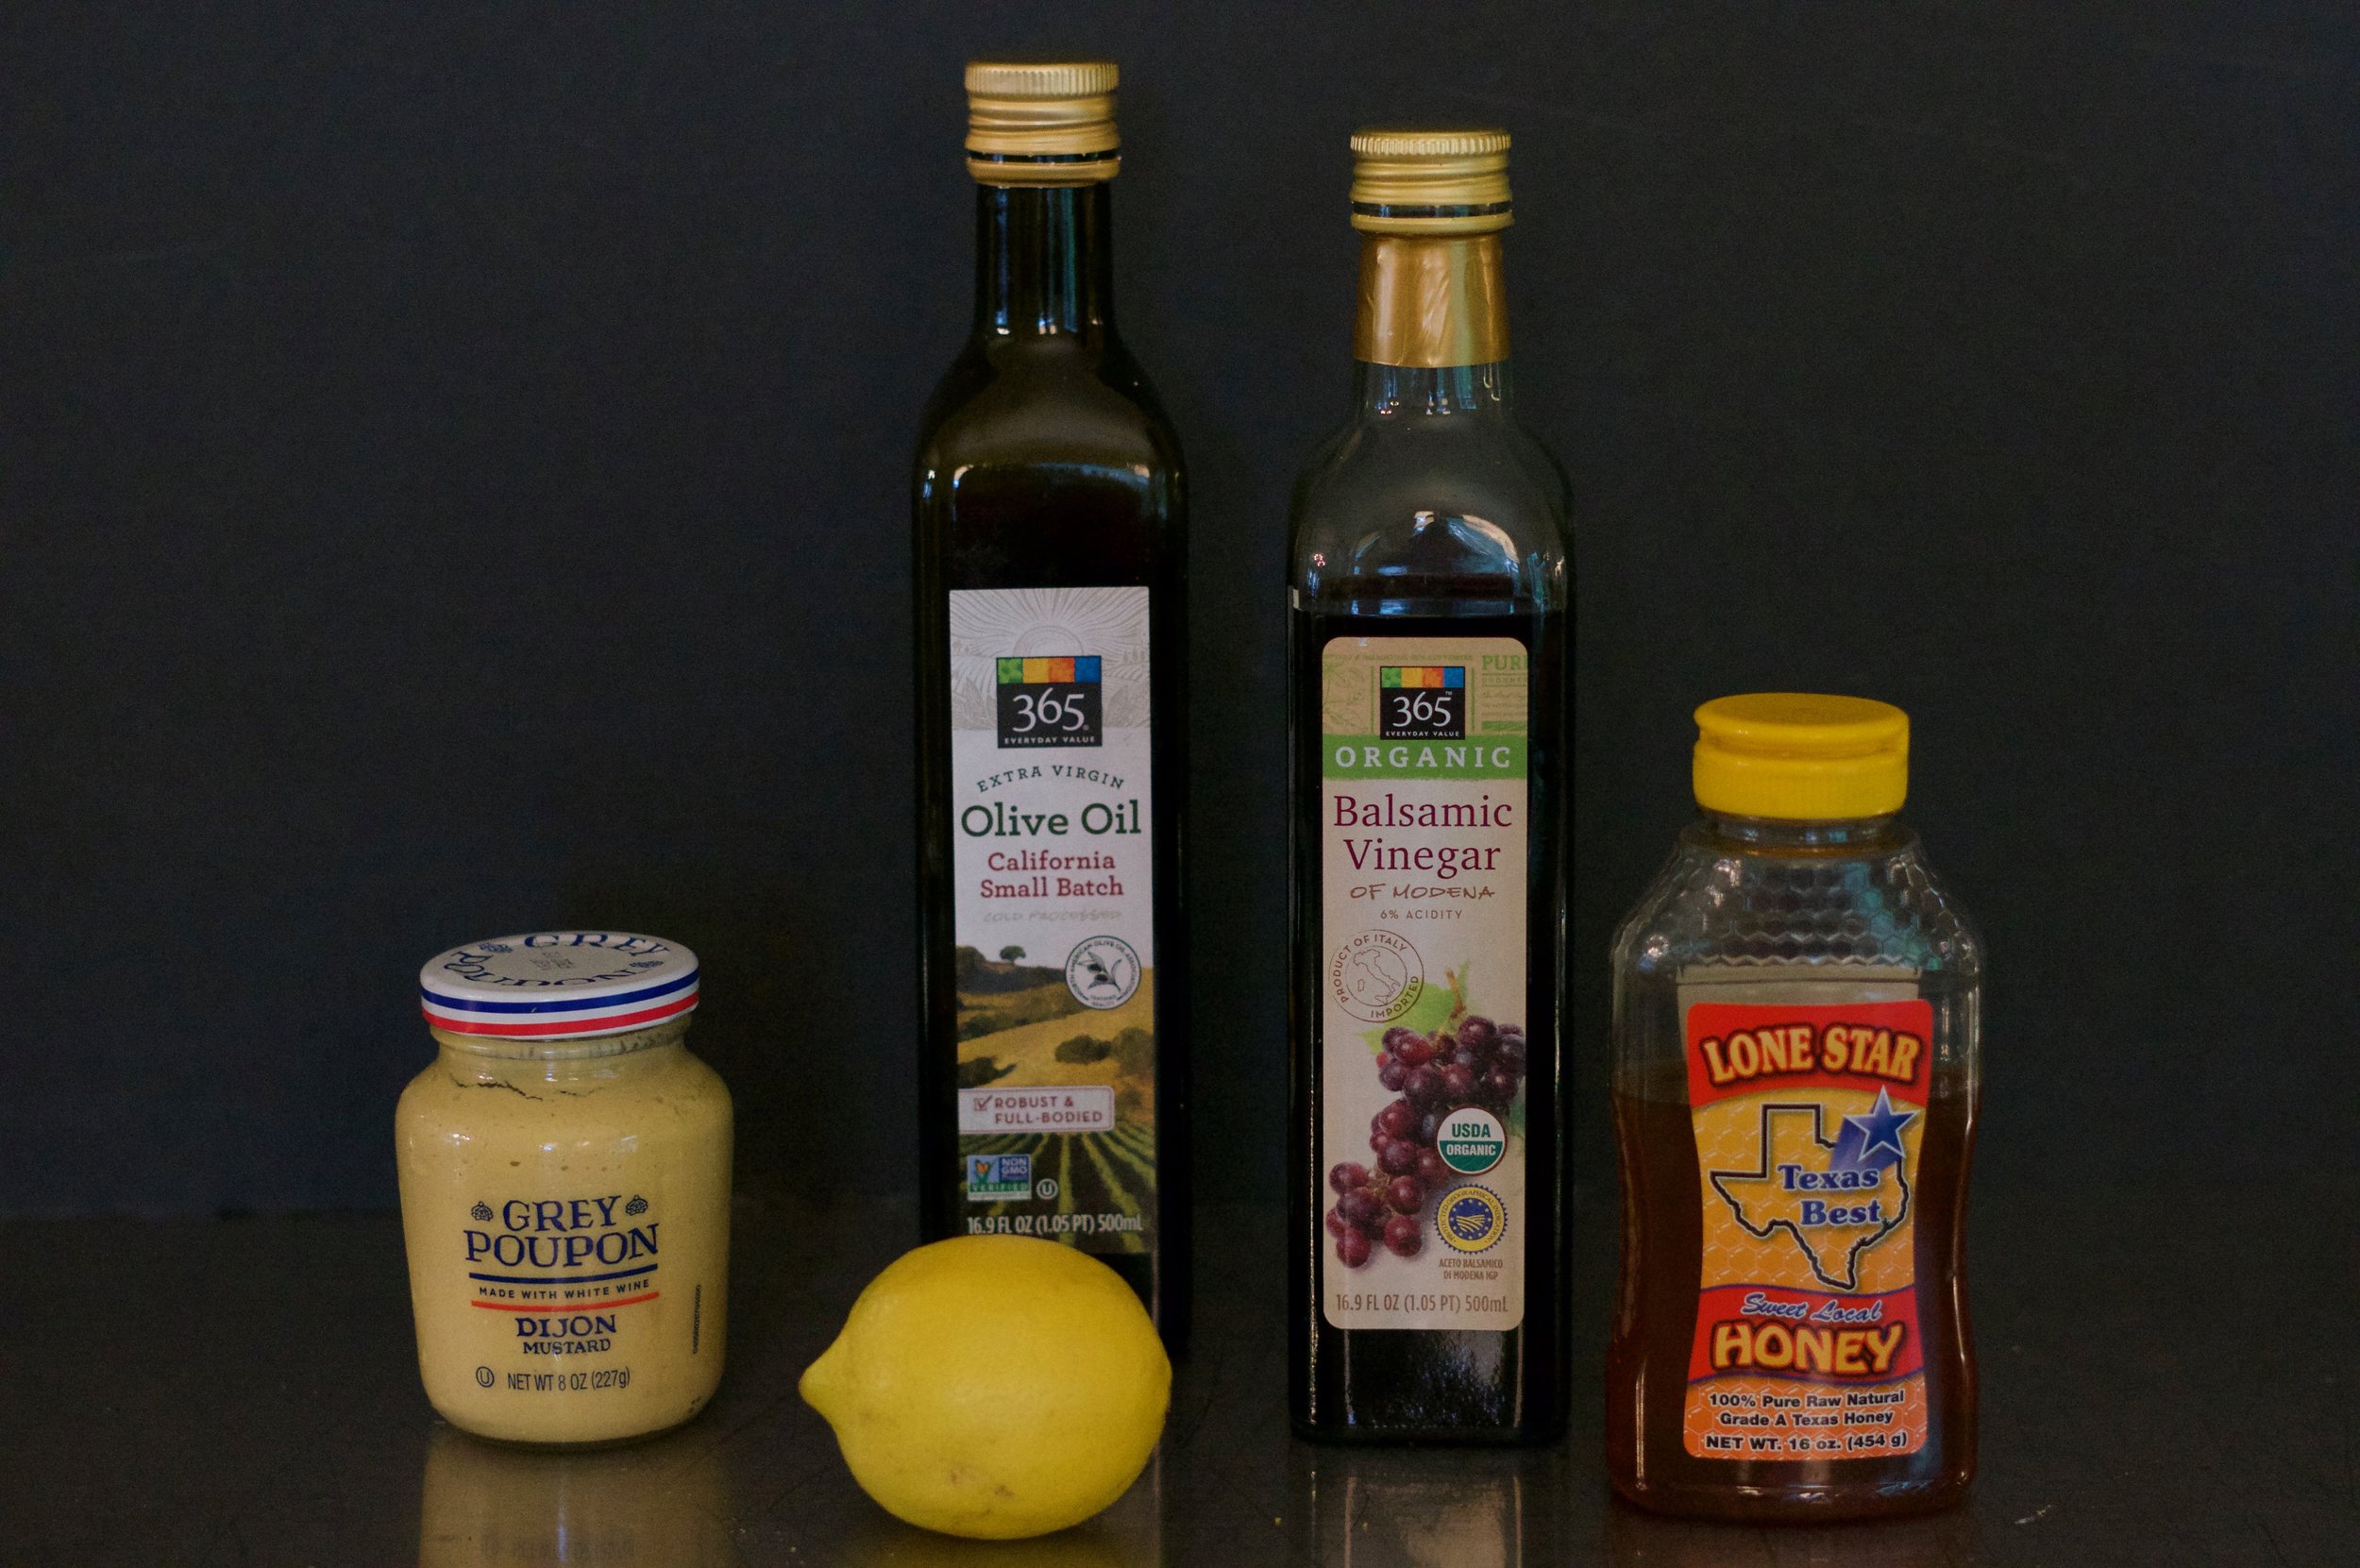
These 5 simple ingredients will change your life. Once you realize how easy it is to make this amazing dressing, you will never buy store bought salad dressing again!


Squeeze the juice of 1 lemon. Honestly, when I make this dressing I never measure anything, I do it by sight. So I always simply use the juice of 1 lemon. Having said that some lemons are super juicy and some are dry so I felt like I needed to give you a basis for measurement.


Combine the lemon juice, dijon, balsamic vinegar, and honey in a medium sized bowl. Place the bowl on a folded towel so the bowl will not slide around while you are pouring and whisking the oil in. Measure out your oil in a pourable container so you can slowly stream the oil in to emulsify your dressing. 


You will need to purchase a small whisk if you do not have one. Once your dijon mixture is combined, slowly stream the oil into the bowl as you whisk constantly. You will see the dijon mixture slowly absorb the oil and thicken its viscosity.  You can always stop pouring momentarily to make sure all the oil is absorbed into the mixture and then begin streaming the oil once more. You can not rush this, you may mess up your first batch by pouring too quickly but once you try it and understand how magical it is, you will be hooked! 


BALSAMIC VINAIGRETTE RECIPE


Serves: 4 people
Prep Time: 10 minutes

SPECIAL TOOLS

  • small whisk

INGREDIENTS

  • 1 tablespoon lemon juice (1 lemon)
  • 2 tablespoons dijon mustard (Grey Poupon)
  • 3 tablespoons balsamic vinegar
  • 1 tablespoon honey
  • 3/4 cup olive oil

PREPARATION

  1. Squeeze the juice of 1 lemon in a small bowl. Measure out 1 tablespoon and pour into a medium sized bowl.
  2. Add the dijon, vinegar, and honey to the lemon juice. Using a small whisk combine the ingredients till smooth.
  3. Place the bowl on a folded towel, so the bowl will not slide while you are simultaneously pouring the oil and whisking.
  4. As you begin whisking your dijon mixture with one hand, slowly pour the oil into the bowl with a fine stream, constantly whisking. Slowly the mustard mixture will emulsify and absorb the oil. You can stop midstream and keep whisking if are nervous the first time to make sure all the oil in incorporated before more oil is added. 

Note: Store the dressing in a airtight container for up to 3 days in the refrigerator. Before using, let it come to room temperature and re whisk as needed.


PRINT RECIPE


In Salad Dressing

TURKEY BURGER WITH CHIMICHURRI AND VEGGIES

May 5, 2017 Julie Sanchez

I just recently starting eating turkey burgers. I used to think they were dry and boring. But I have discovered if you buy ground turkey thighs and add some grated onion and chimichurri to the turkey you will have a moist delicious turkey burger. I like to serve the burger with quickly cooked veggies with a drizzling of chimichurri sauce. This is one of our go to weekday healthy meals.


You will need 2/3 of a pound of ground turkey (I prefer thigh meat ground turkey since it is more moist), a onion, garlic, your veggies of choice, and chimichurri sauce (you can find my recipe here).


Since turkey burgers need moisture and flavor I like to grate a tablespoon of onion into the ground turkey. 


Add 2 tablespoons of the chimichurri to the raw meat. It really flavors the otherwise bland turkey meat.


Once you have incorporated the onion and chimichurri into the ground turkey (I prefer to use my hands like I do with meatballs) you can form the patties on a piece of folded parchment paper or foil.


If you are prepping this ahead of time, you can cut the parchment paper in half so you can stack the burgers in the fridge to cook later. If you are cooking them now, then ignore this step.


Cut the end off the zucchini, then slices into rounds and place in a bowl.


Keep the rubber band on the asparagus while you cut off the ends (the non tender part).


I like to cut the asparagus into about 1 1/2"-2" lengths on a diagonal. You do not have to cut on the diagonal, but I think it makes the asparagus more interesting. You simply cut the first tip off (which you can discard) making the first diagonal cut. Then continue your angle as your cut down the asparagus.


Pre prep your veggies before you start cooking since the cooking process is so fast.


Put a medium saute pan on high heat and add a small splash of olive oil. Add the burgers and cook 2-3 minutes on high heat. You want some color on your burger. After 2-3 minutes, lift up your burger and check for color. It may take 3 minutes depending on your stove. Now turn the burger over, reduce the heat to  medium/medium low, and cover the burgers. Cook about 8 minutes more. You want the burger to be fully cooked. After 10 minutes total, turn off the heat and let the burgers rest for a couple of minutes while you cook the veggies.


While the burger is resting begin cooking your veggies. Place the asparagus and 1/4 cup water in a medium sized saute pan and turn heat on high. Cook for 3 minutes on high, stirring occasionally.


After the asparagus has cooked for 3 minutes, add the zucchini and cook for 1 minute, stirring occasionally. Now add the garlic, salt and pepper, and a splash of olive oil. Stir everything together, turn the heat to medium and cover. (If you do not have a cover for your saute pan, use a cake pan or a large plate) Cook 4 more minutes. Now remove lid and make sure the water has evaporated and the veggies are cooked to your desired tenderness. I prefer asparagus that is not overcooked and limp. 


Place half you veggies on each plate and top with your burger and chimichurri sauce. You can use any veggies you like. I used broccoli with zucchini and shiitake mushrooms for this particular dinner. 


tURKEY BURGER WITH cHIMICHURRI AND VEGGIES RECIPE


Serves: 2 people
Prep Time: 10 minutes
Cooking Time: 15 minutes

INGREDIENTS

  • 2/3 pound ground turkey (I prefer ground turkey thighs)
  • 1 tablespoon finely grated onion
  • 2 tablespoons chimichurri sauce (my recipe here)
  • extra chimichurri sauce: for drizzling on burgers
  • 2-3 zucchini, sliced into round coins
  • 1 bunch of asparagus, sliced into 1 1/2" lengths
  • 1 clove of garlic, finely chopped
  • splash of olive oil

PREPARATION

  1. Place your ground turkey in small bowl. Add a tablespoon of grated onion and 2 tablespoons of the chimichurri sauce.
  2. With your hands mix up the turkey mixture till combined.
  3. Put down a piece of folded parchment paper or foil and shape patties on the paper. (If you are prepping the burgers in advance then cut the parchment paper and stack the burgers and place in the fridge).
  4. Pull out a medium saute pan and turn on high.
  5. Add a little olive oil and add your burgers. Cook on high for 2-3 minutes till they have browned on one side. Once they are browned, turn the heat to medium/medium low and cover the burgers. Cook another 7 minutes.
  6. Once a total of 10 minutes has passed, turn off the heat and let the burgers rest.
  7. Now start cooking your veggies. Pull out a medium sauce pan, turn the heat on high and add the asparagus and 1/4 cup of water. 
  8. Cook the asparagus for 3 minutes, stirring occasionally.
  9. Add the zucchini, stir and cook on high another minute.
  10. Now turn the heat to medium, add the garlic, salt, pepper, and a splash of olive oil. Stir to combine and put a lid on the pan.
  11. Cook 4 more minutes. Then uncover, and make sure all the water has evaporated and the veggies are cooked to your desired tenderness. (If the asparagus is very thin, it will take less time)
  12. Place half the veggies on each plate, top with a burger and spoon over the chimichurri sauce. 

Note: If you do not have time to make chimichurri, store bought pesto would be a easy substitute.

Note: You can substitute broccoli for the asparagus if you prefer.


PRINT RECIPE


In Main Course, Paleo, Vegetable

CHIMICHURRI SAUCE

May 5, 2017 Julie Sanchez

Chimichurri is an uncooked sauce that comes from Argentina that is traditionally used as a marinade and sauce for grilled beef. But I love it on fish, chicken, turkey burgers and even vegetables. It is also yummy as a dip served with plantain chips. For years I have used chimichurri to marinate chunks of beef tenderloin, which I later grilled and slathered with more chimichurri during the grilling process...amazingly delicious!  I was trying to replicate a dish we enjoyed during many years of my children's birthday celebrations at a restaurant here in Houston called Churrascos. Now that we are trying to eat less beef, I have been experimenting using chimichurri on salmon, grilled chicken, portobello mushrooms, and turkey burgers. Not only is the green color amazing dripping off salmon or turkey burgers but it adds a garlicky tangy kick to otherwise boring meats and fish.


You will need fresh parsley, cilantro, garlic, lemon juice and a shallot. You will also need a food processor. You could also finely dice all the ingredients if you have both the patience and time. I did experiment with making this sauce in my nutri bullet and my vitamix blender, but both methods over processed the mixture which made the herbs bitter.


Wash both the cilantro and parsley and dry off the herbs in paper towels. Cut the stems off the bunch. Since they will be going in the food processor, it is OK to have some stems in your bunch.


Pack the cilantro into a one cup measuring cup. Repeat with the parsley and put them in the food processor.


DSC03394.JPG

Peel the shallot and cut the ends off. Then roughly chop the shallot into small chunks. Place in the food processor.


Peel and garlic and again roughly chop the garlic and place in the food processor.


Add 1 tablespoon lemon juice, the olive oil, vinegar, salt and pepper, and red pepper flakes to the food processor.


Now you are ready for the food processor to do the work.


Blend the mixture till it is smooth and no chunks of shallot or garlic are remaining. At this point you can pour the sauce in a serving dish and cover with plastic wrap. Make sure the plastic wrap is touching the sauce so it will not lose its color. You can leave it at room temperature till ready to serve. The sauce is best the same day, but I have been known to save the leftovers for the next day. The herbs turn darker overnight, but I like to make it and use it for 2 nights in a row.


This is my new favorite way to use chimichurri... on a turkey burger with veggies... a healthy, delicious and pretty meal! (The recipe for my turkey burger can be found here.)


CHIMICHURRI SAUCE RECIPE


Serves: 4 people
Prep Time: 15 minutes

INGREDIENTS

  • 1 packed cup parsley (large stems removed)
  • 1 packed cup cilantro (large stems removed)
  • 1 shallot (roughly chopped)
  • 3 garlic cloves (roughly chopped)
  • 1 tablespoon lemon juice
  • 1 tablespoon sherry vinegar
  • 1/2 cup olive oil
  • 1/2 teaspoon salt
  • 1/2 teaspoon red pepper flakes
  • black pepper

PREPARATION

  1. Wash both the cilantro and parsley. Dry off in paper towels.
  2. Gather the cilantro and cut the large stems off. Do the same with the parsley.  (It is fine if some stems remain since they are going in the food processor) 
  3. Pack the cilantro into a one cup measuring cup. Place the cilantro in the food processor. Measure the parsley and add it as well.
  4. Cut the ends of the shallot and peel the shallot. Cut the shallot into small chunks, and add to the food processor.
  5. Peel and roughly chop the garlic and add to the processor.
  6. Add the fresh lemon, vinegar, olive oil, salt and pepper and red pepper flakes to the processor.
  7. Blend the ingredients till smooth and all the chunks have dissolved.
  8. You can store at room temperature in a small bowl covered with plastic wrap making sure the plastic touches the sauce, so it will not discolor. Chimichurri sauce is best consumed the same day. It turns a little darker overnight but it tastes the same.

Note: If you do not have a food processor, you can finely mince all the herbs, garlic, and shallots and combine with the remaining ingredients.


PRINT RECIPE


In Sauce, Paleo

CREAMY CAULIFLOWER SOUP

January 25, 2017 Julie Sanchez

My creamy cauliflower soup has no milk or cream and yet it tastes and feels richly satisfying. The creaminess comes from raw cashews, that when soaked and blended with cauliflower, create a velvety delicious soup. It meets Paleo, vegan, and Whole 30 guidelines, and its easy to prepare. I have used raw cashews to thicken sauces, and soups before, but when I combined it with the cauliflower, my husband thought we were eating potato soup. Make it on Sunday and you will be ready for meatless Mondays!


You must buy raw, whole cashews for this recipe. I purchase mine from Whole Foods. I also prefer low sodium organic vegetable broth so you can control the saltiness.


You must soak the cashews a minimum of 2 hours, but preferably overnight. The reason I soak the nuts is to make them easier to digest. According to Whole Lifestyle Nutrition: "By soaking you are breaking down the phytic acid so it can be absorbed properly. Nuts also have high amounts of enzymes inhibitors. This is another reason why unsoaked nuts are hard to digest, Soaking nuts neutralizes the enzymes allowing for proper digestion." 

I like to store the leftover cashews in the freezer.


Cut off the bottom core and remove the leaves of the cauliflower.


Now cut the branches off around the core. 


Break or cut the branches into smaller pieces of cauliflower. Discard the core and leaves.


Cut the ends off the shallots and peel off the orange skin. 


Roughly chop the shallots. They will be blended in the blender so they do not need to be finely chopped.


Prep your garlic with a garlic press.


Pull out a medium sauce pan. Turn heat on high and add a teaspoon of olive oil. Add the shallots and cook on high heat for 3-5 minutes, stirring occasionally till they have a little color.


Now add your broth, cauliflower, garlic, and a pinch of cayenne. Bring to a boil. Once boiling, turn heat down to medium and cover. You want to simmer for 25 minutes.


Drain your soaked cashews and rinse with water. Set aside.


After 25 minutes add the mixture to a blender. (I have a Vitamix blender which I love...it's so freaking powerful). Now add the drained cashews and salt to the blender. Its better to let the mixture cool down before you blend it. But if you are impatient like me you can blend it in 2 batches, to allow the steam from the hot liquid to escape easier. When blending hot liquids, hold the lid off the top a little with a towel to allow the steam to escape, otherwise you may have an explosion. If your cauliflower head was small, then reserve about 1/2 cup of the broth and do not add all till after you have blended it to make sure you achieve the right consistency.


CREAMY CAULIFLOWER SOUP RECIPE


Serves: 4 people
Prep Time: 15 minutes
Cooking Time: 25 minutes

INGREDIENTS

  • 1/2 cup raw whole cashews (soaked in water 2 hours - overnight)
  • 1 head of cauliflower
  • 5 cups low sodium vegetable broth (two 32 ounce boxes)
  • 1 teaspoon olive oil
  • 2 shallots
  • 2 garlic cloves
  • pinch of cayenne pepper
  • 2 teaspoons salt

pREPARATION

  1. Soak your cashews a minimum of 2 hours, but preferably overnight. I explain why above, but basically they will be easier to digest. Place the cashews in a bowl with enough water to cover them by about one inch. 
  2. Cut up your cauliflower into small pieces. Discard the leaves and core.
  3. Prep your shallots. Cut the ends off and peel off the orange skin. Then roughly chop the shallot.
  4. Mince your garlic, or run it through a garlic press.
  5. Pull out a medium sauce pan and turn heat on high.
  6. Add one teaspoon of oil to the pan and add the shallots. Cook on high heat for 3 to 5 minutes, stirring occasionally till they have a little color.
  7. Add the broth, cauliflower, garlic, and a pinch of cayenne. (store the remaining broth in the fridge)
  8. Bring to a boil.
  9. Once boiling, put the lid on, turn the heat to medium and simmer for 25 minutes.
  10. Drain and rinse cashews. Set Aside.
  11. After 25 minutes take off the heat and let the mixture cool down.
  12. Once cooled put the mixture in the blender. Add the salt and cashews. (I like to reserve about 1/2 of the cooking liquid to make sure your soup is the right consistency. Cauliflower comes in all different sizes, and you can add more broth but you cannot make it thicker once the soup is too thin.)
  13. Blend 'til smooth and creamy. You can now add the remaining broth to achieve the consistency you desire. If the mixture is still hot, blend in 2 batches to allow room for the steam in the blender. Hold the blender top a little open so the steam can escape. Be careful with hot liquids in the blender. I like to hold the top down with a towel on top to prevent an explosion of hot liquids. Yes, I have had to wipe down my cabinets with a hot soup explosion...not pretty!
  14. Taste for saltiness and heat. You can add more cayenne or salt to taste and blend on the highest setting to create a smooth soup.

PRINT RECIPE


In Paleo, Soup, Main Course

BUDDHA BOWL

December 30, 2016 Julie Sanchez

Buddha bowls are simply amazing. They look pretty, they are super healthy, they fill you up, and they are easy to prepare. My son Jack, who lives in LA came home at Thanksgiving and requested Buddha bowls for dinner one night. I have never made one, so I did some research. A Buddha bowl is typically a vegetarian meal served in a wide brimmed bowl (like Buddha's belly) with a healthy grain, several vegetables, fresh greens, topped with avocado, hummus or tahini sauce. The great thing about these bowls is you can create endless combinations and they all will be super hearty and satisfying. Jack works long hours at Space X and does not have a lot of time to cook. So I tried to create a Buddha bowl recipe that was easy to prep and cook.  All the ingredients came from Trader Joe's, and many are precooked and pre cut, so all you have to do is to roast the cauliflower and the butternut squash.  When I made Buddha bowls for the first time last month I was hooked. You will be too!!!


You can purchase all the ingredients from Trader Joe's. I added turmeric to the list to add some flavor and color to the otherwise bland cauliflower. Turmeric has powerful anti-inflammatory effects and is a strong antioxidant. Once you purchase turmeric you can add it to your salad dressings, or sprinkle on vegetables or chicken. It has a unique flavor, which I love.


If you prefer brown rice over quinoa than Trader Joe's has precooked brown rice in the freezer section. 


Preheat the oven to 400° F. Cut the core and leaves from the head of cauliflower. Then cut off branches from the core. Then break up or cut into bit size pieces.


Spread on a cooking sheet and sprinkle with one tablespoon olive oil. Then toss to distribute the oil. Sprinkle with the turmeric, salt and pepper and toss once more. You will roast the cauliflower for 20 minutes.


Open up both bags of butternut squash and place on a cooking sheet. Sprinkle with one tablespoon of olive oil and toss to coat. Add salt and pepper and toss again. You will roast the butternut squash for 20-25 minutes.


Arrange the arugula around the edge of the bowl. You do not really need to fill the bowl with arugula, you just want a fresh taste with your veggies. If you are making the Buddha bowl "to go" for your lunch and you need to microwave it, I might leave off the arugula.


We like to drizzle our Buddha bowls with my green sauce. I make green sauce (tomatillo salsa) (recipe on my blog) every weekend so we always have it in our fridge. If you want the easy button Trader Joe's makes a cilantro dressing that you can find in the produce isle.


My Buddha bowl with my tomatillo salsa and fresh cilantro. My husband will add fresh serrano peppers to his as well. Everything consumed by my husband has to have a spicy element!


BUDDHA BOWL RECIPE


Serves: 4 people (or 2 people twice)
Prep Time: 15 minutes
Cooking Time: 25 minutes

INGREDIENTS

All from Trader Joe's

  • 1 head of cauliflower
  • Two twelve-ounce packages of cut butternut squash (produce isle)
  • 17.6 ounce package of precooked lentils (produce isle)
  • 7 ounce bag of arugula
  • 1 avocado
  • 1 1/2 teaspoons turmeric
  • 2 tablespoons olive oil
  • 16 ounce box fully cooked quinoa (frozen isle)
  • 8 ounce container of tahini sauce

OPTIONAL INGREDIENTS

  • My tomatillo salsa (green sauce)
  • Cilantro dressing (produce isle)...in place of my green sauce
  • Fresh cilantro, chopped finely for garnish

PREPARATION

  1. Preheat oven to 400° F
  2. Cut the leaves and the center core out of the cauliflower. Begin cutting branches off the main core of the cauliflower. Then break up the branches into bite size pieces. 
  3. Place the cauliflower on a cooking tray and sprinkle with one tablespoon of olive oil. Toss to coat evenly. Sprinkle with the turmeric, salt and pepper. 
  4. Open up both bags of butternut squash and spread on another cooking sheet. ( You may want to use parchment paper for easy clean up.) Sprinkle with one tablespoon olive oil. Toss to coat evenly. Sprinkle with salt and pepper. Put the larger pieces of squash in the corners since they will cook the quickest.
  5. Place the butternut squash and cauliflower in the oven. Set timer for 10 minutes.
  6. After timer goes off, stir both the butternut squash and the cauliflower and return to oven. Set timer for another 10 minutes.
  7. Place your arugula around the edge of your bowls
  8. While the butternut squash and cauliflower are roasting, begin microwaving your quinoa according to the package directions. The box contains 2 packages of quinoa; each package serves 2 people.
  9. You will also microwave your lentils according to the package directions.
  10. After the second 10 minute timer has gone off, remove the cauliflower and check to see if the butternut squash is cooked enough. Sometimes the squash takes 20 minutes and sometimes 25 depending on the size of the cubes.
  11. Slice your avocado.
  12. To assemble your Buddha bowl, place your vegetables in the bowl in a circular pattern, add the avocado, and place the tahini sauce in the middle. You can also add my green sauce for an extra kick, or Trader Joe's cilantro dressing for the easy button. You can also sprinkle on fresh herbs, like cilantro if you have any.

Note: Since the lentil package serves 5 you will probably have some leftover lentils. They are great to throw in soup or add to a salad.


PRINT RECIPE


In Vegetarian, Main Course
← Newer Posts Older Posts →